Implementer training - push indexes
Push indexes
We have previously looked at standard Funnelback data sources (such as web data sources) that follow a linear update cycle of gather, filter, index, swap to produce a searchable index.
Push indexes are quite different, handling indexing only - updates to a push index are made using an API.
This means that a separate process or set of processes is required to handle the gathering and filtering of the content.
Push indexes also differ from standard data sources in the way indexes are stored and managed - push indexes don’t have live and offline versions. Push indexes also update whenever changes are committed - this means you don’t necessarily have to wait for an update to complete before you can start searching.
| When working with a push index it is critical for the code that interacts with the push API to handle error conditions (for example catch any errors and queue the items for pushing at a later time). |
The search dashboard also includes an interface that allows for interaction with the API via web forms, allowing data to be interactively added or removed from the indexes.
Tutorial: Create a push index
This exercise uses the API-UI available in the administration interface to interactively run API calls. Interaction with a push index is usually performed programmatically by contacting the push-api REST endpoint and passing in the appropriate parameters.
-
Log in to the search dashboard where you are doing your training.
See: Training - search dashboard access information if you’re not sure how to access the training. Ignore this step if you’re treating this as a non-interactive tutorial. -
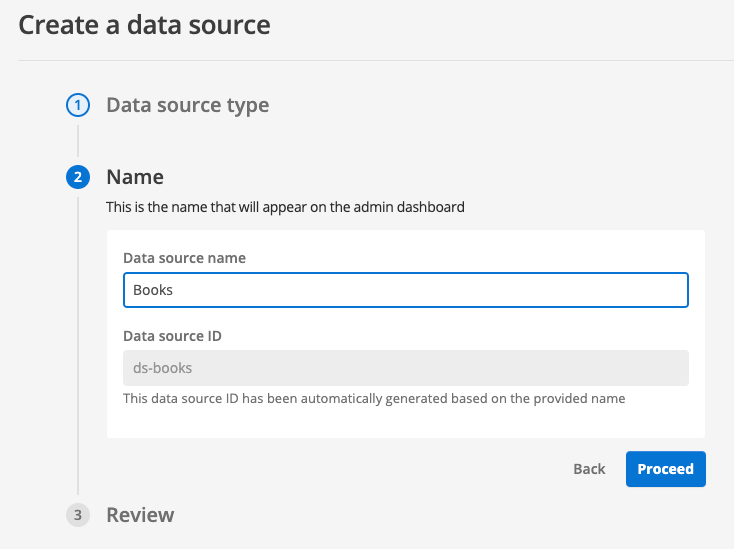
Create a new data source called books for the library data source:
-
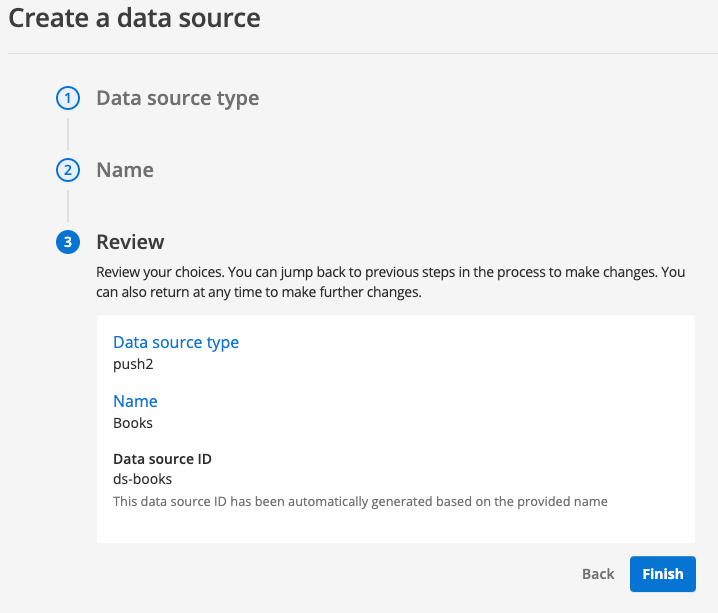
Enter the following information into the creation form then click create:
-
Data source type:
push2 -
Name:
books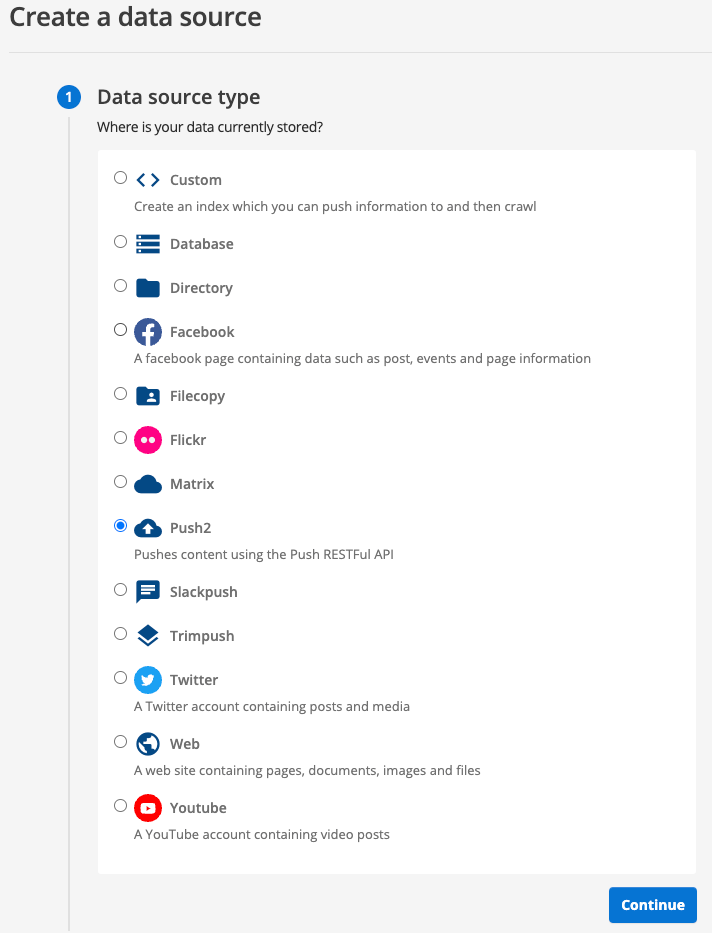
-
-
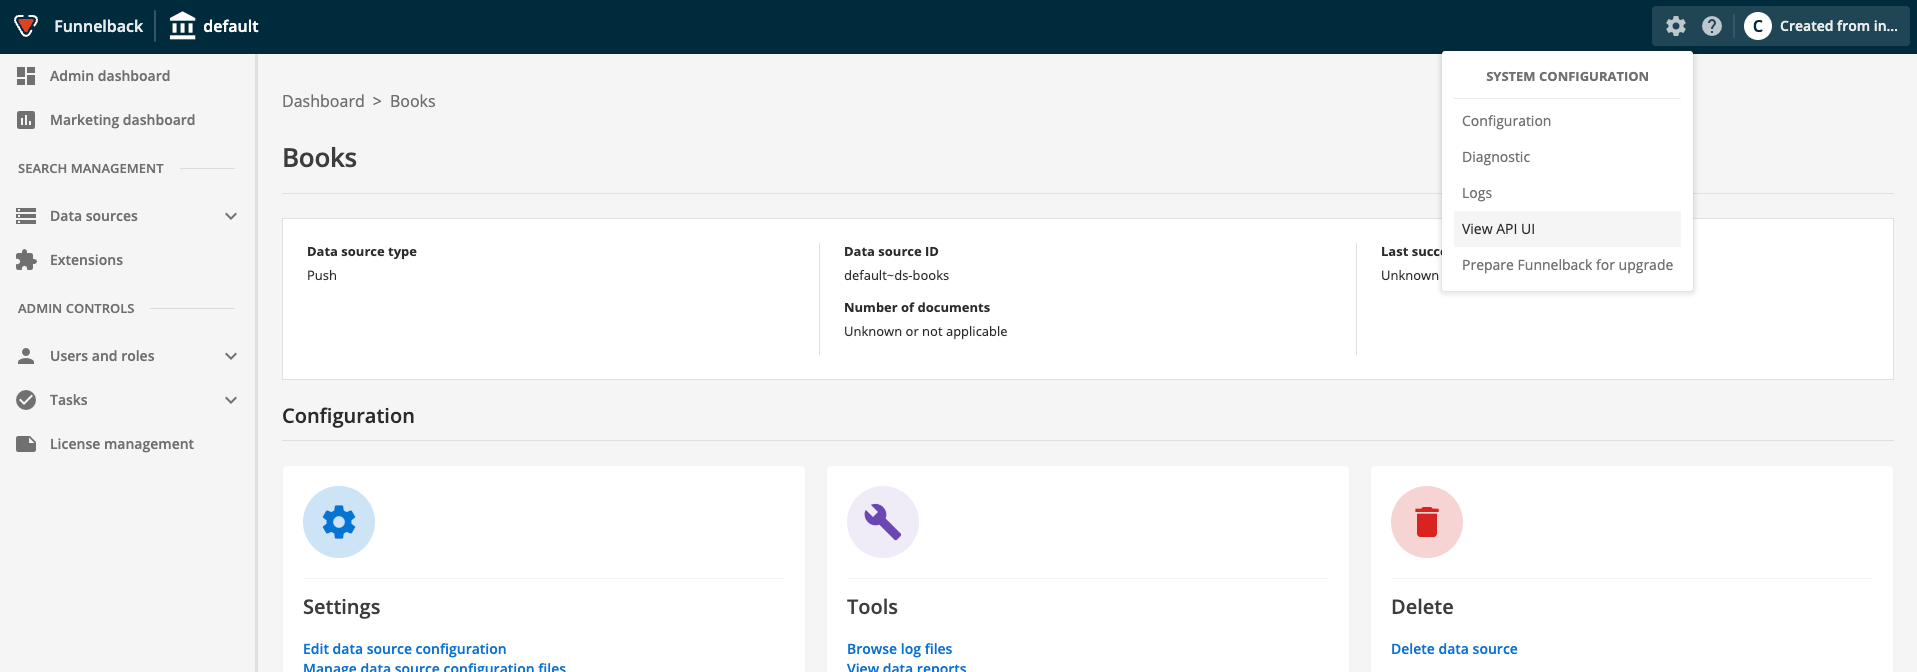
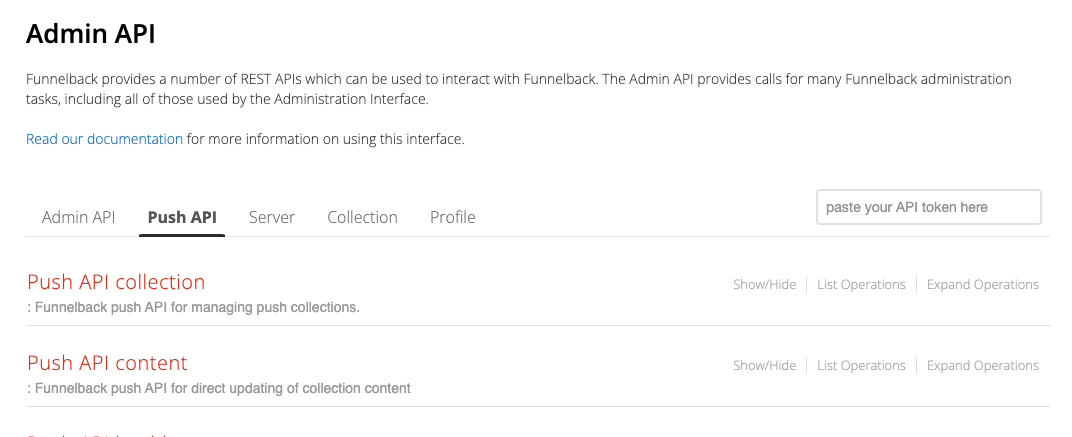
View the available Push API calls by selecting the > API-UI menu item, then selecting the Push API tab.
-
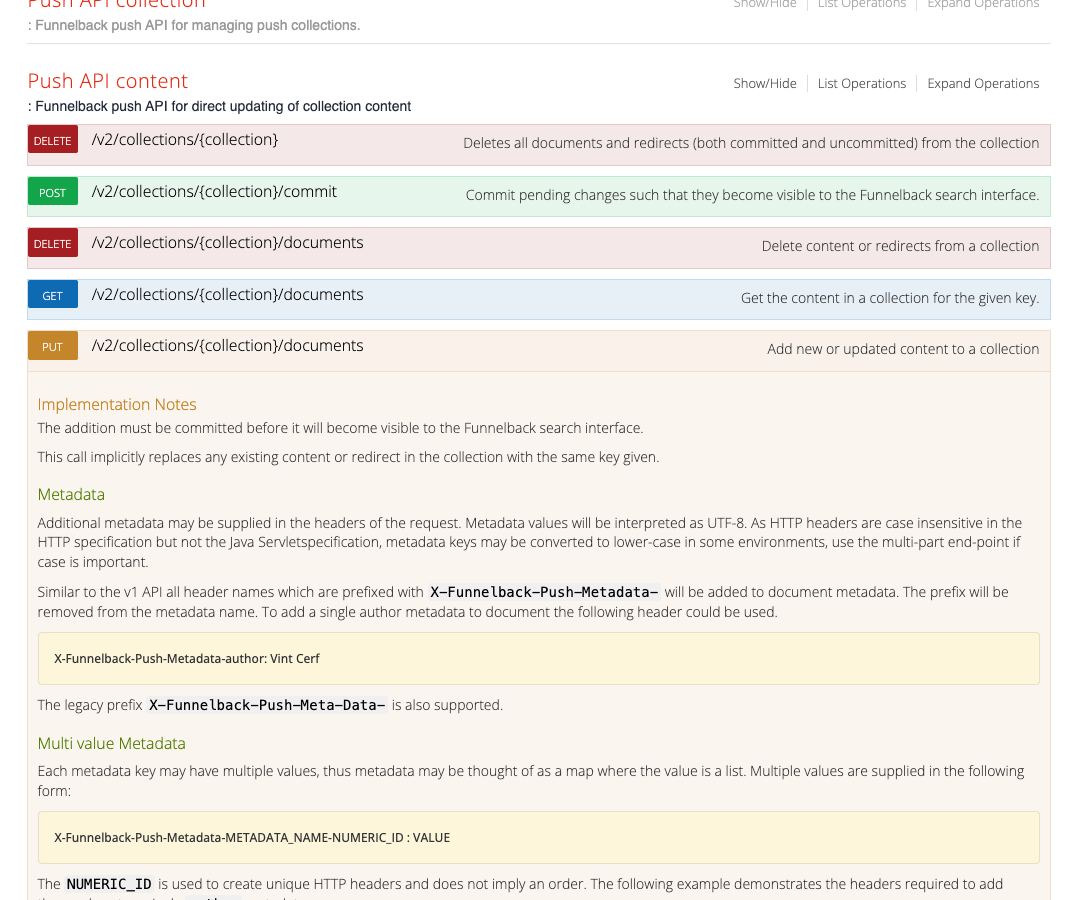
Add a document to the push index. Expand the push-api-content heading then select the PUT documents item.
-
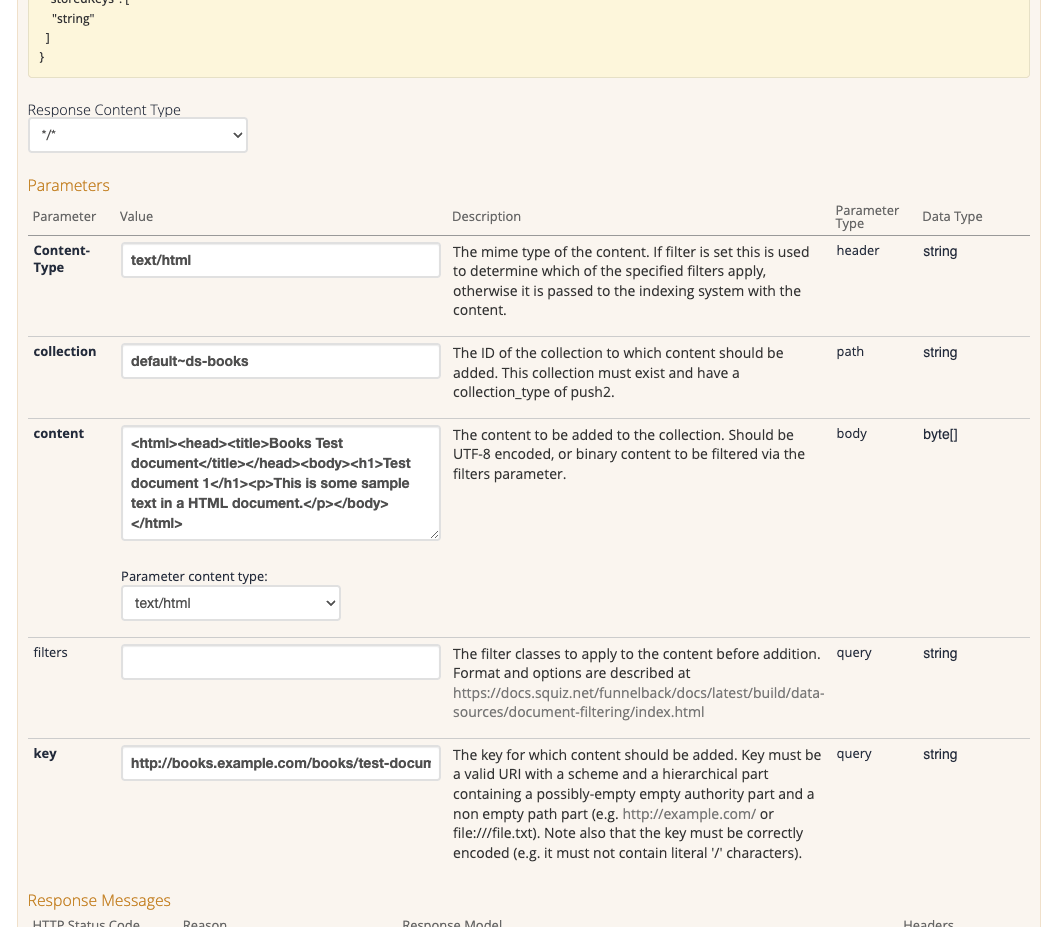
Enter the following into the parameters section of the PUT documents form:
-
collection:
default~ds-books -
key:
http://books.example.com/books/test-document.html -
content:
<html><head><title>Books Test document</title></head><body><h1>Test document 1</h1><p>This is some sample text in a HTML document.</p></body></html> -
Parameter content type:
text/html -
Content-type:
text/html
-
-
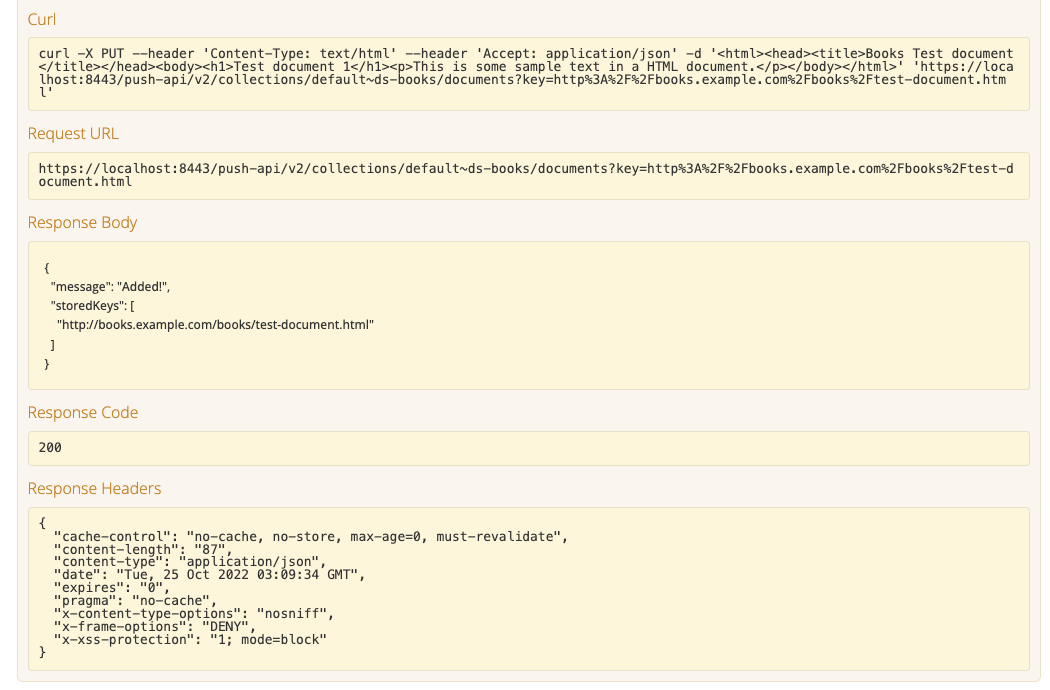
Add the document by clicking the execute button. The screen will update with the submitted call and response
-
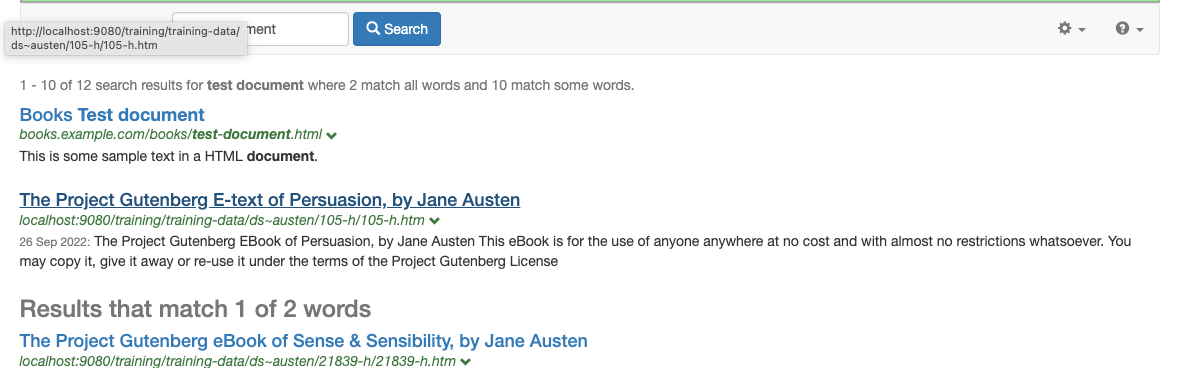
Run a query for test document against the book finder results page and verify that your document is returned in the search results.
-
Changes to the push index will be visible as soon as a commit completes. Push indexes will auto-commit based on configured settings, but a commit can also be manually triggered by calling the POST commit API call. This is also available under the push-api-content heading.
Splitting documents that are submitted to a push index
Push indexes don’t support the standard XML document splitting provided by Funnelback (via the XML indexing screen).
The split html and xml document plugin can be used with push indexes to provide this functionality. In addition to splitting XML, the plugin also allows you to split a HTML document based on a css selector.
The filter provided by this plugin can be chained with the JSONToXML filter to enable you to submit and split a JSON document.
| If individual records are removed from a feed that is resubmitted you will need to also delete the individual items in the push index because they are indexed with the split document’s assigned URL. |
Tutorial: Split JSON array content that is submitted to a push index
This tutorial shows you how to split a JSON array that is submitted to a push index and index the individual items in the array as separate result items.
The example converts the submitted JSON to XML, then splits the XML (using the HTML and XML split plugin) by chaining two filters.
-
Download the Books JSON data from: https://docs.squiz.net/training-resources/books.json and save this locally.
-
Log in to the search dashboard where you are doing your training.
See: Training - search dashboard access information if you’re not sure how to access the training. Ignore this step if you’re treating this as a non-interactive tutorial. -
Create a search package named:
Push split json example -
Create a results page within this search package named:
100 best books -
Edit the results page configuration and add the following to the
query_processor_optionsoption:-SF=[author,country,imageLink,language,link,pages,title,date], then click the save and publish button to make the configuration live. -
Create a push data source named
top 100 books feed -
Enable the split html and xml plugin on the push data source. This makes the split filter available to use in the push data source.
-
Configure the push data source for document splitting by adding the following to the data source configuration:
-
plugin.split-html-xml-filter.config.defaultXMLSplit=/json/array
-
-
Configure the push data source metadata mappings. This needs to be done before you push in the content, otherwise you will need to re-index the content of the push data source by running a vacuum re-index via the push API. Clear the existing mappings, then add the following:
Class name Source Type Search behaviour author
//author
text
searchable as content
country
//country
text
searchable as content
imageLink
//imageLink
text
searchable as content
language
//language
text
searchable as content
link
//link
text
searchable as content
pages
//page
text
searchable as content
title
//title
text
searchable as content
date
//year
text
searchable as content
-
View the available Push API calls by selecting the > API-UI menu item, then selecting the Push API tab.
-
Add the JSON to the push index. Expand the push-api-content heading then select the PUT documents item.
-
Enter the following into the parameters section of the PUT documents form:
-
collection:
default~ds-100-best-books -
key:
https://raw.githubusercontent.com/benoitvallon/100-best-books/master/books.json -
content: Open the
books.jsonfile in a text editor and paste the contents of the file into this field. -
Parameter content type:
application/json -
Content-type:
application/json -
filters:
JSONToXML:com.funnelback.plugin.splitxmlhtmlfilter.SplitHtmlXmlFilterStringFilterThis tells the push collection to run the submitted content through the JSONToXML filter then the output of that through the split html and xml filter.
-
-
Observe the response body returned by the API shows that 100 documents were added to the push index.
-
In a new browser tab, run a search against the 100 best books results page for
!showalland observe that 100 results are returned. -
Run a search for
chinuaand observe the author metadata for the returned result. -
Return to the API screen and edit the JSON you submitted (in the content field) and update the author of the first record to
Chinua Achebe XXthen resubmit the API call. -
Rerun the search for
chinuaand observe that the author metadata has been updated. -
Rerun the search for
!showalland observe that there are still 100 results in the index.
Updating the content works because the same data was submitted to the API, and the individual JSON records (after splitting) had the same URLs as the initial commit. The URLs assigned in the splitting will depend on the item number in the JSON and the key field submitted.
|