Part 1.1: Install Java 11
| This is an environment setup step and is only required the first time you write a plugin on your computer. |
Plugins for Funnelback are written using Java 11. This must be installed in order to develop a plugin for use with Funnelback.
Downloading Java 11
-
Open your web browser and visit the Adoptium website. https://adoptium.net/en-GB/temurin/releases/?variant=openjdk11
-
Download
Eclipse Temurin 11 - LTSJDK for your operating system. You must download the Java Development Kit (JDK) package as you will be developing plugins. The (smaller) Java Runtime Environment (JRE) is not suitable.You must use Java 11 as this is the version currently used by Funnelback. Other versions of Java (both newer and older) will not be fully compatible. 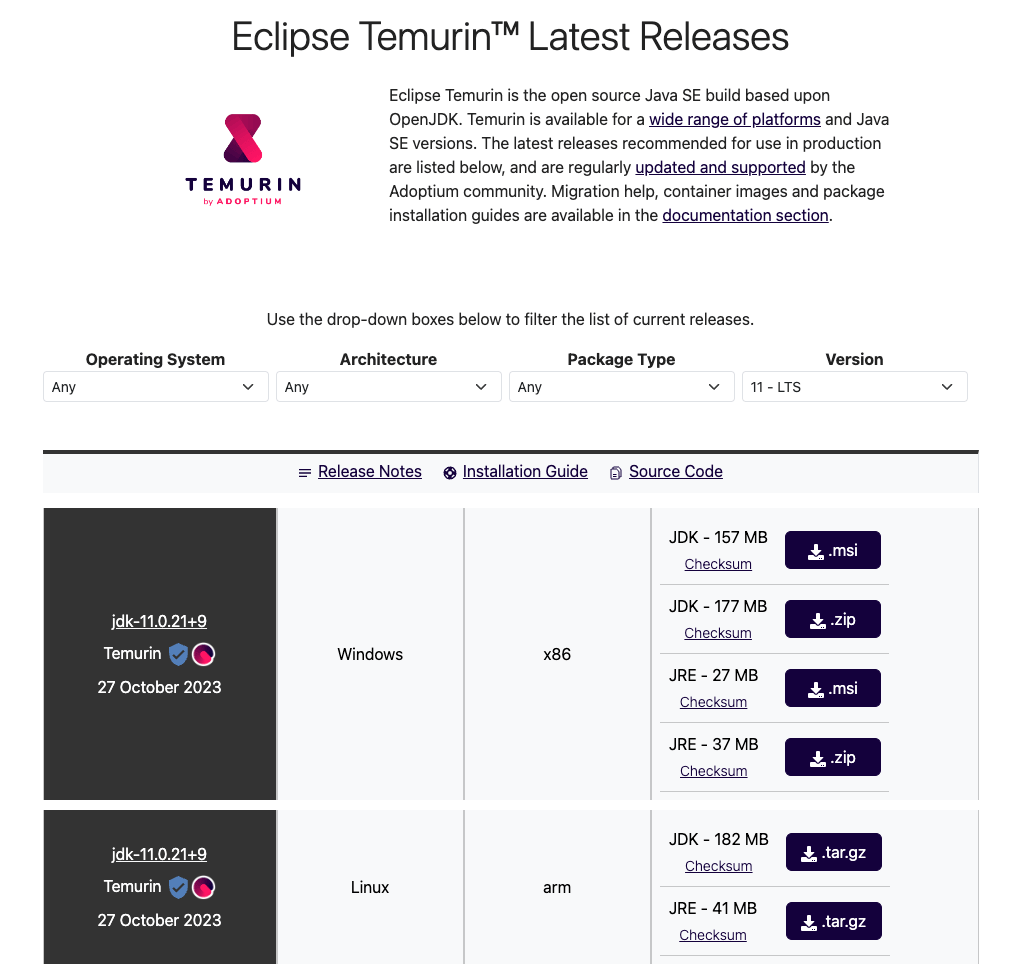
-
Install Java by running the installer.
Ensure that java is on your path
After installing java, it should now be available on your path.
-
Open a terminal or command prompt and run:
$ java --versionA message similar to the one below should be displayed if Java was successfully installed:
openjdk 11.0.21 2023-10-17
OpenJDK Runtime Environment Temurin-11.0.21+9 (build 11.0.21+9)
OpenJDK 64-Bit Server VM Temurin-11.0.21+9 (build 11.0.21+9, mixed mode)
|
If you’ve upgraded from an older version of the JDK you may find that the version listed when running For example: on my Mac the following is included in my |