Implementer training - Overview of the search dashboard
The Funnelback search dashboard is a tool for setting up and maintaining your search using a web browser.
The URL of the search dashboard for your organization will vary and will usually be https://FUNNELBACK-SERVER:8443/d/client/ where FUNNELBACK-SERVER is replaced with the host name of your Funnelback server. It is worth noting that the search dashboard uses a non-standard port (port 8443) by default because the standard HTTPS port is used for public (non-admin) search results. In some cases your administrator may have added extra software to make the interface available on the standard HTTPS port.
Contact your system administrator for the access details for your own Funnelback instance.
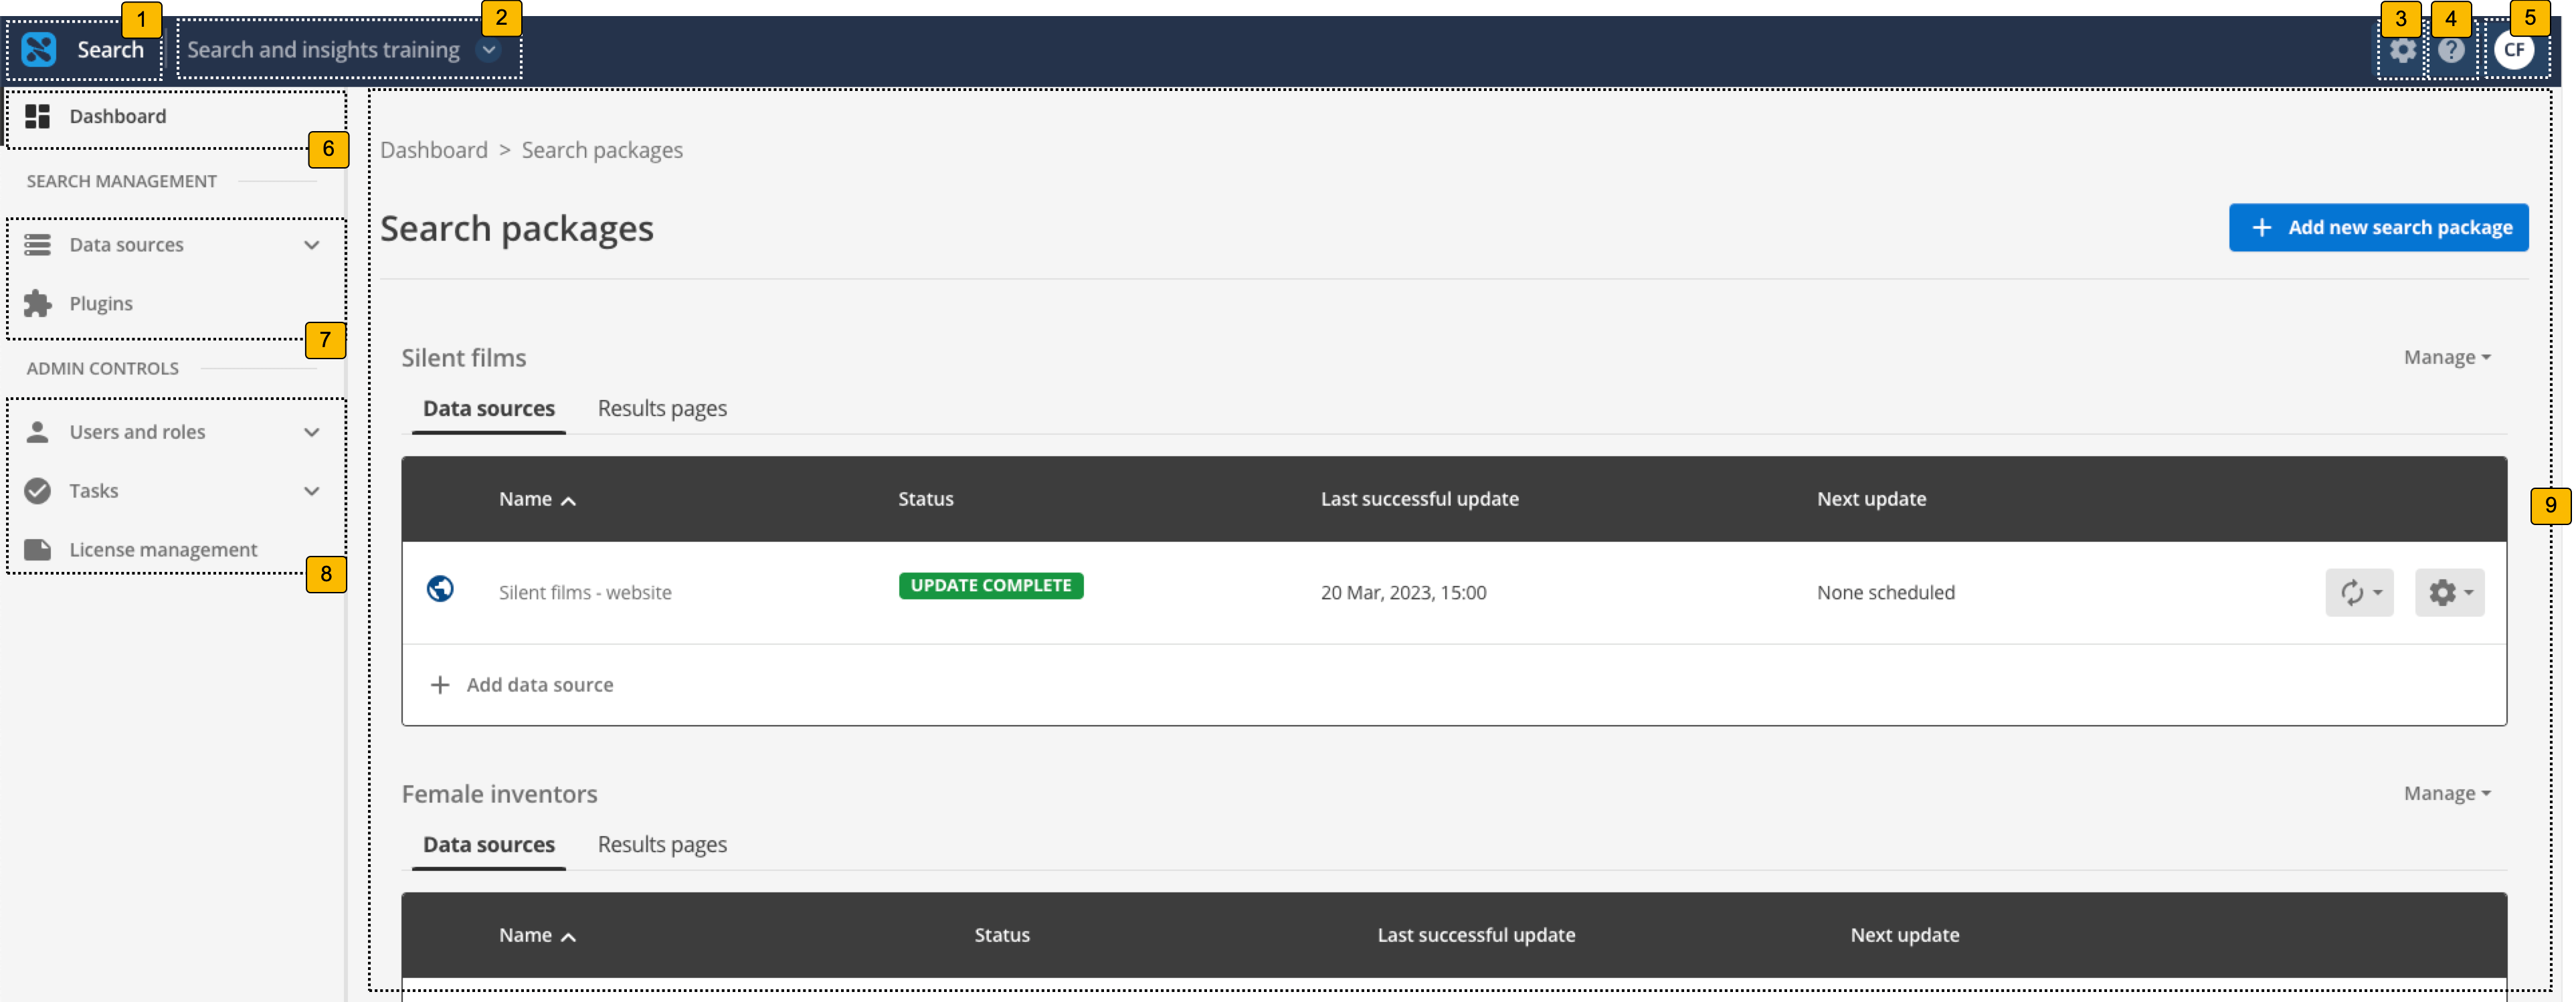
The main search dashboard home screen is composed of several regions, which perform different functions. Some of these are highlighted below:
-
Home button: Clicking on the Funnelback logo takes you to the home page for the search dashboard.
-
Client switcher: This displays the current client and enables you to switch to a different client if you have access to manage more than one client.
-
System configuration menu: Provides access to system configuration functions and also the API UI.
-
Online help: Clicking this opens the Funnelback online documentation.
-
User profile: Clicking on this opens a menu that provides access to your user profile and also the ability to log out of the search dashboard.
-
Dashboards: Provides access to the home pages of the administration and insights dashboards.
-
Search management functions: Provides access to data source management and extensions (plugins).
-
Administration controls: Provides access to user, role and license management as well as the task queue and update scheduler.
-
Main management section: this region of the screen is where you manage your search configurations and updates depending on which part of the dashboard you are accessing.
Tutorial: Introduction to the search dashboard
In this exercise you will be introduced to the main sections available within the search dashboard.
-
Log in to the search dashboard where you are doing your training.
See: Training - search dashboard access information if you’re not sure how to access the training. Ignore this step if you’re treating this as a non-interactive tutorial. -
Observe that there are several search packages defined - Female inventors, Silent films, Simpsons and Foodista.
-
Note the location of the search package manage button - this provides access to the search package configuration screen.
You can also click on the name of the search package to manage your search package. -
Locate the Female inventors search package in the listing. Observe that the search package includes a single data source named Female inventors - website, and a single results page named inventors.
Administering your search packages
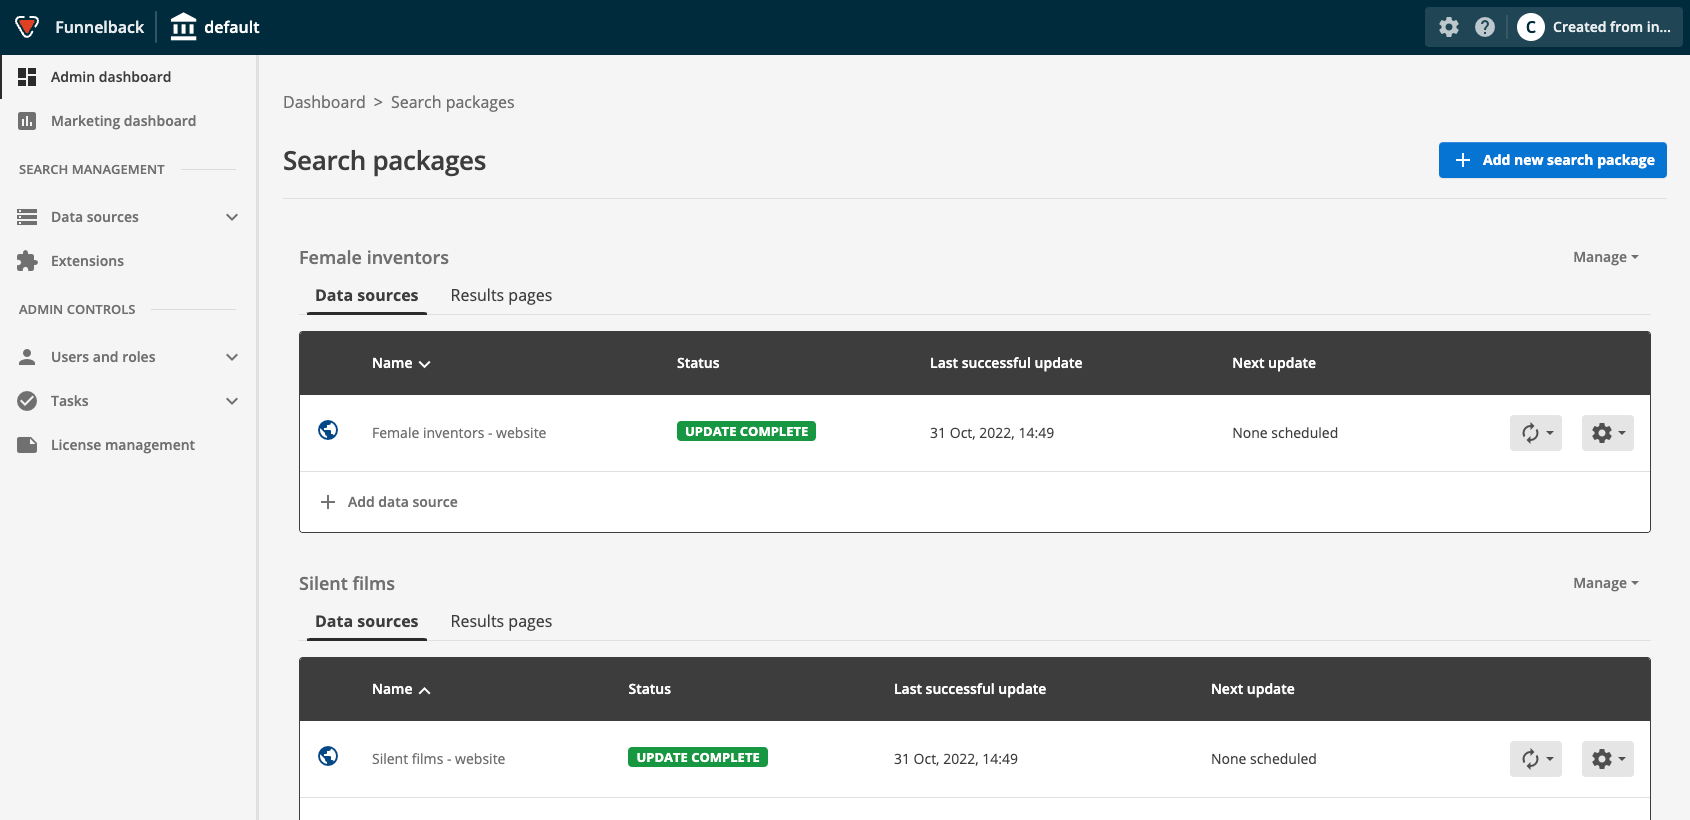
Every search that you build in Funnelback must be encapsulated in a search package. As a result, the search dashboard is built around administering a search package.
The main panel of the search dashboard home screen shows the search packages that you can manage, or if you’re logging in for the first time you are given the option to create a new search package.
The overview screen will look similar to the following if no search packages have been set up yet:
Clicking on the Add new search package button steps through the process of creating a new search package.
If there are any existing search packages then the following is displayed for each search package:
-
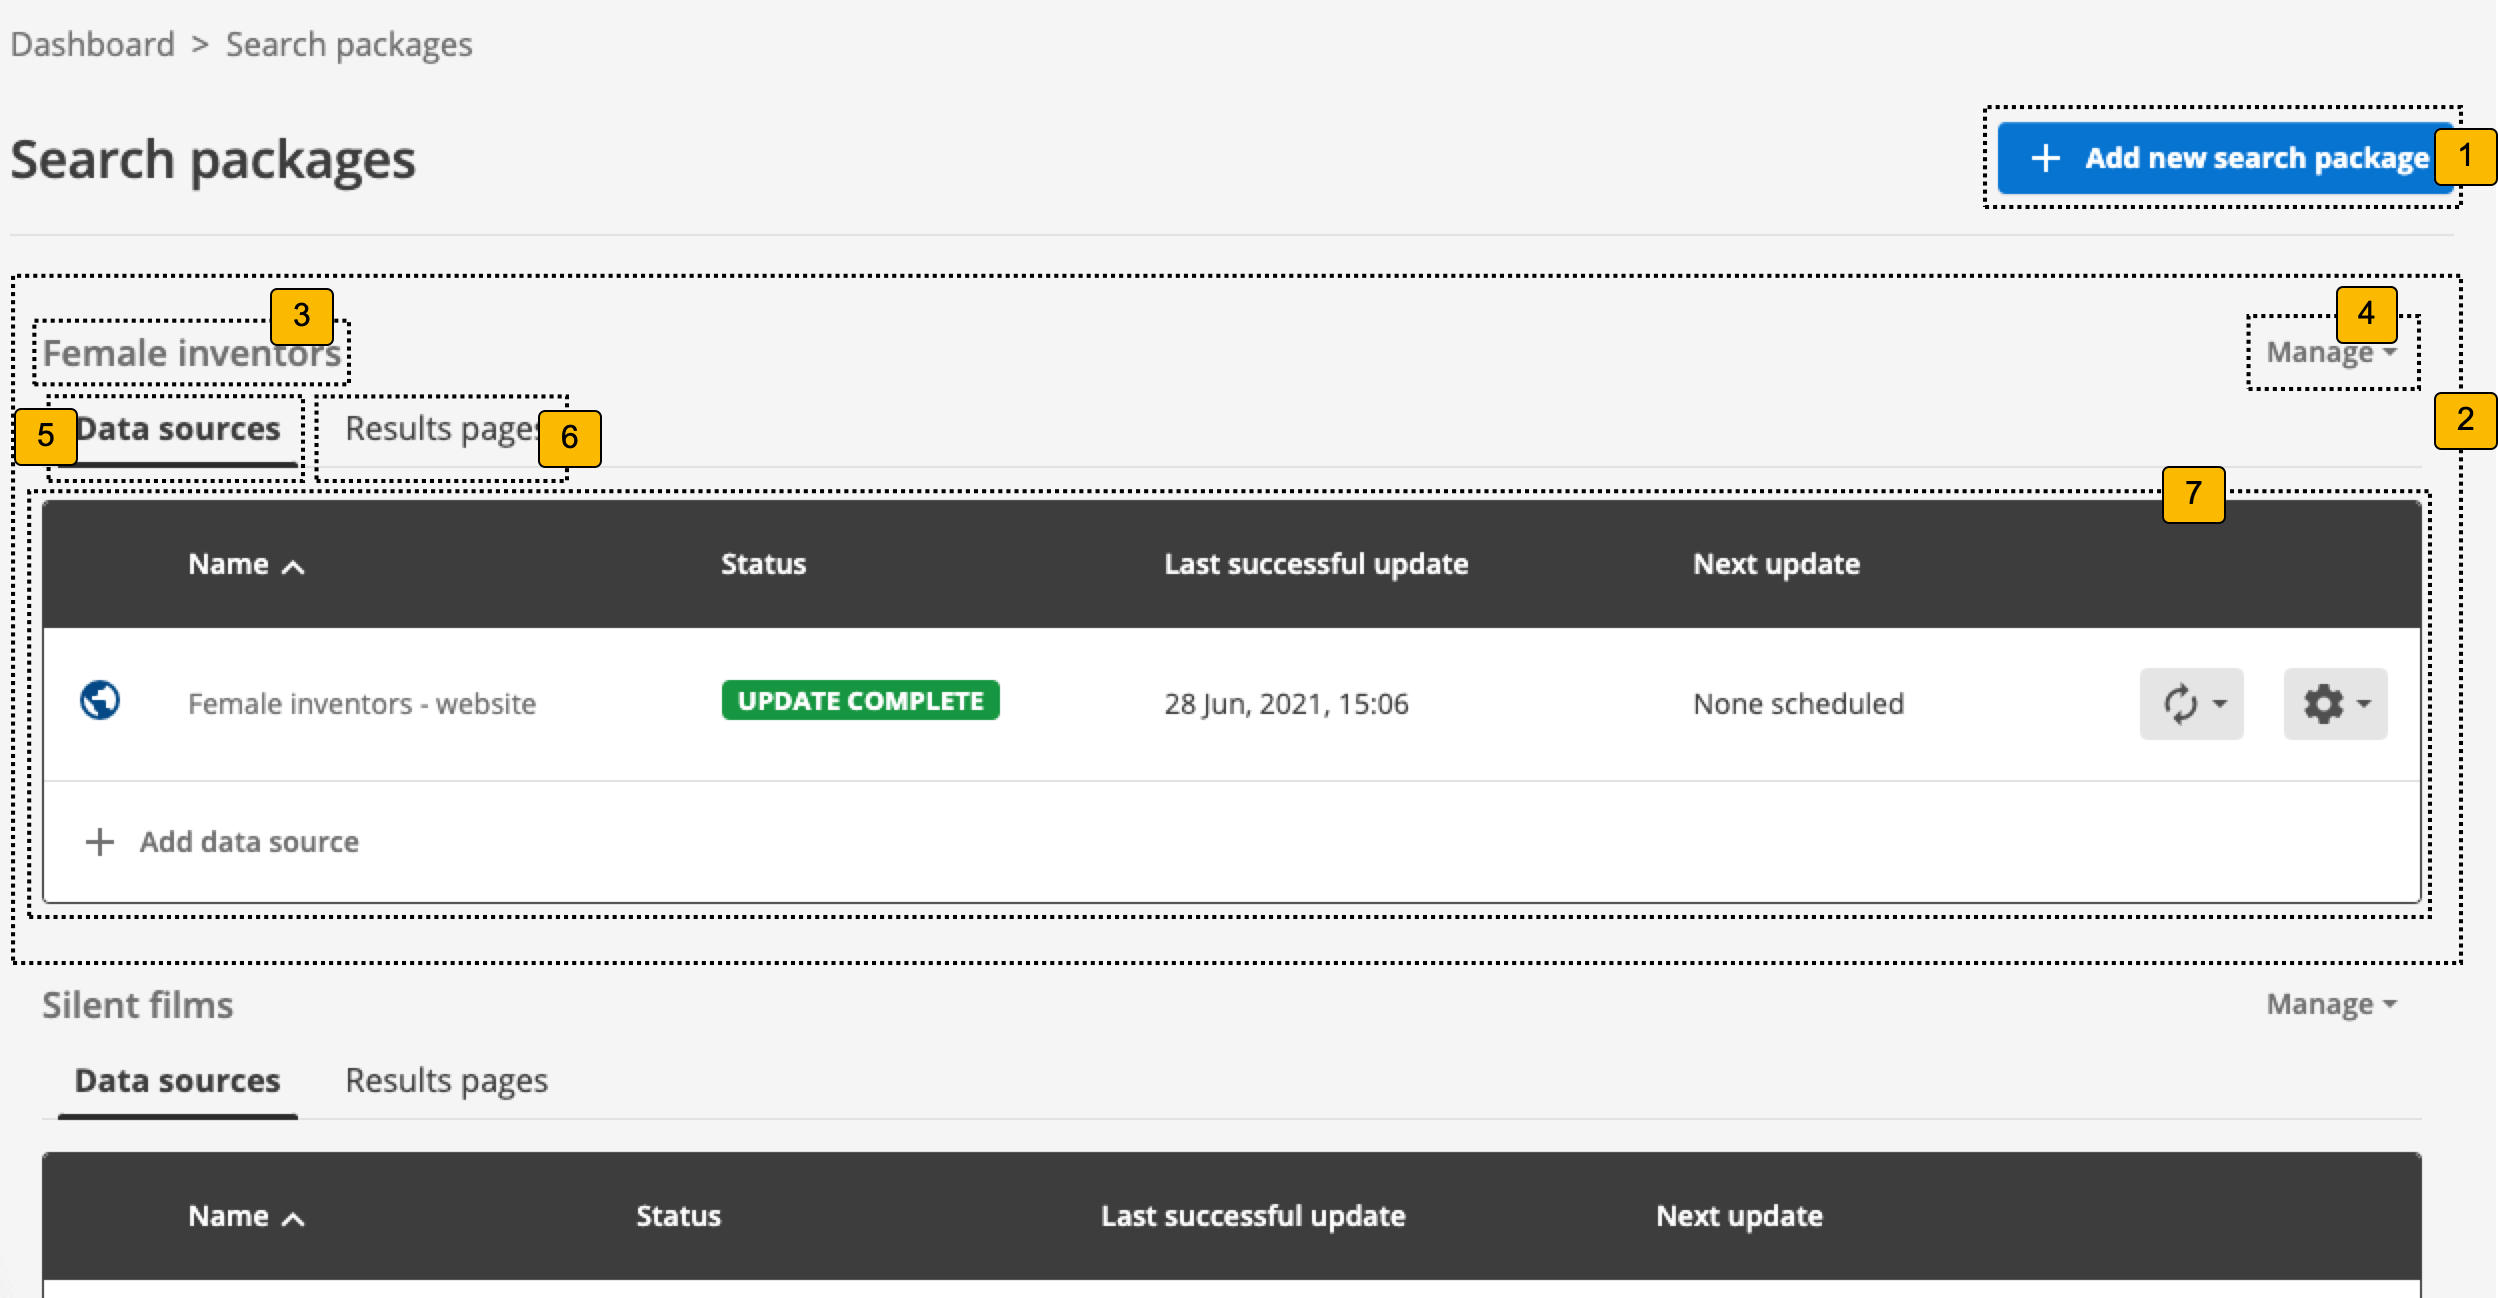
Add new search package: Clicking this button steps through the process of creating a new search package.
-
Information and controls for a search package. A block like this will be displayed for each search package that you have access to.
-
Search package name: This displays the name of the search package.
-
Manage this search package: Clicking the Manage button opens the search package configuration screen for the associated search package.
-
Data sources: Clicking the data sources tab lists the data sources associated with the search package in the panel below.
-
Results pages: Clicking the results pages tab lists the results pages associated with the search package in the panel below
-
Information and status of each data source or results page.
Tutorial: Manage a search package
This exercise introduces you to the search package management screen.
-
Log in to the search dashboard where you are doing your training.
See: Training - search dashboard access information if you’re not sure how to access the training. Ignore this step if you’re treating this as a non-interactive tutorial. -
Locate the Foodista search package.
-
Manage the search package by either clicking on the Foodista heading, or by selecting the menu item for the search package:
-
The search package manage screen opens for the Foodista search package.
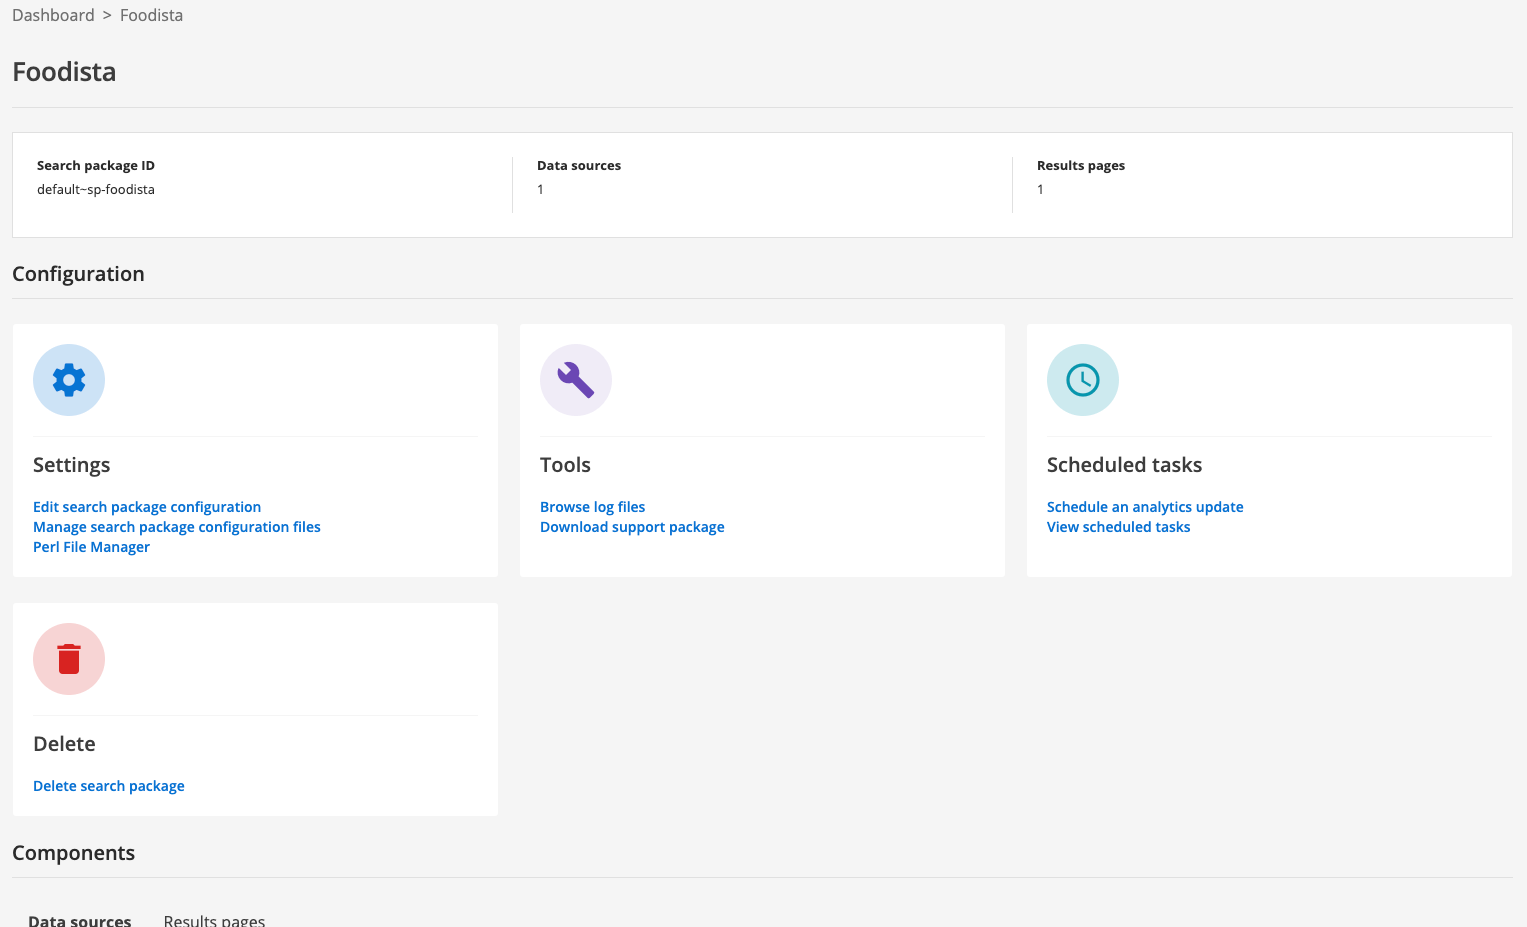
-
Explore the different configuration options, grouped into settings, tools, scheduled tasks and delete.
-
Discover the associated data sources and results pages by looking at the data sources and results pages tabs listed under the components heading.
Search package overview - data source tab
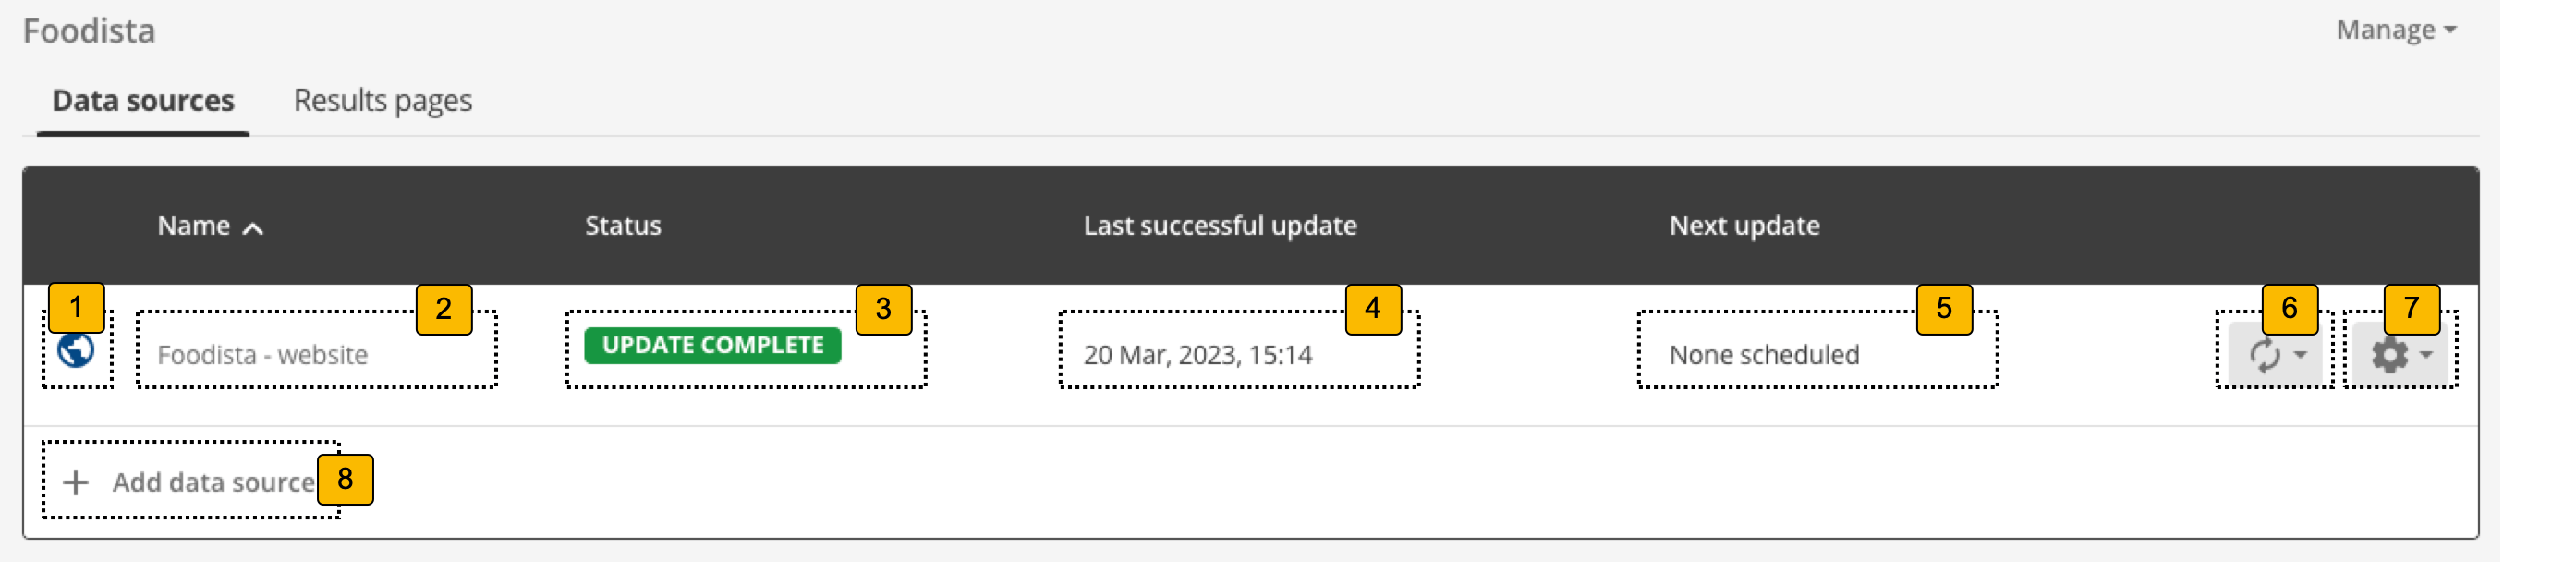
When the data source tab is selected for any search package the following information is displayed in the tab’s panel.
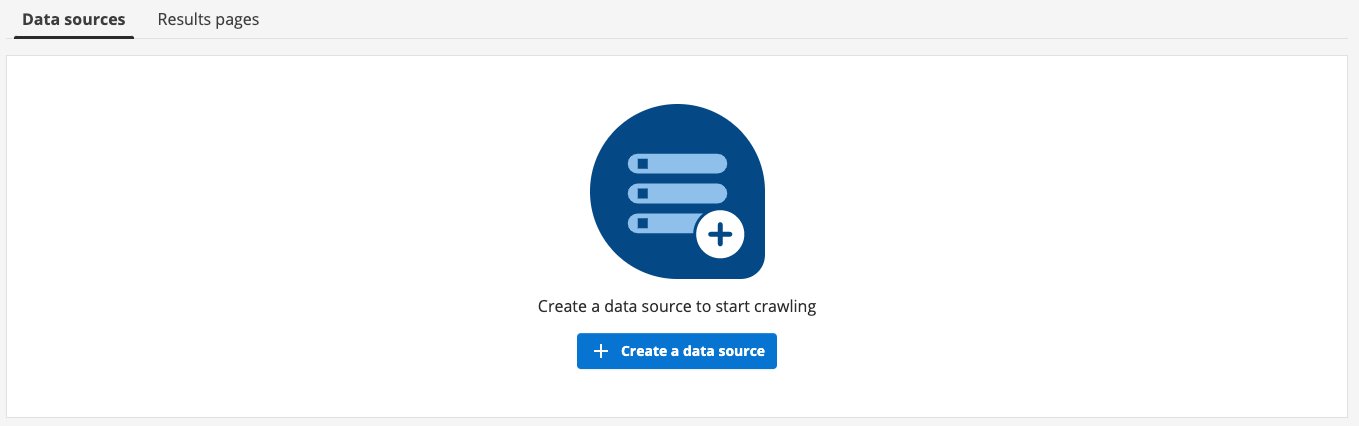
If the search package doesn’t have any data sources yet:
Clicking on the create a data source button steps through the process of creating a new search data source or attaching an existing data source to the search package.
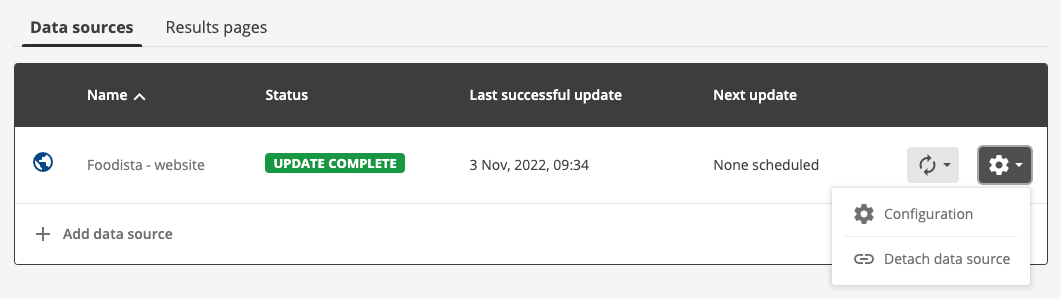
If there are any attached data sources then the following is displayed for each:
-
Icon indicating the type of data source
-
Data source name: Indicates the name of the data source. Clicking on the name opens the data source configuration screen for the data source.
-
Status: Indicates the update status of the data source.
-
Last successful update: Indicates when the last successful update of the data source ran.
-
Next update: Indicates when the next update of the data source is scheduled to occur.
-
Update menu: Clicking on this opens a menu allowing you to run, stop or schedule an update of the data source.
-
Manage menu: Clicking on this opens a menu allowing you to configure the data source (the same as clicking on the data source name 2), or to detach the data source from the search package.
-
Add data source: Clicking the add data source button opens the data source creation dialog which enables you to create a new data source or to add an existing data source to the search package. antora
Tutorial: Manage a search package’s data sources
This exercise introduces you to the data source management screen.
-
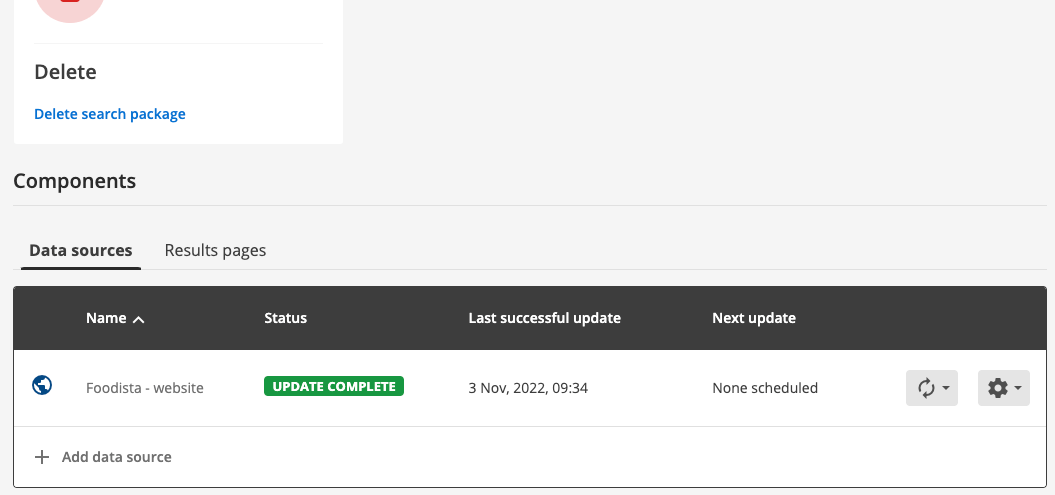
Return to the Foodista search package management screen from the previous exercise and scroll to the components section at the bottom of the screen.
-
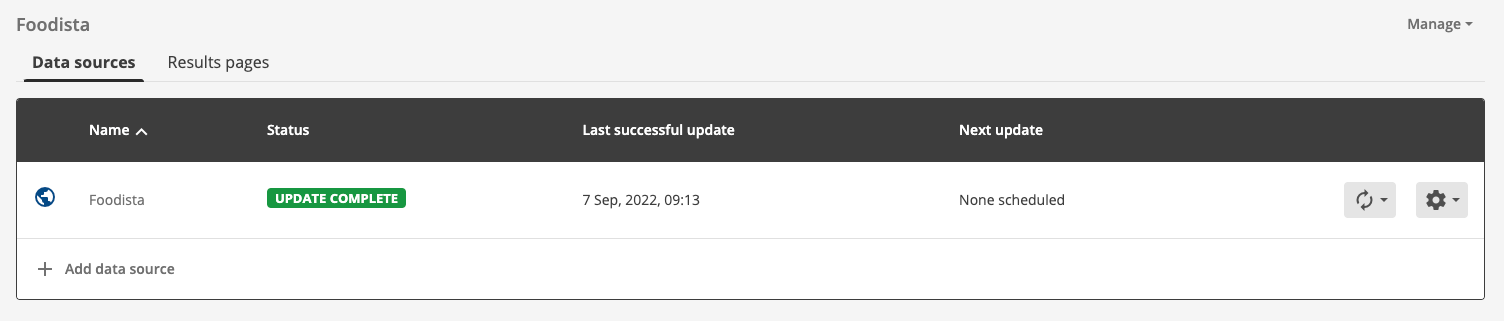
Ensure that the data sources tab is selected. The Foodista - website item that is displayed indicates that the search package contains a single web data source (called Foodista - website). Each data source that is attached to the search package is listed here.
The add data source button can be used to add or attach another data source, which will add additional content to the search package.
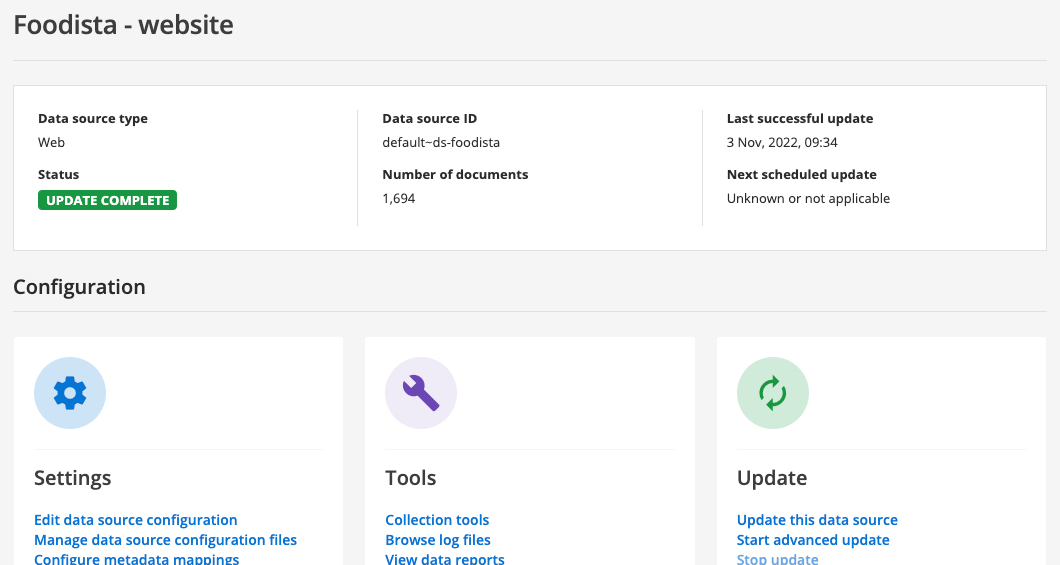
To manage the configuration for the data source either click on the data source name (Foodista - website) or select the > configuration menu item.
-
The management screen opens for the Foodista - website data source.
-
Explore the different configuration options, grouped into settings, tools, update, scheduled tasks and delete.
Search package overview - results page tab
When the results page tab is selected for any search package the following information is displayed in the tab’s panel.
If the search package doesn’t have any results pages yet:
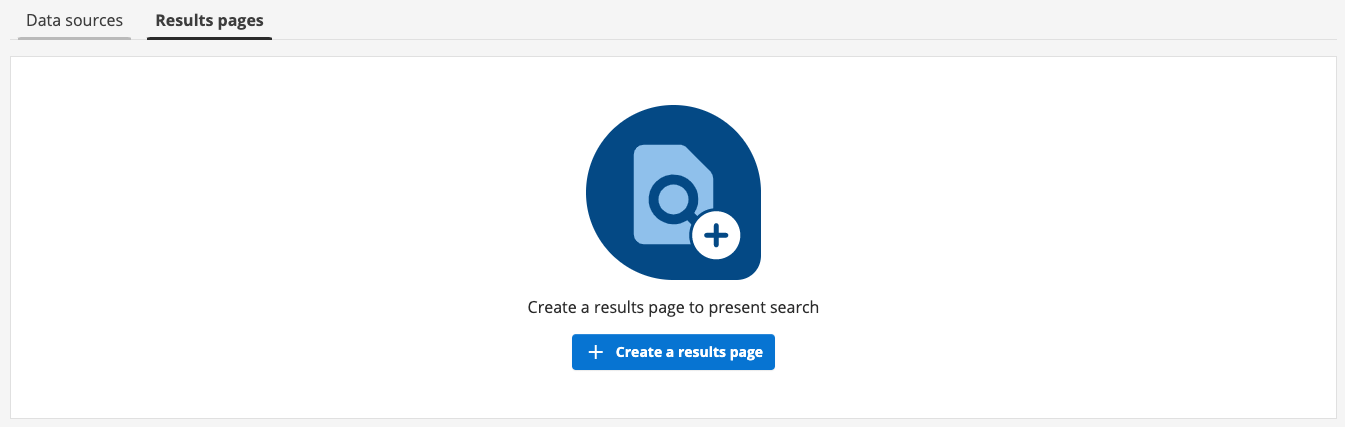
Clicking on the Create a results page button steps through the process of creating a results page.
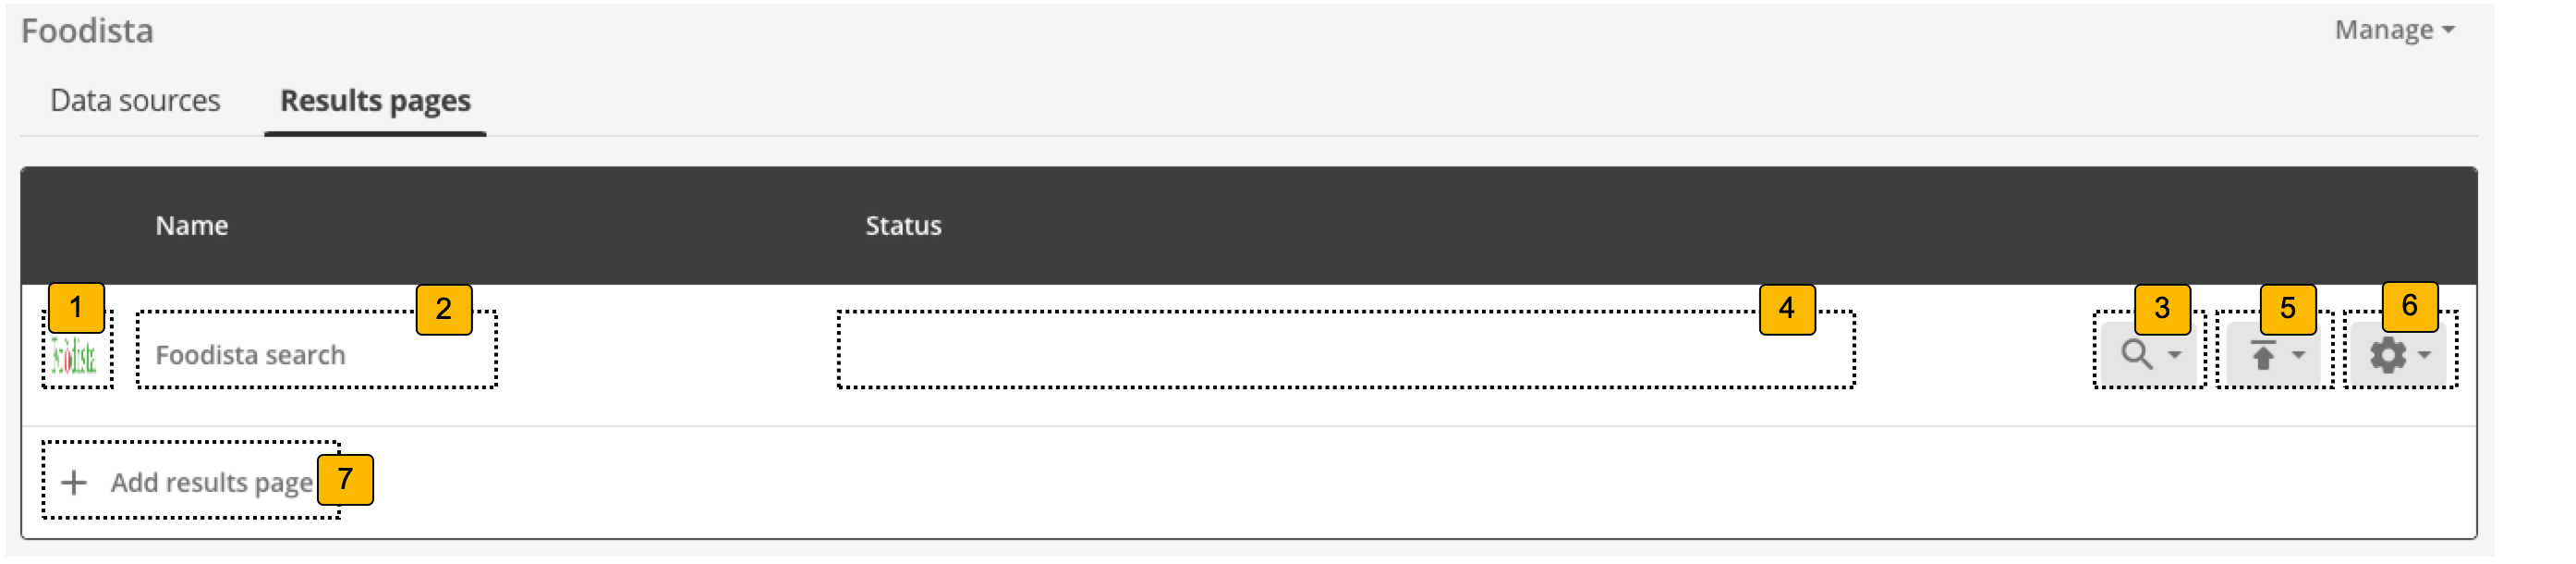
If there are any configured results pages then the following is displayed for each:
-
Icon: Displays the results page thumbnail image (if configured) or a generic results page icon.
-
Results page name: Provides access to search using the results page live or preview version.
-
Status: Indicates the current status of the results page.
-
Search menu: Indicates when the next update of the data source is scheduled to occur.
-
Publish menu: Clicking on this opens a menu that allows you to publish results page templates or web resources.
-
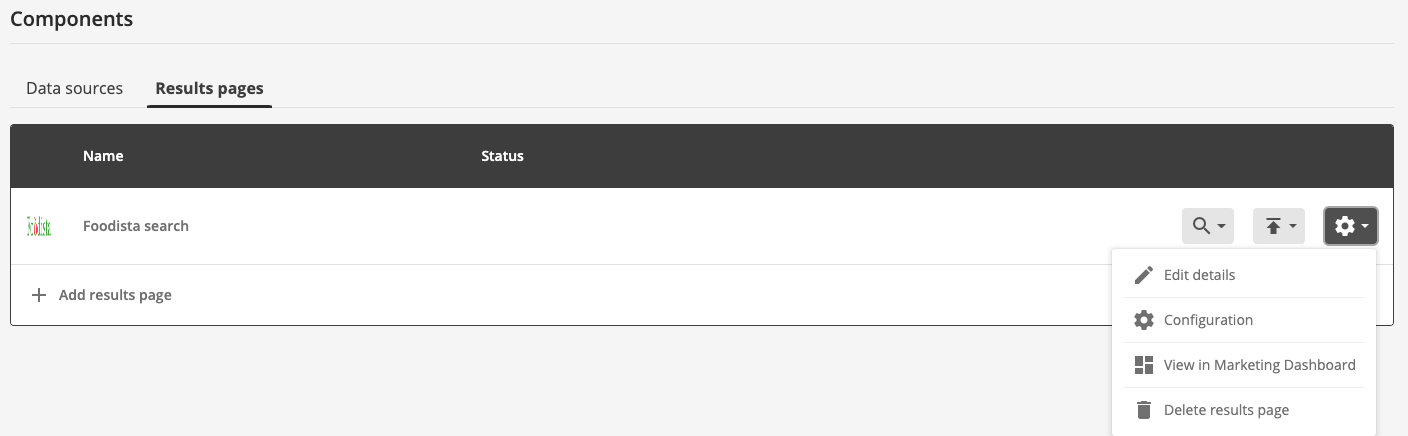
Manage menu: Clicking on this opens a menu allowing you to configure the results page (the same as clicking on the results page name 2), to open the insights dashboard for this results page or to delete the results page.
-
Add results page: Clicking the add results page button opens the results page creation dialog which enables you to create a results page for the search package.
Tutorial: Manage a search package’s results pages
This exercise introduces you to the results page management screen.
-
Return to the foodista search package management screen from the previous exercise and scroll to the components section at the bottom of the screen.

-
Ensure that the results pages tab is selected. The foodista item that is displayed indicates that the search package contains a single results page (called foodista search). Each results page that is defined for the search package is listed here.
To manage the configuration for the results page either click on the results page name (foodista search) or select the > configuration menu item.
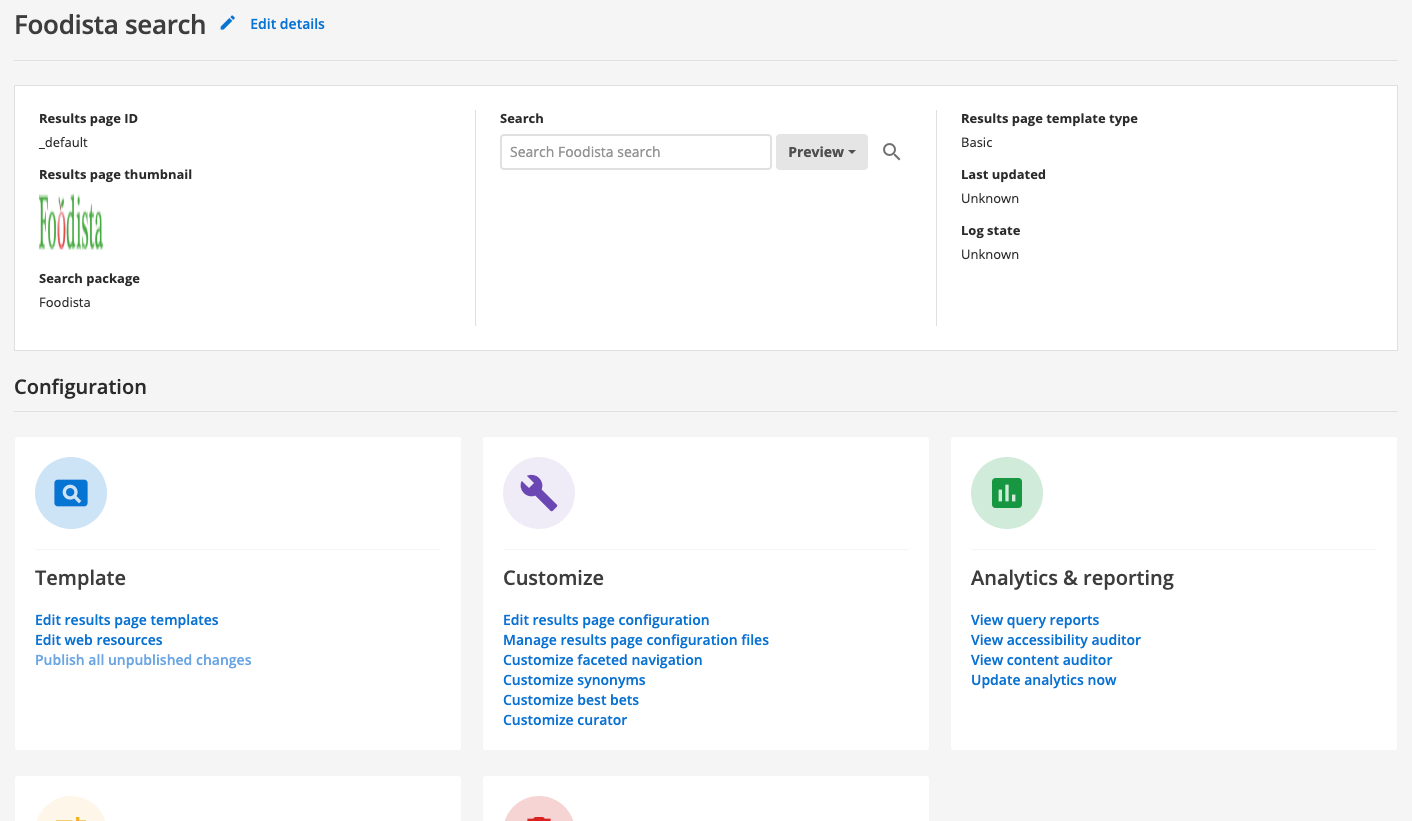
-
The data source manage screen opens for the foodista search package.
-
Explore the different configuration options, grouped into template, customize, analytics and reporting, tuning and delete.