Part 1.3: Install IntelliJ IDEA
| This is an environment setup step and is only required the first time you write a plugin on your computer. |
IntelliJ IDEA is an integrated development environment (IDE); a software application that provides a comprehensive set of tools for developing applications. By installing an IDE, developing plugins will be a lot simpler because it will assist you with writing the code you need, debugging and running tests. While you are free to develop your plugin with a different IDE, or without one, this guide uses IntelliJ IDEA for ease of development and better cross-platform support.
Prerequisites
Before using this guide ensure that you have installed Java and Apache Maven on your computer as outlined in part 1: setting up your development environment.
Downloading IntelliJ IDEA Community Edition
-
Download the community edition of IntelliJ IDEA from https://www.jetbrains.com/idea/download/. Note that you may need to scroll down the page a bit to locate the community edition download.

-
Run the installer to install it on your computer.
On the first run, it will ask you to create a project. This can be skipped as plugin development will import a project after we have generated a new plugin from a Maven archetype.
Install the Asciidoctor plugin
IntelliJ includes a vast library of plugins that can assist you with development work. After you have installed IntelliJ we recommend installing the Asciidoctor plugin, which provides a dynamic preview of your asciidoc files as you edit them. This reduces the chance of you making syntax errors when writing your documentation.
To install the AsciiDoc plugin:
-
Open the IntelliJ settings screen (select Settings… from the IntelliJ IDEA menu).
-
Search for plugins using the search box above the navigation.
-
Search for asciidoc using the search box at the top of the main panel.
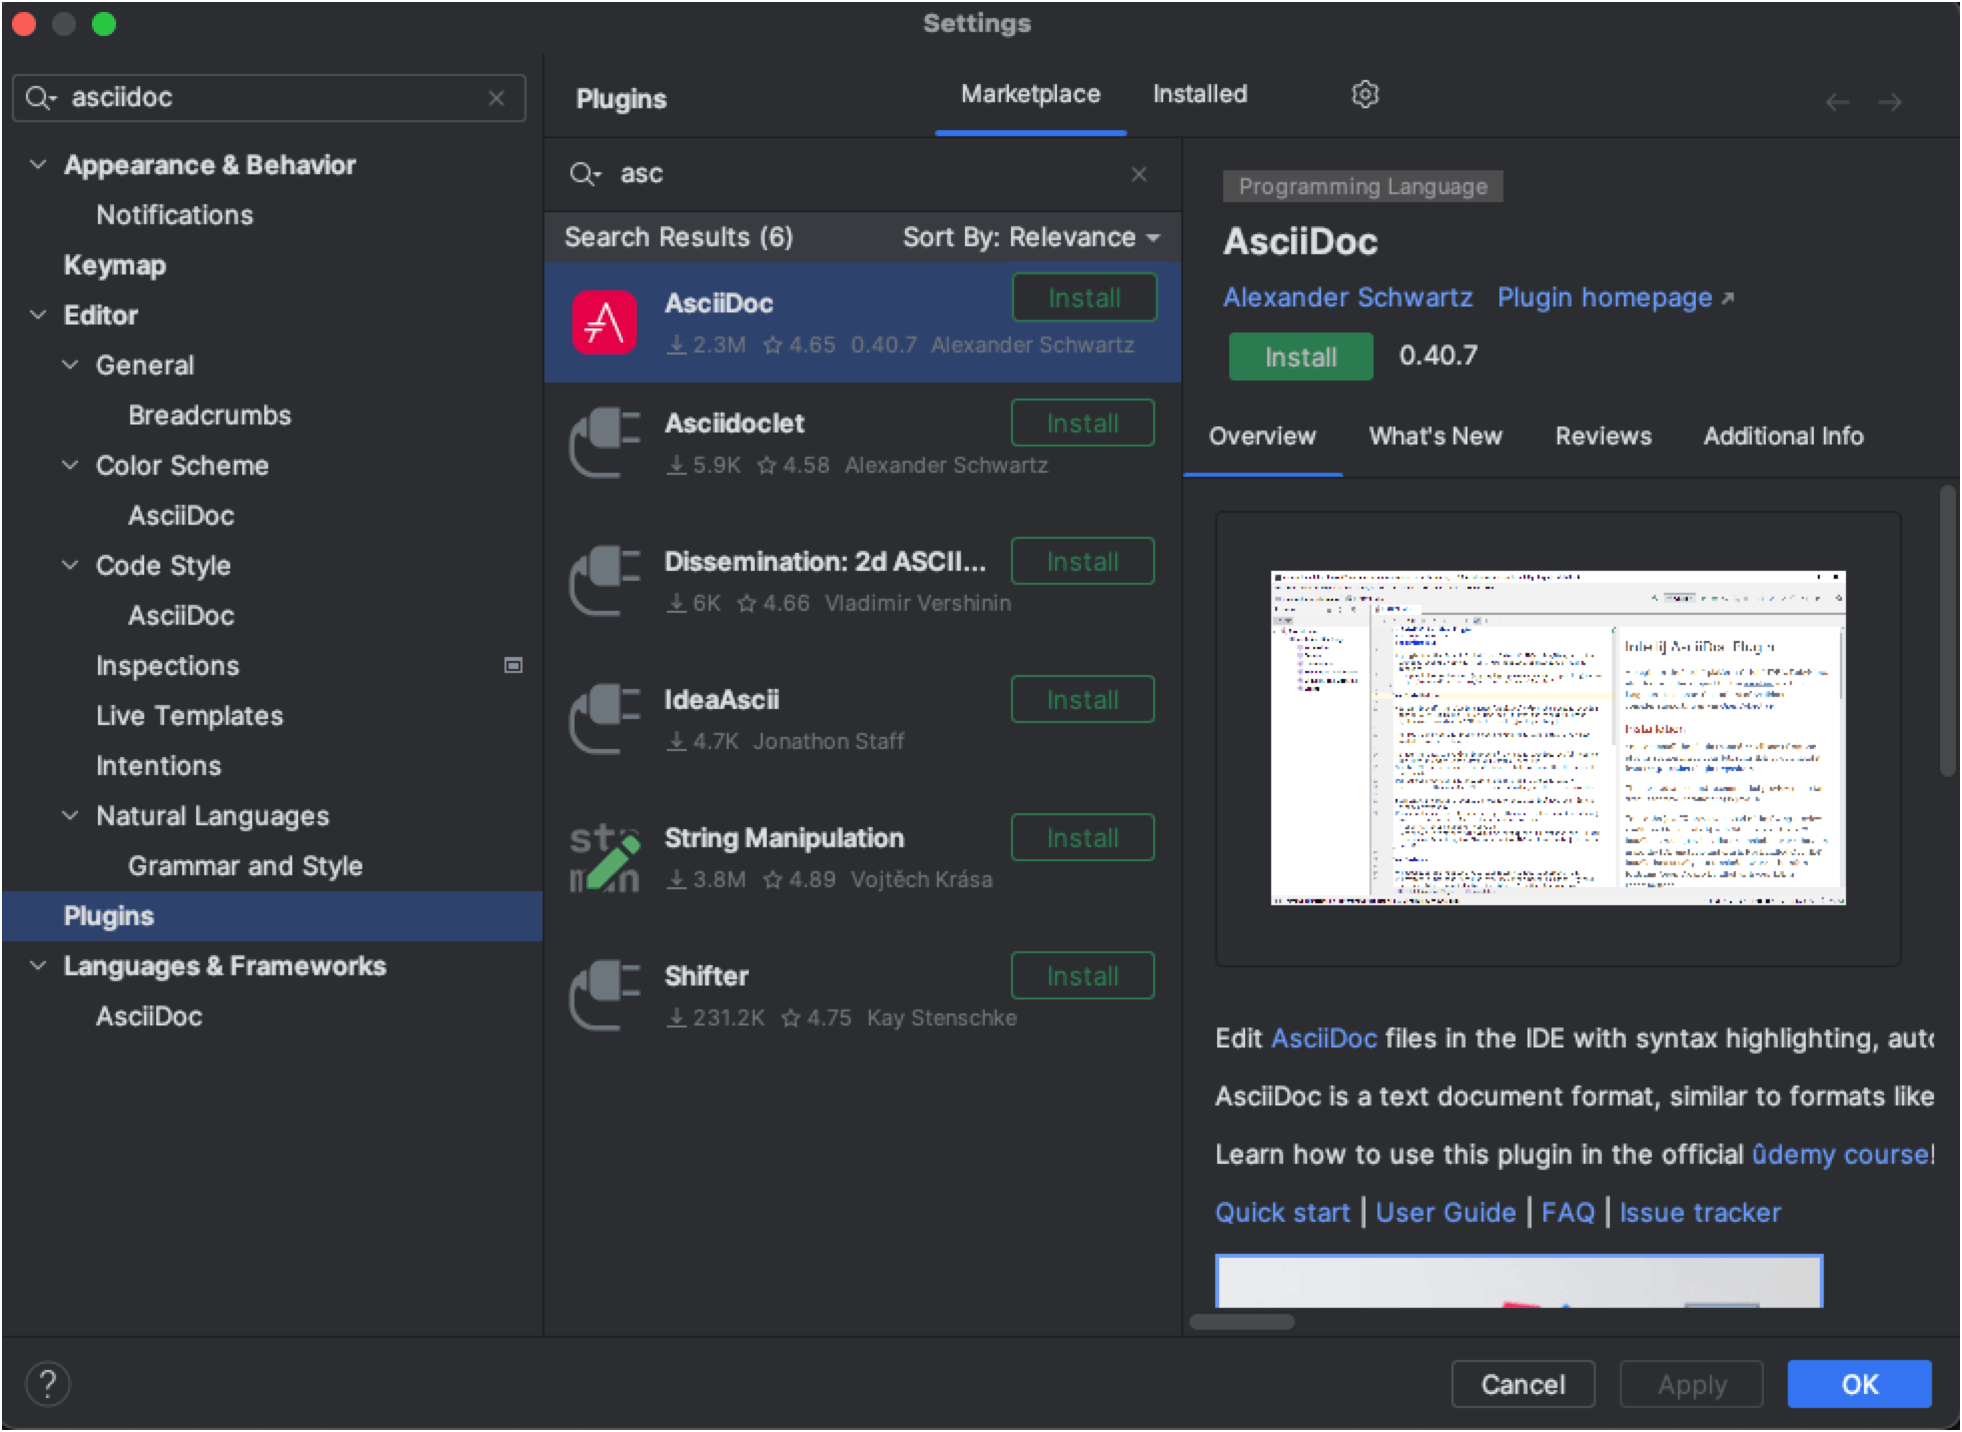
-
Click the Install button for the AsciiDoc plugin.