Part 1.2: Install Apache Maven
| This is an environment setup step and is only required the first time you write a plugin on your computer. |
Apache Maven is a tool for managing the generating, building and packaging of a project.
Maven is used to:
-
download the libraries required to interact with Funnelback
-
generate a new plugin from a Maven archetype
-
package plugins
Prerequisites
Before using this guide ensure that you have installed Java on your computer as outlined in part 1: setting up your development environment.
Download and install Apache Maven
-
Download Apache Maven from: https://maven.apache.org/download.cgi
The plugin framework is currently incompatible with Maven 3.9.x so download the latest 3.8.x version. The binary download is distributed in two different file formats. Download either as a
.zipor the.tar.gzfile.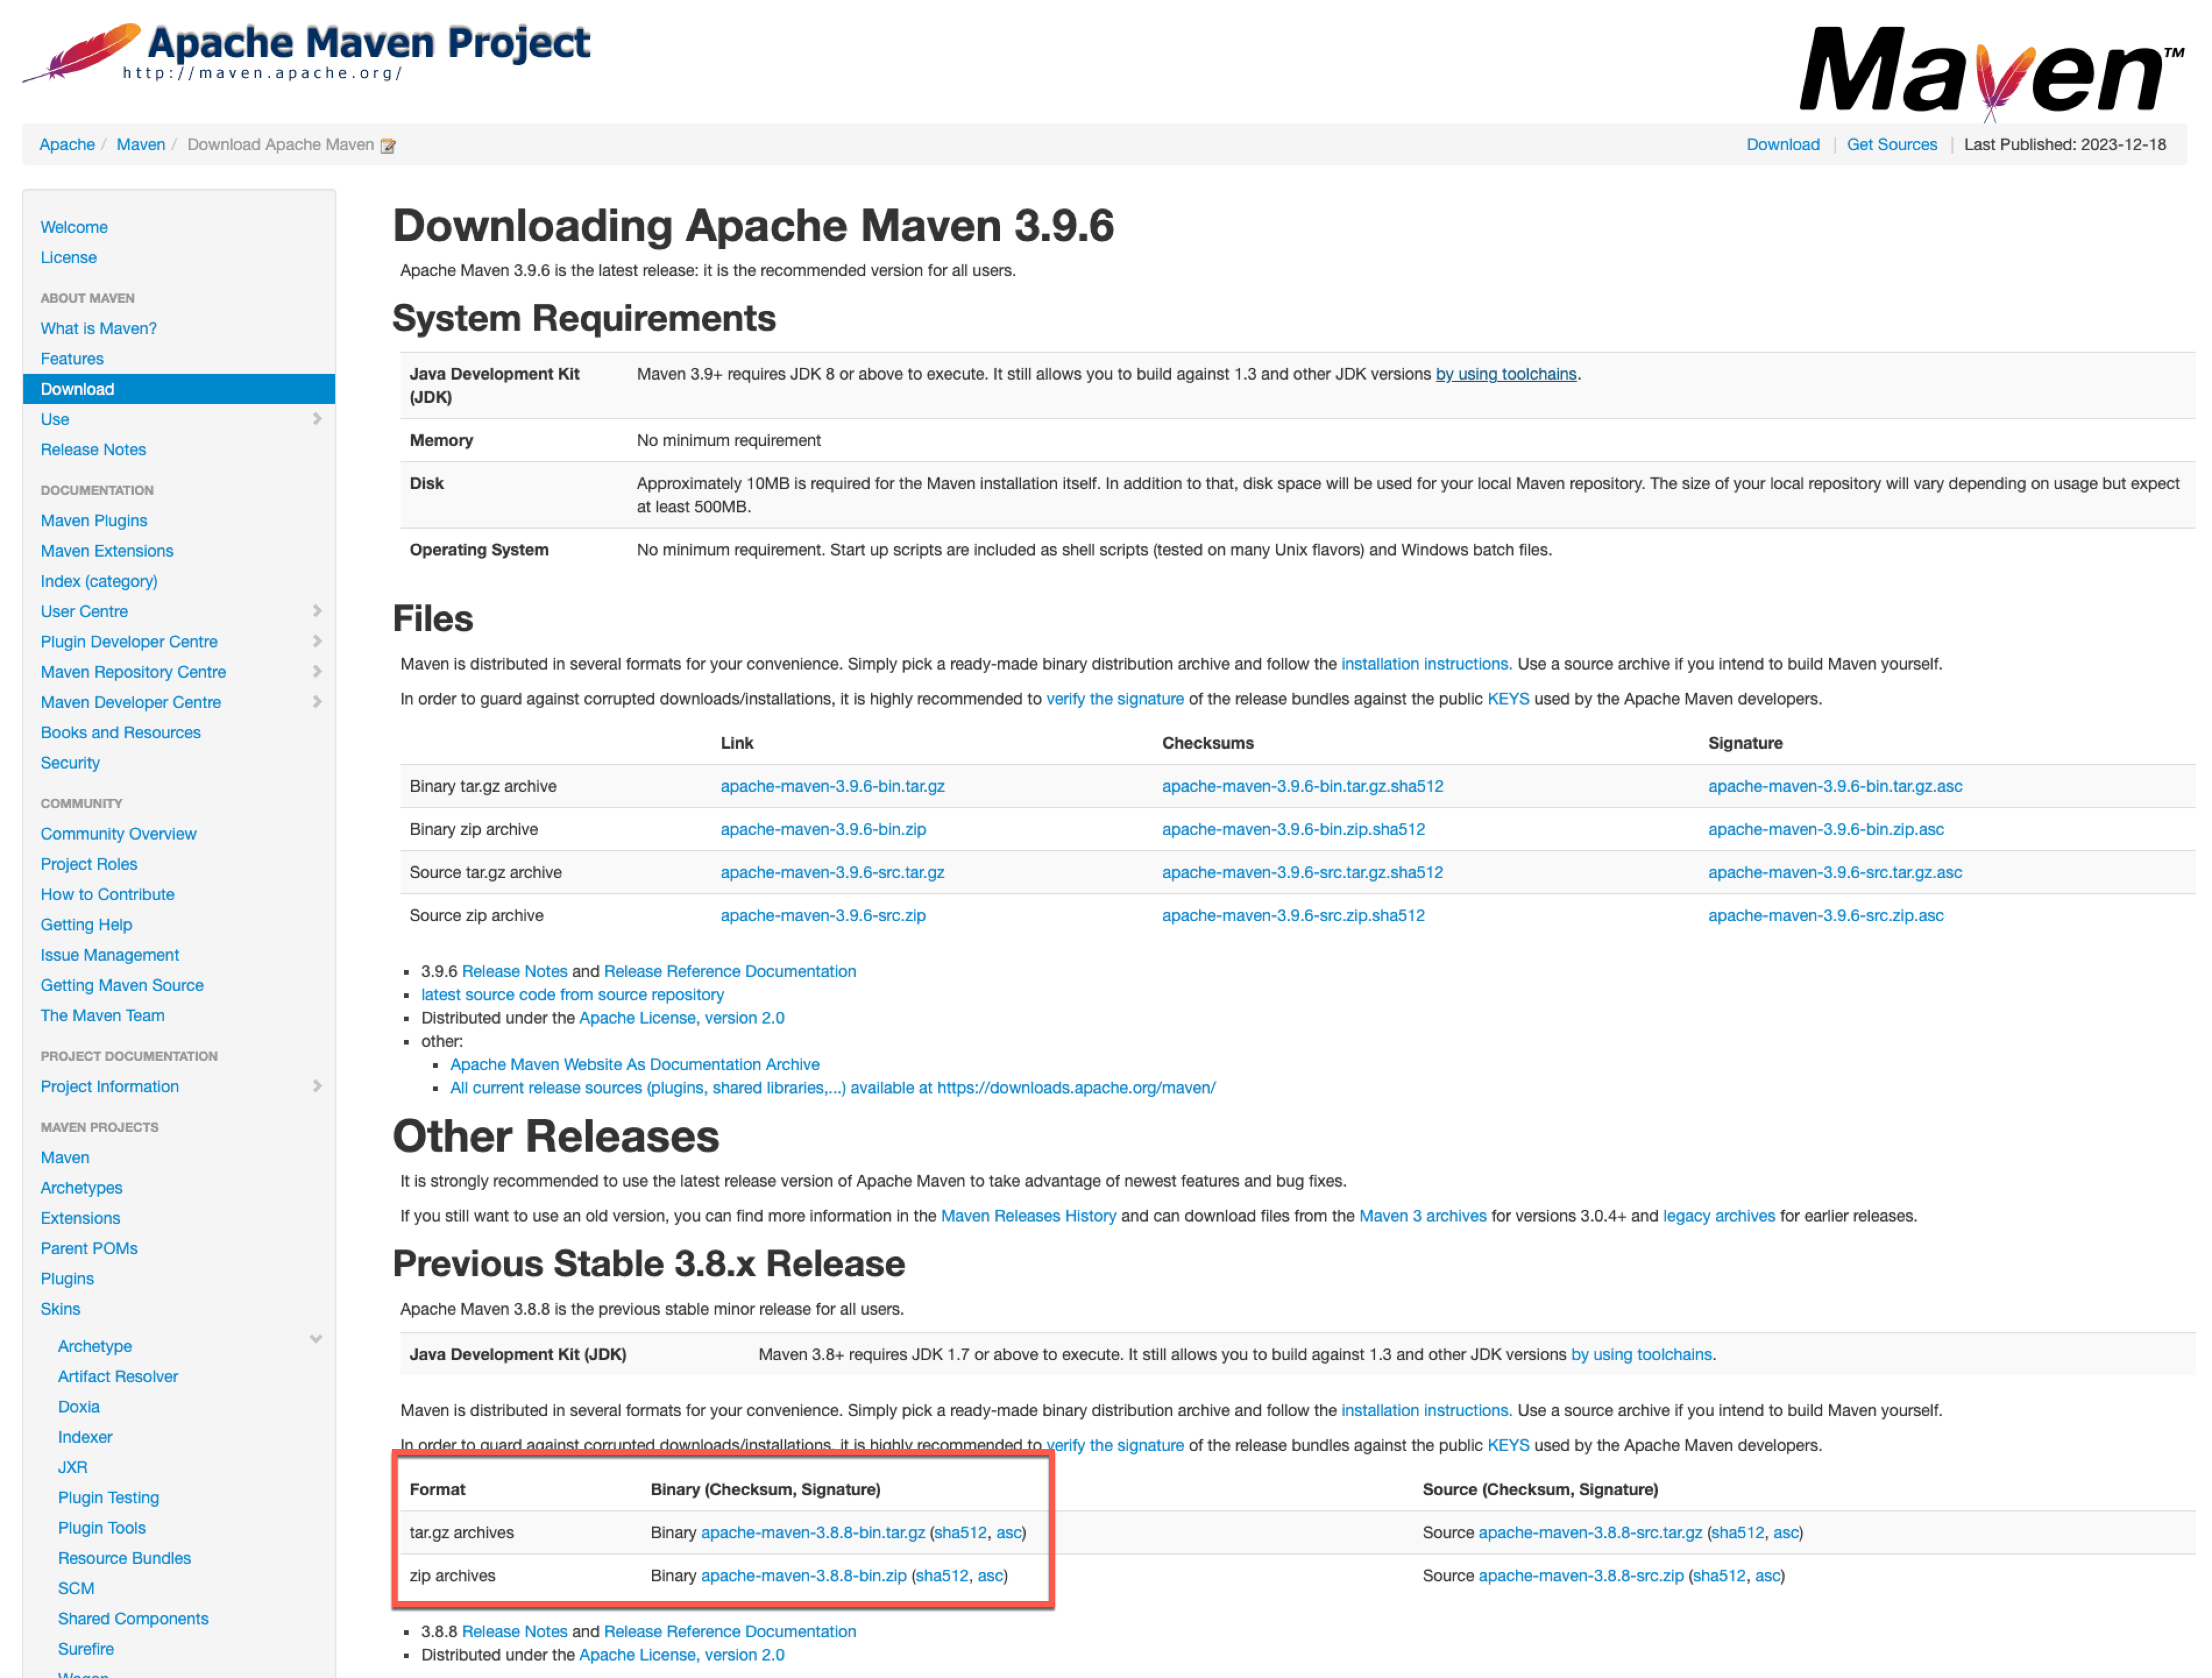
-
Install Apache Maven by following the Apache Maven installation guide.
Make sure you follow the steps to add Apache Maven to the PATHenvironment variable for your operating system. If you have upgraded Apache Maven you may need to update yourPATHenvironment variable to include the path to your bin folder of your new Maven installation.
Ensure that java is on your path
After installing Maven, it should now be available on your path.
-
Open a terminal or command prompt and run:
$ mvn --versionA message similar to the one below should be displayed if Apache Maven was successfully installed:
Apache Maven 3.8.8 (4c87b05d9aedce574290d1acc98575ed5eb6cd39)
Maven home: /Users/plevan/Documents/apache-maven-3.8.8
Java version: 11.0.21, vendor: Eclipse Adoptium, runtime: /Library/Java/JavaVirtualMachines/temurin-11.jdk/Contents/Home
Default locale: en_AU, platform encoding: UTF-8
OS name: "mac os x", version: "14.0", arch: "x86_64", family: "mac"