Custom edit layouts screen
|
Make the switch from legacy Standard Pages to Content Pages in Page Builder. Get A/B testing, Personalization, Layouts and Templates, ongoing feature improvements, and a great authoring experience compared with Standard Pages. Read the standard page and content page feature comparison page for more information. |
The Custom Edit Layouts screen lets you apply custom edit layouts to root nodes and override any custom edit layouts applied to the Custom Edit Layout Manager.
Find this screen in within the asset menu.
This ability means, for example, you can have different layouts for different sites. Read the Custom edit layouts documentation for more information about creating custom edit layouts, and using the Custom Edit Layout Manager.
Add layout
This section lets you select which asset types you want to apply a custom edit layout to.
To add a layout for an asset type:
-
Select the asset types from the list.
For example, if you have created a layout for the standard page, select Standard Page from the list.
-
An asset type list appears and opens immediately for you to make another selection.
Click away from the list to close the menu if you do not need to add subsequent asset types.
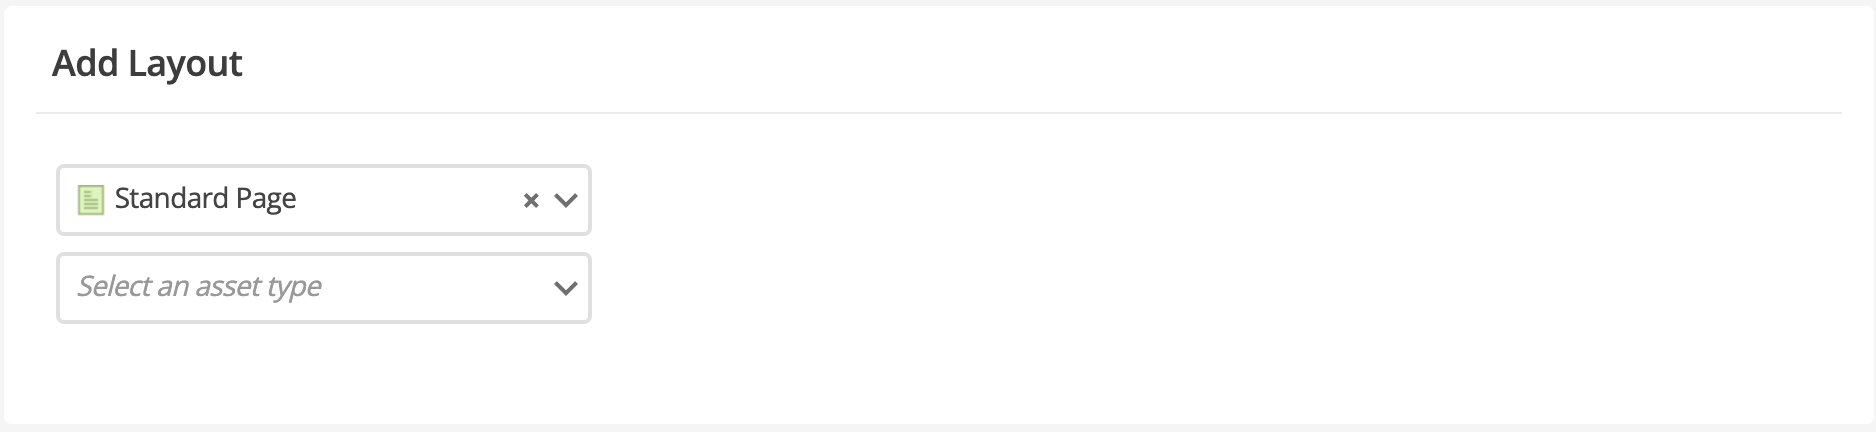 Figure 1. The Add Layout section of the Custom Edit Layouts screen
 -
Click Save once you have selected the required asset types.
Additional fields for your selected asset types appear in the Active layouts section.
Active layouts
This section lets you control which custom edit layouts apply to a particular asset type.
Once you have applied a custom edit layout, you do not need to reapply it if you change it. The custom edit interface will automatically update with the changes.
| Layout customization is inherited based on the URL of the asset. |
By default, no information will appear until you follow the steps in Add layout. Once you have saved your asset selections in the Add layout section, the Add a layout for screen option appears for each asset.
Each asset type appears with a blue heading. For example, in the Add layout steps, the standard page asset type was selected; therefore, Page standard appears in a blue heading.
To add a layout for an asset screen:
-
Click Add a layout for screen: and select the screen from the list.
-
Click Save to load the Customizations for that screen.
For example, if you have created a custom edit layout for the Details screen, select Details from the list, and click Save.
-
In the Layout field, select the asset containing the custom edit layout you want to apply to the selected screen.
-
Click Save to make the Details screen use the custom edit layout you applied.
A custom edit layout will only be visible if the asset has a design applied. Read Designs for more information about how to apply a design.
To delete a layout for an asset screen:
-
Locate the active layout’s screen that you want to remove from the list.
-
Click the Remove checkbox in the corresponding row.
-
Click Save.
To delete a layout and all its child screen customizations:
-
Locate the active layout you want to remove from the asset.
-
Click the Remove customisations for checkbox.
-
Click Save.