Step 9: Set up permissions for your editors
When you have built a template, you need to make it available to content editors to add content to the site. To do this, you need to: . Create User groups and User accounts. . Apply permissions to your site.
How permissions are assigned
A user is assigned a user asset. The level of access a user has is determined by a combination of the type of user asset, individual asset permissions, and asset statuses. Permissions, such as read, write, and admin, are granted on individual assets and granted to user or group assets. The status of an asset, such as Under Construction, Live, or Safe Edit, affects permissions differently for different user types. For example a user needs to have at least write access to a permission, and be a content editor or backend user, to see unpublished draft content.
Permissions for content editors
To assign permissions specifically for content editors:
-
Create a group called Content editors.
-
Add Content editor users to the Content editors group.
-
Grant them either Write or Admin access to your pages.
-
Granting Write will allow them to edit existing pages.
-
Granting Admin will allow them to add, delete, and change the status of pages.
-
Set up basic content editor permissions
You can control access by applying user groups to specific subsets of the site.
-
Create a new folder under the Configuration folder. Call it
Users. -
Create a new user group called
Content editors.-
Right-click on the Users folder.
-
Go to .
-
Enter Content Editors in the Group Name field.
-
Select [Create].
-
-
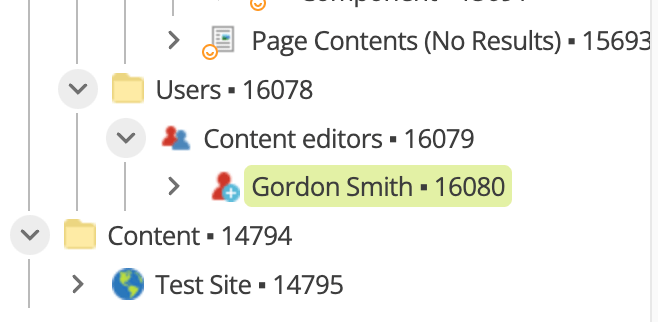
Create a new Content editor user asset in the Content editors user group.
-
Right-click on the Content editors asset.
-
Go to .
-
Enter
FirstUseras the Username. -
Enter
123fghas the password, and enter again to confirm. -
Enter
Gordonas the first name. -
Enter
Smithas the last name. -
You do not need to supply an email address.
-
Select Create.
-
| You can use any user ID, password, and name combination for testing purposes. |
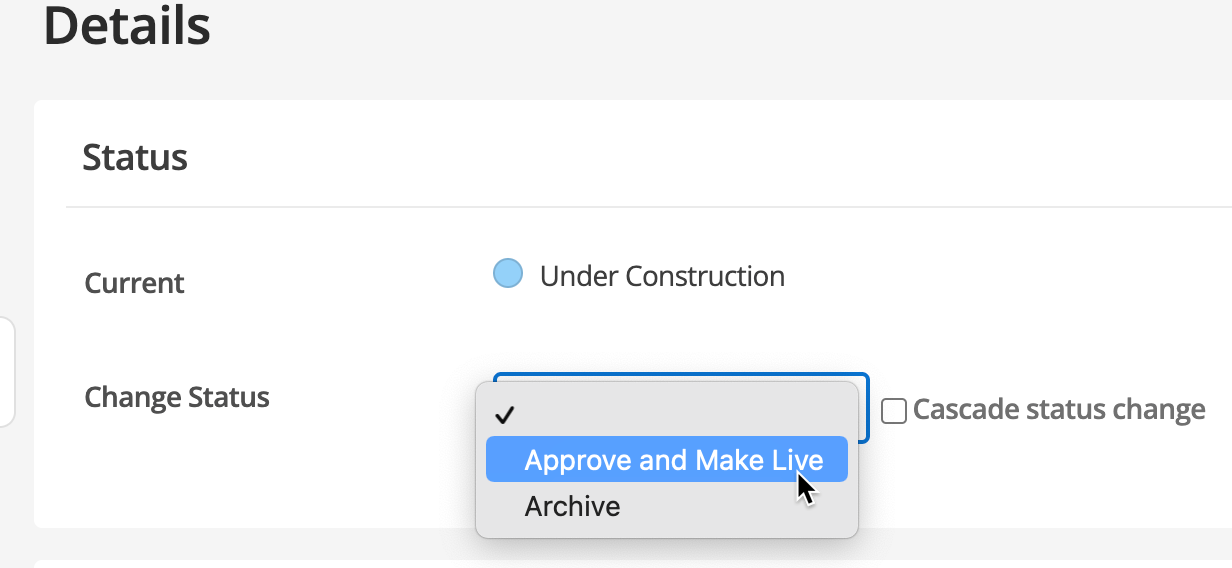
Make your user live
Users need to be live before they can log in. To make the user live:
-
Go to the Details screen for the user you have just created.
-
Select Approve and make live from the Change Status drop-down.
-
Click Save.
-
Click the user asset in the asset tree. You will see that it is highlighted green, which is the color code for live.
-
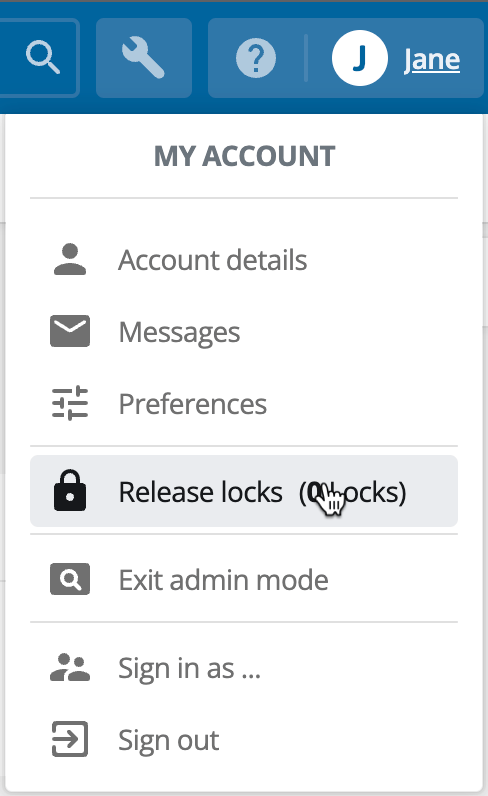
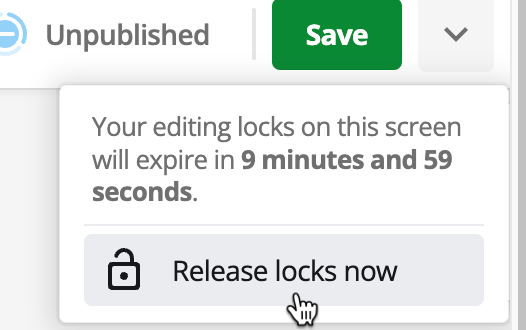
Release the locks on the asset.
|
You can release locks on an asset in two ways:
|
Test your permissions changes
Sign-in as the newly-created content editor in another browser window. Use incognito mode because you are already logged in to your Squiz Content Management instance.
-
Copy the URL of your Squiz Content Management instance. Include the
/_admin/suffix. -
Paste it into your incognito window.
-
Sign in as the user you have just created.
You should see that the new content editor has few or no permissions on the asset tree.
Give partial admin permission to the user
You can control how much of a site a user has access to. In this example, the newly-created user will be given write permission to the site that contains the content but not access to the Configuration folder. This means they can create and edit pages but not edit global includes such as headers and footers.
Grant admin permission to the site
-
Right-click on the site asset.
-
Go to .
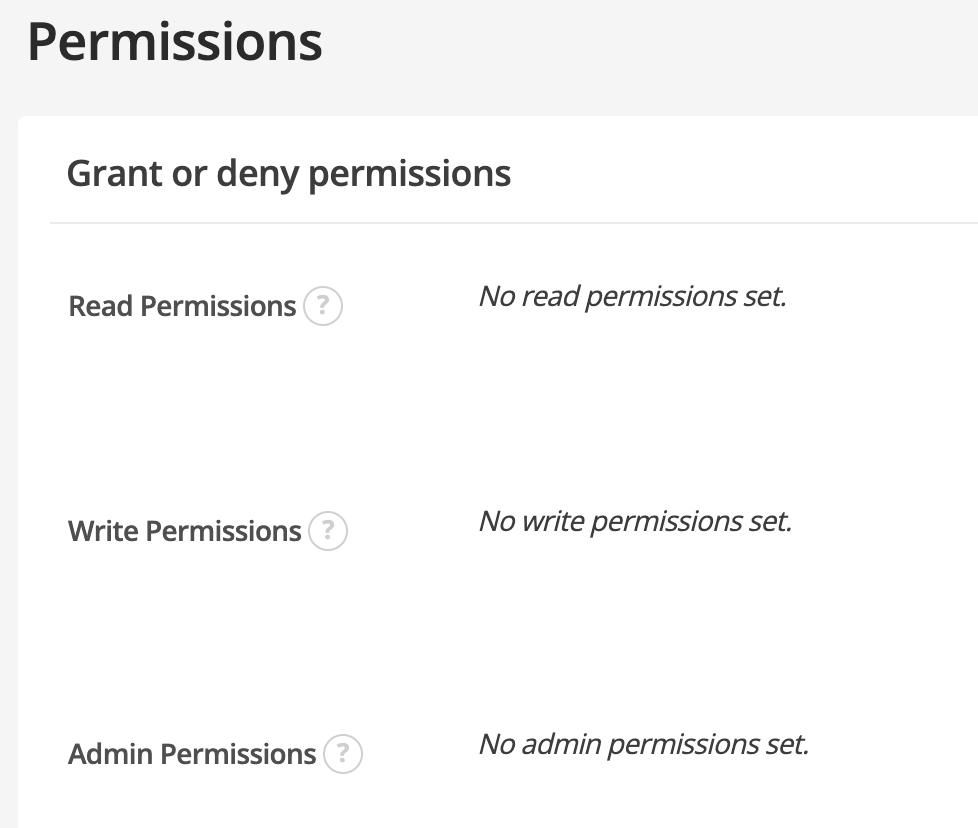
There are no permissions granted.
-
Click Save.
-
Grant admin permissions to the content editors group:
-
Select Add admin permission.
-
Make sure the TYPE field says
Grant. -
Enter the asset ID of the Content editors group to the USER/GROUP field, or use the asset picker.
-
Make sure that the CASCADE check box is checked.
-
Click Save.
-

The permission changes will cascade through your site. Wait for the HIPO job to finish. This may take a few minutes.
Grant write permissions to necessary folders
You must also grant write permission to your editors for any folders higher in the asset tree than your site, so they can access them in the tree.
|
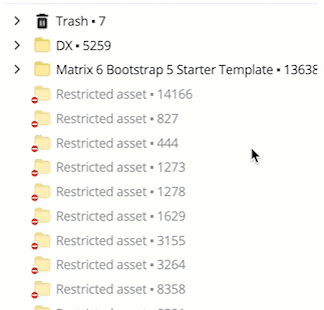
The top-level folder may be many levels above your site. You need to go back up to the level above your site that does not have any folders above it in the hierarchy. On the image below, the top-level folder is the folder called DX, asset number 5259. 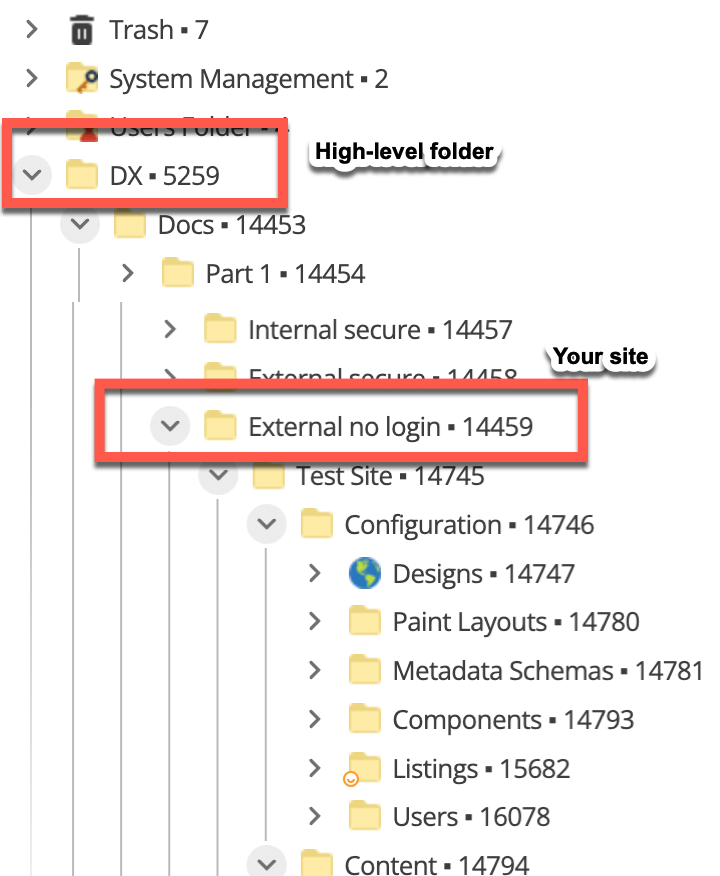
|
-
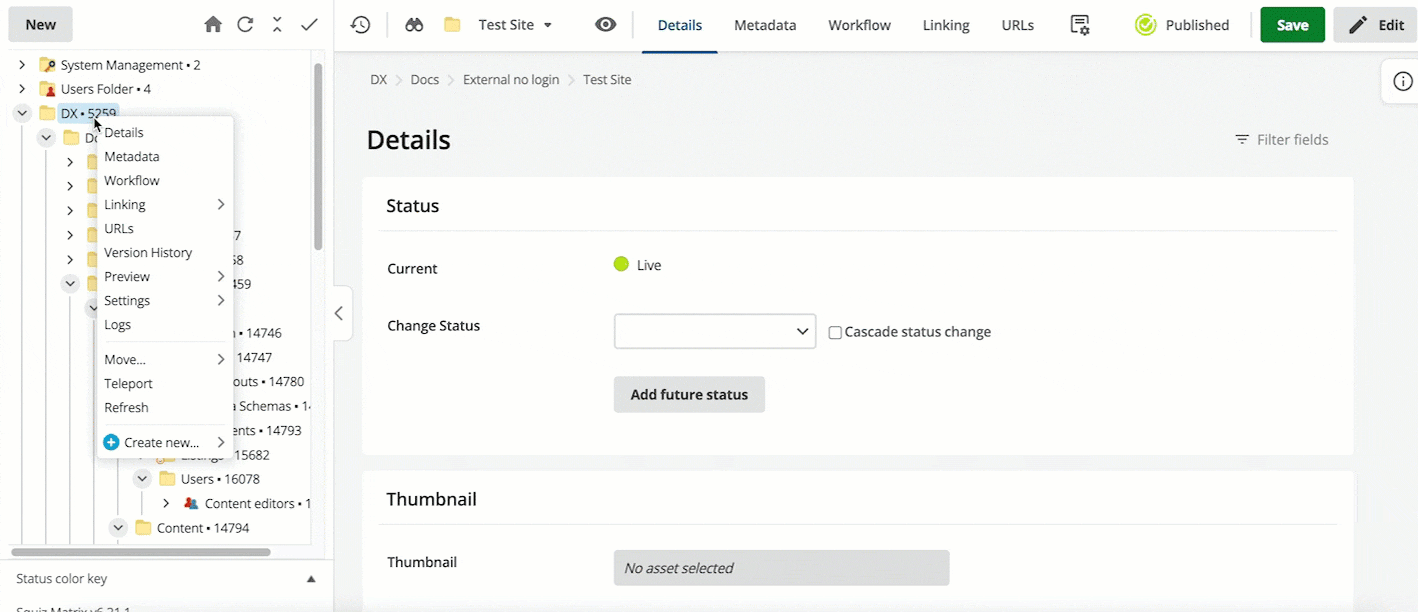
Right-click on your top-level folder asset.
-
Go to .
-
Click Save.
-
Grant write permission to your content editor group:
-
Select Add write permission.
-
Make sure the TYPE field says
Grant. -
Enter the asset ID of the Content editors group to the USER/GROUP field, or use the asset picker.
-
Make sure that the CASCADE check box is checked.
-
Click Save.
-
The permission changes will cascade through your site. Wait for the HIPO job to finish. This may take a few minutes.
Test your permissions changes
Log in as a test content editor in another browser window. Use incognito mode because you are already logged in to your Squiz Content Management instance.
-
Copy the URL of your Squiz Content Management instance. Include the
/_admin/suffix. -
Paste it into your incognito window.
-
Sign in as the user you have just created.
You will see that access has been granted and cascaded underneath the top-level folder.
|
If you do not want to grant write access to the whole section of the tree, you can grant write access to the individual folders and uncheck the cascade checkbox. This will provide write access to the specific folders from the top level down to the site in question. This will allow the content editors to access the available folders in admin mode and create new folders, however won’t allow them to edit content in every sub folder of the tree. See: Asset permissions screen for more information about cascading permissions. |
Invite content editors
You can now invite content editors to your Content editor group.
-
Create a Content editor user account.
-
Enter a username, name, and password
-
Right-click on the new content editor user account.
-
Select Details.
-
Click Save.
-
On the Change Status field, select Approve and make live from the drop-down list.
-
Click Save.
-
Release the locks on the asset.
-
Add the content editor to the Content editor group.