Single calendar event
A single calendar event allows you to create an event that only occurs once. This event can then be displayed on a calendar page.
| The status of a single calendar event must be live for it to appear on a calendar page. |
Adding a single calendar event
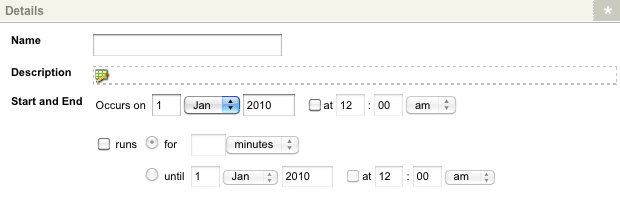
When you add a new single calendar event, the create new single calendar event screen will appear. The details section of the screen is shown in the figure below.

Enter the following details for the single calendar event asset:
- Name
-
Enter a name for the event. This name will be displayed on the calendar page.
- Description
-
Enter a description for the event. Click on the
 icon.
The WYSIWYG editor will appear where you can enter the information.
 - Start and end
-
Enter the date and time of the event. The fields available are as follows:
- Occurs on
-
Enter the date of the event. By default, the current date will appear in this field.
- At
-
To enter a start time for the event Select the At box. The time fields will become enabled where you can enter the start time.
- Runs
-
To enter a finishing time for the event:
-
Select the Runs box
-
The For and Until fields will become enabled.
-
Complete one of these fields with either the duration in the For field or an end date and time in the Until fields.
-
Click Save The single calendar event will appear in the asset map on the left-hand side of the screen.
-
You can configure the settings of a single calendar event its associated asset screens. The majority of these screens are the same as (or similar to) those for a standard page. Read the Asset screens documentation for more information about the common screens shared across most Matrix asset types.
This chapter will describe the Details screen, which is different for a single calendar event.
Details screen
The Details screen allows you to reconfigure the details for the single calendar event. Read the Asset details screen documentation for more information about the status, future status, and thumbnail sections of the Details screen.
Details
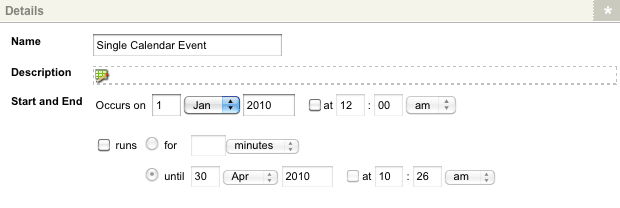
This section allows you to change the details of the event. The details section of the Details screen is shown in the figure below.

By default, the information that was entered when the event was created will appear in this section.
For more information on these fields, refer to the Adding a single calendar event section above.