Step 6: Add paint layouts
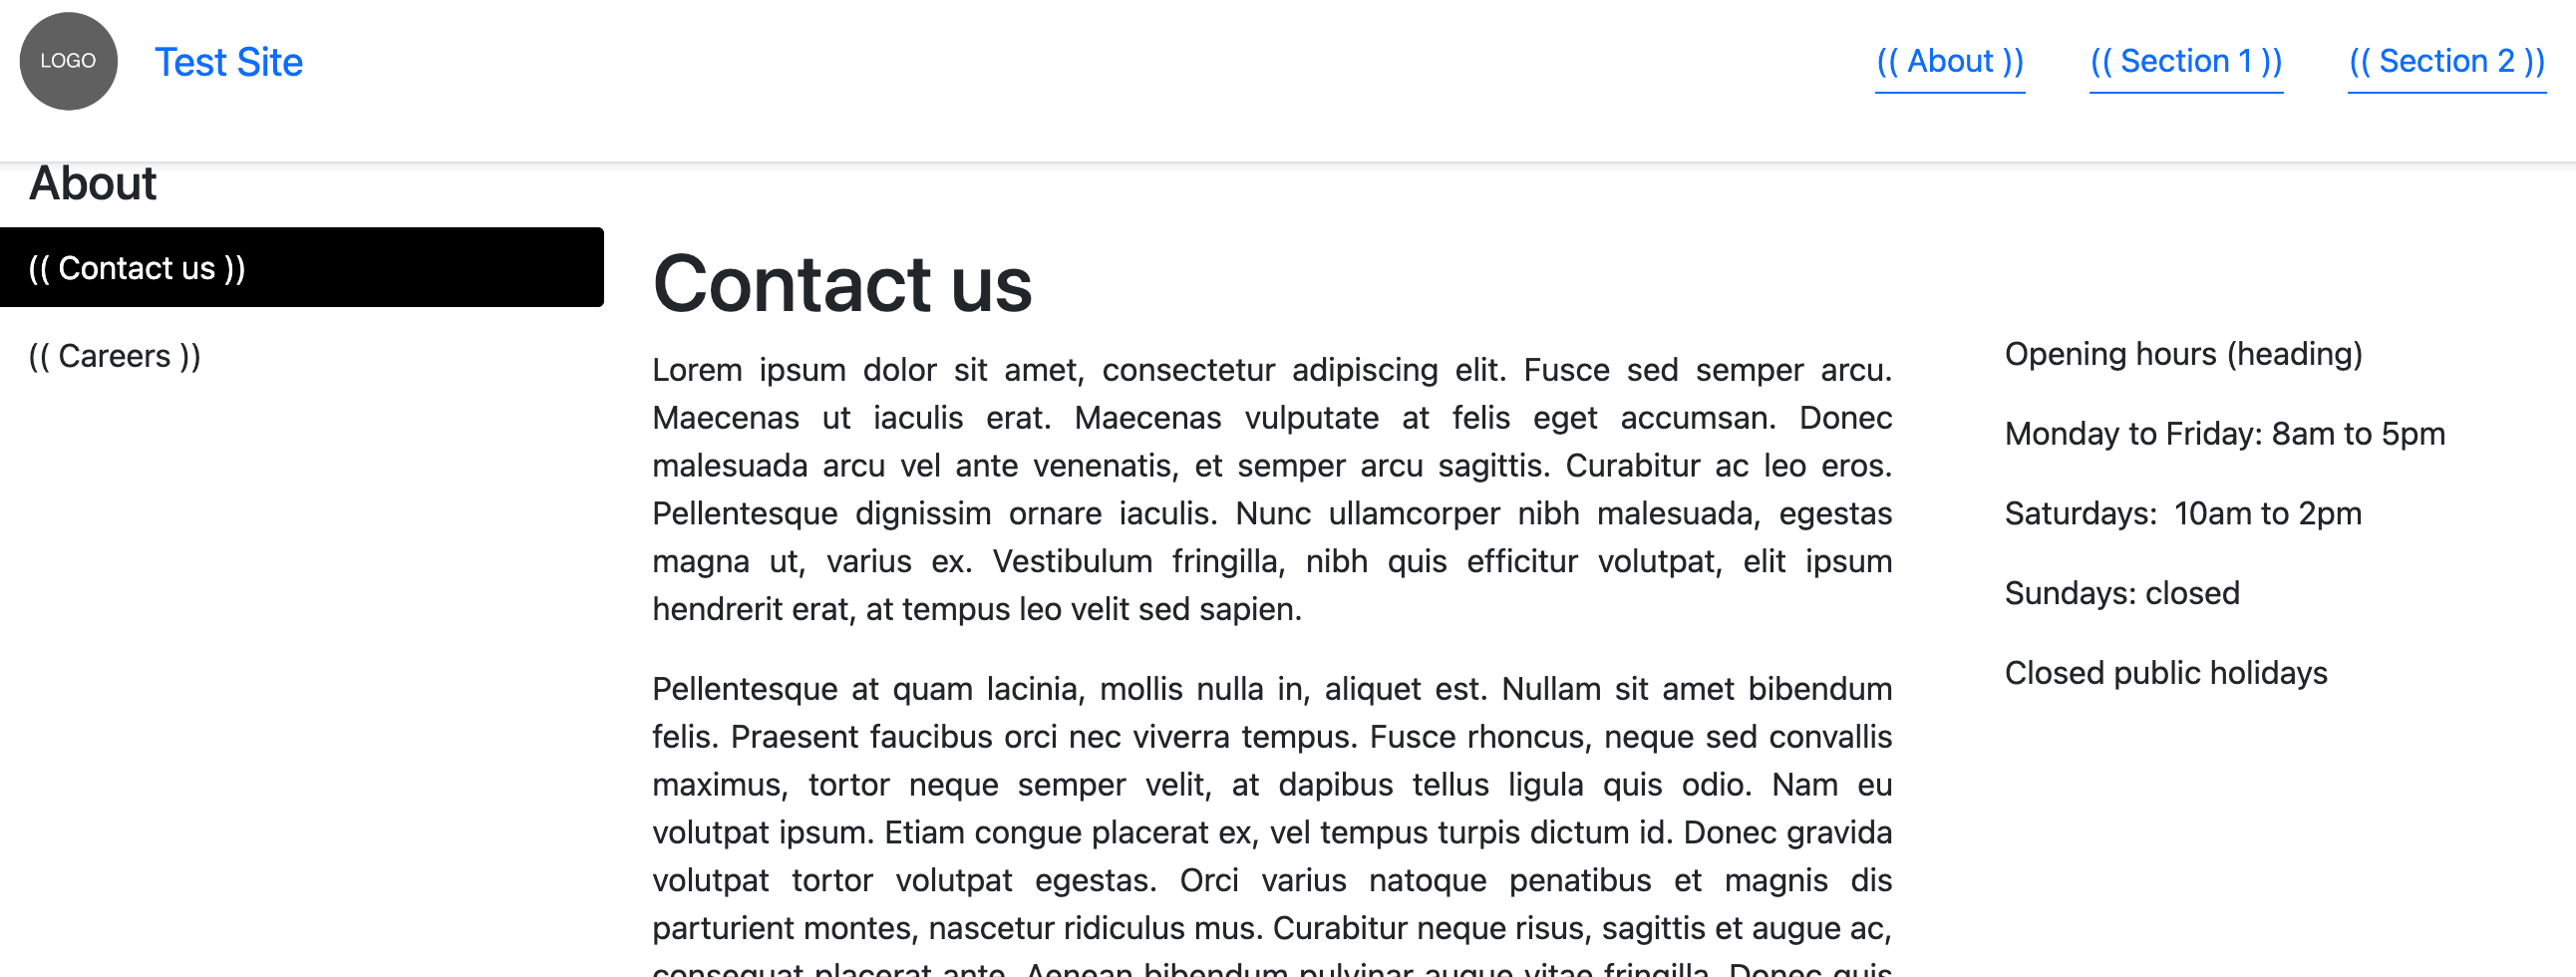
Paint layouts are used as the inner template of a page. They allow more fine-grained control of the layout of inside pages. In this part of the tutorial, you will set up a global paint layout for the site that allows content editors to control whether the heading and right column are printed on the page.
Create a paint layout
-
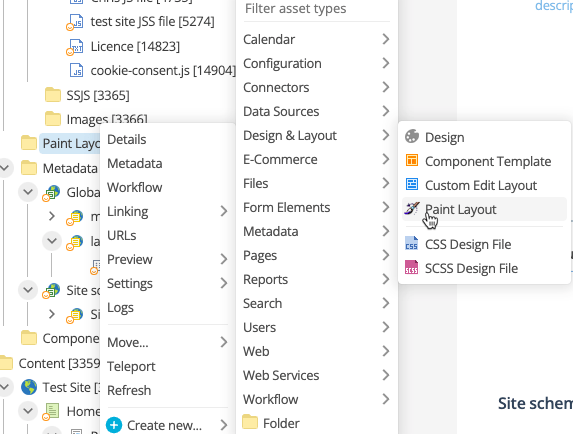
In the paint layouts folder, create a paint layout called global paint layout:
-
Right-click on the paint layouts folder.
-
Select .
-
Enter the name
global paint layout. -
Select Create.
-
-
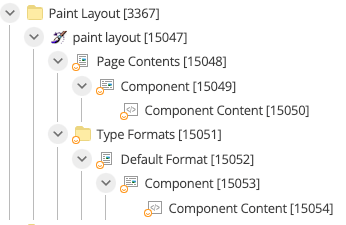
Expand the paint layout asset:
-
Add the following code to the Default Format asset in the Type Formats folder:
<div class="main-column mx-4">
%begin_asset_metadata_show-heading% (1)
<h1>%asset_name%</h1>
%end_asset_metadata_show-heading% (1)
%asset_contents%
</div>
%begin_asset_metadata_right-col%
<div class="right-column"> (2)
%asset_metadata_right-col-include^as_asset:asset_contents_raw%
</div>
%end_asset_metadata_right-col%| 1 | The %begin_ and %end_ keywords are conditional statements.
The HTML code between them will only be printed if the metadata value evaluates to true, i.e. the metadata contains a string other than ‘0’.
Read Conditional Keywords for more information. |
| 2 | The right column is only shown if the right-col metadata field is set to yes.
It then uses a keyword modifier and nested keyword to print the contents of the right-col-include asset in the paint layout. |
Using paint layouts
Paint layouts can be applied in various ways, depending on your requirements. You can configure your site to use one paint layout for the landing page and a different paint layout for inside pages. For more information about how you can use paint layouts, see the following:
This example uses a basic site-wide paint layout.
Apply your paint layout
You must apply the paint layout to the site.
-
Right-click on the site asset.
-
Select .
-
Scroll to the Effective paint layouts section.
-
Enter the asset ID of the global paint layout into the Paint layout field, or use the asset picker function.
-
Click Save.
Create a right column include
To test the paint layout functionality, you must first create some content:
-
Create a new standard page called Opening hours in the design nesters folder.
-
Add the following content:
Opening hours

Monday to Friday: 8am to 5pm

Saturdays:  10am to 2pm

Sundays: closed

Closed public holidays
-
Click Save
This content will be used to test the right column on/off metadata tag.
Test your paint layout functionality
-
Test your site in a browser using one of two ways:
-
Copy the URL from the site asset and paste it into a browser.
OR
-
Right-click on the site asset and select .
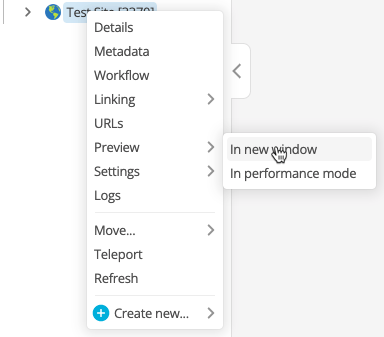
You will see your site in the new tab.
-
-
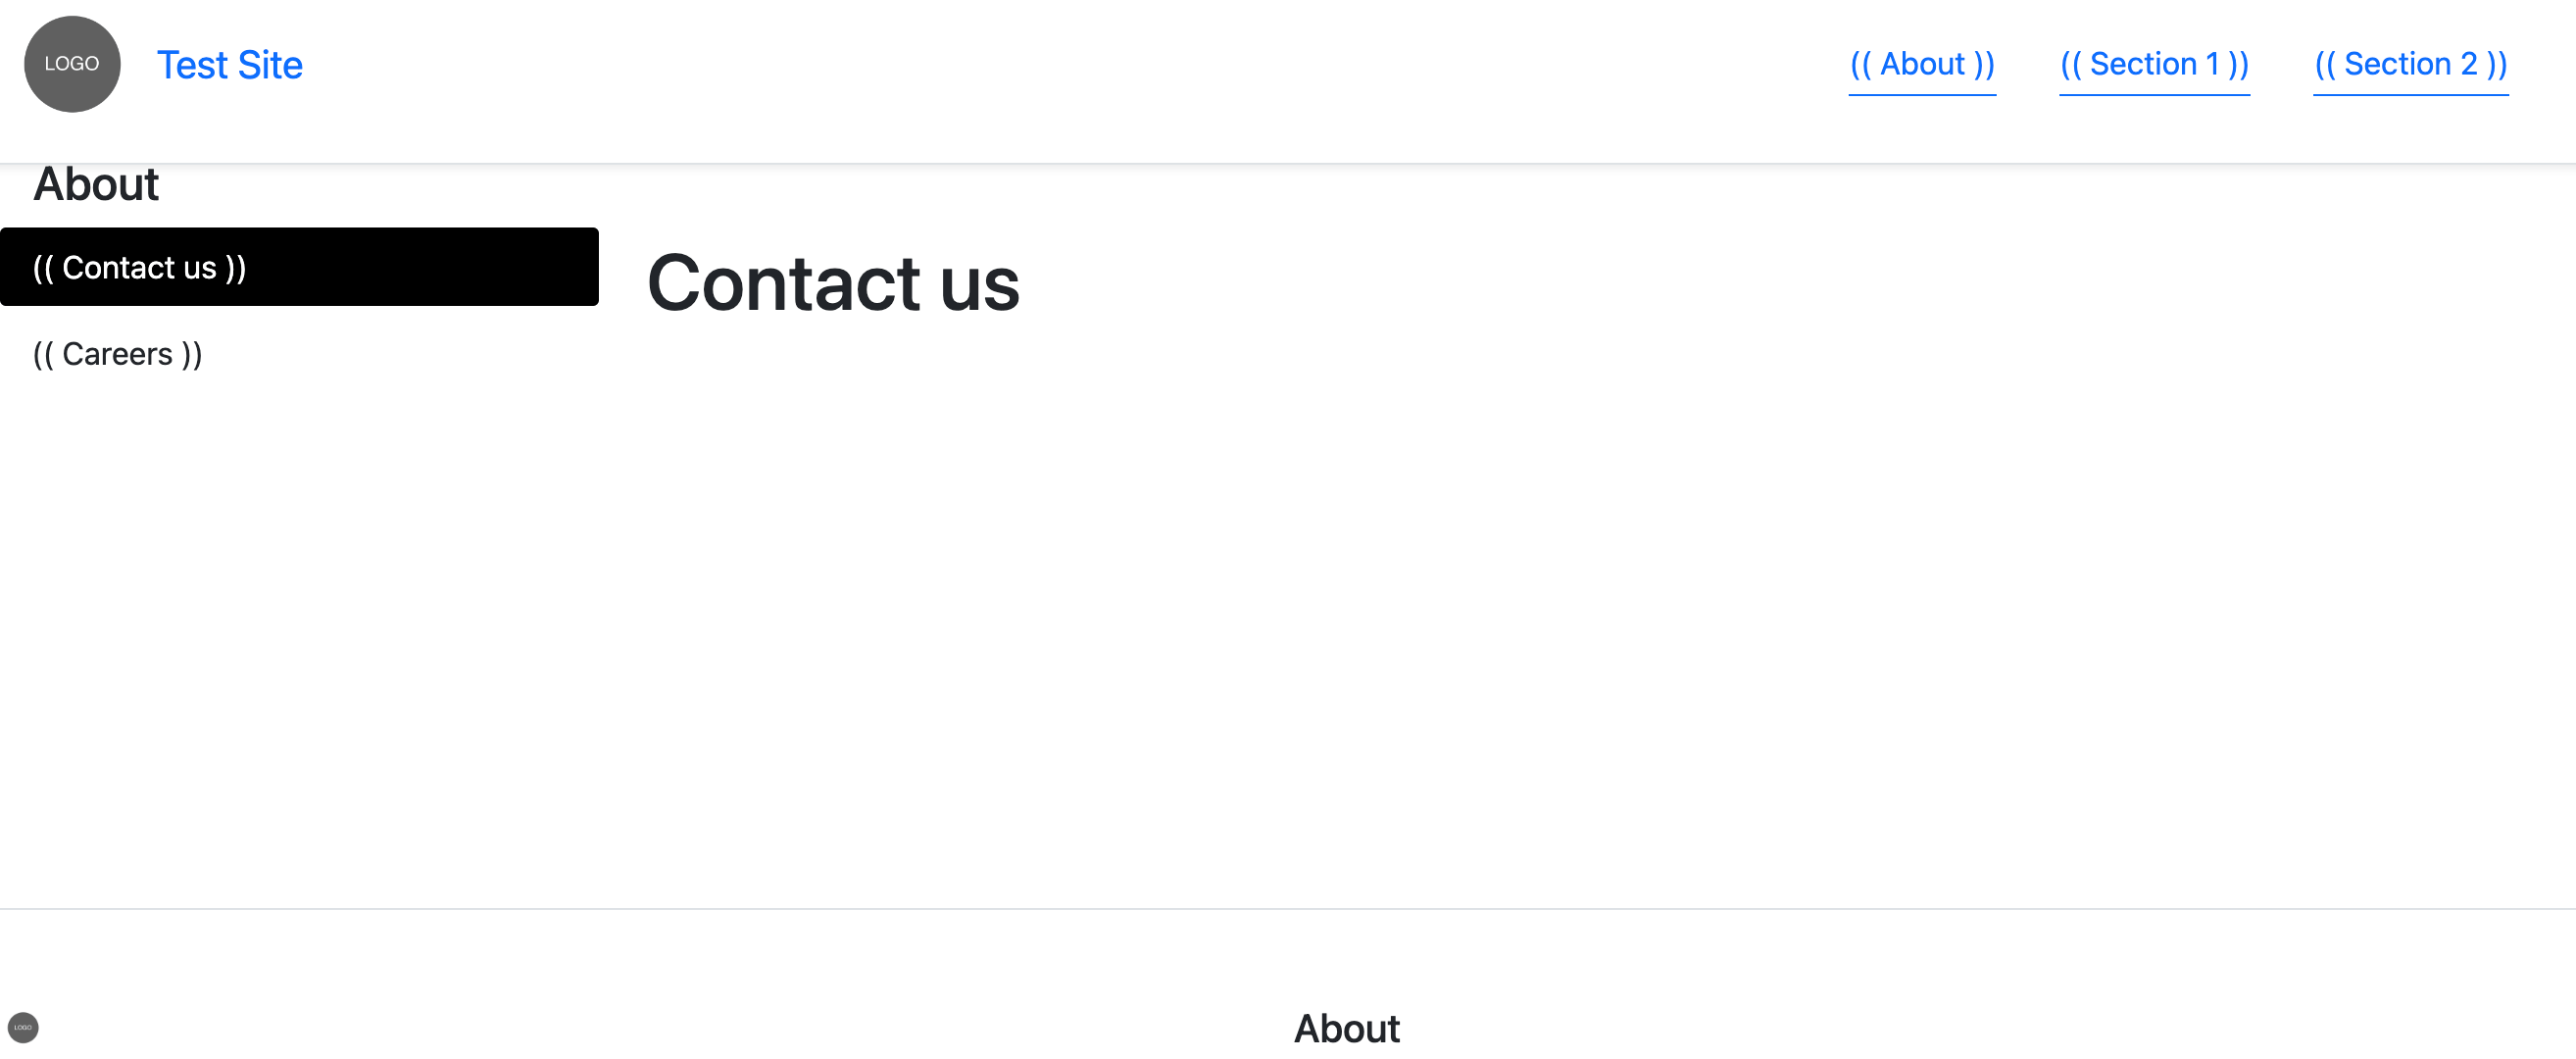
View the Contact Us page in the browser.
-
Edit the metadata of the page to turn the heading and right column on and off:
-
Right-click on the Contact Us asset.
-
Select Metadata.
-
Click Save.
-
Select Yes next to Show right column.
-
Set Right column include to the asset ID of the Opening hours include asset.
-
Click Save.
-
-
Add some content to the Contact Us page. A text block will enable you to see the distinction between the columns on the page.
-
Right-click on the Contact Us page.
-
Select Content.
-
Select Edit.
-
Add some content to the page. You can copy a text block from the Lorem Ipsum generator page.
-
Select Save.
-
-
Test your site again by reloading the Contact Us page.
