Design customizations
A design customization allows you to configure the settings for the design areas without altering the parse file or creating a separate design asset. You can choose to show, hide, or modify each of the design areas. You can then hide it on all other pages in the site by creating a design customization, customizing the design area, and setting the print option to no.
A design customization also allows you to override the associated files added to the design asset. For example, the design may use the squiz logo, but the design customization may use the Squiz Labs logo.
Creating a design customization
To create a design customization:
-
Right-click on the design asset.
-
Select Customizations.
-
Tick the box in the New customization section.
-
Enter a name for the customization in the field provided.
-
Click Save.

The design customization will be listed in the current customizations section, as shown in the figure:

The design customization will also appear under the design asset in the asset tree. You can create more than one design customization per design by following the steps already outlined.
Creating customizations of customizations
You can also create a design customization of a design customization. In other words, you can customize the settings for the design area on the parent design customization and customize them even further on the child design customization. By default, the child design customization will inherit the settings from the parent. An example of creating a customization of customization is outlined in the Examples section.
To create a design customization of a design customization:
-
Right-click on the Design customization in the asset tree.
-
Select Customizations.
-
Tick the box in the New customization section.
-
Enter a name for the customization in the field provided.
-
Click Save. The design customization will be listed in the current customizations section. The design customization will also appear under the design customization asset in the asset tree.
Customizing a design area
To customize the settings for the design areas:
-
Right-click on it in the asset tree.
-
Select Details. The design areas that have been added to the parse file will be listed in the Un-customized list in the Design areas section, as shown in the figure:
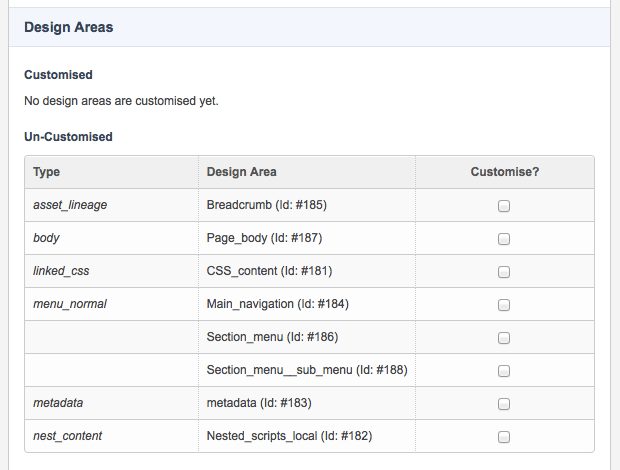
-
For each design area, the type of design area and ID name will be shown. This ID name is set in the
mysource_areatag of the design area in the parse file . Read the Designs tags chapter for more information. -
Click the Customize flag.
-
Click Save. The design area will now be listed in the customized list, as shown in the figure:
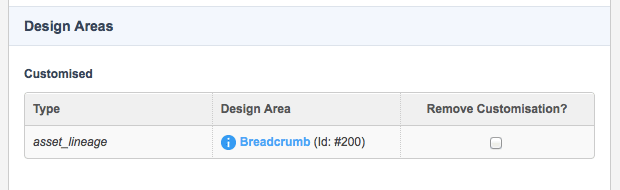
-
Click on the hyperlink in the design area column. The Details screen of the design area will appear where you can modify its settings.
Read the specific design area documentation for more information about available fields.
To delete a customization:
-
Click the Remove customization box.
-
Click Save.
If you delete the design area from the parse file or change its ID name, the customization will also be deleted.
General section on the Details screen of a design area
On the Details screen of a design area, there a section called general. This section is standard for all design areas. The fields available in this section are as follows:
-
Select whether to print the design area for the design customization. This option allows you to show and hide areas of the design without creating a separate design asset. For example, if you have created a hyperlink using a design area, you can hide for the customization by selecting No in this field.
- Cache
-
Select whether the design area should be cached. All static design areas should be cached for improved performance.
- Cache globally?
-
Select whether to enable global caching. If this option is enabled, the design area will share a common cache entry wherever it is used. This option should only be enabled on design areas where the content is not dynamic based on URL.
The _recacheURL suffix will not work for globally cached design areas. The global design area cache can be cleared using the cache manager.
These options can be set in the parse file using the print and cache arguments in the mysource_area design tag.
|
Read the Designs tags chapter for more information.
Overriding associated files
By default, the design customization will use the associated files that have been uploaded to the design asset. You can, however, override these files for a design customization. For example, you can use a different logo or style sheet.
To override a file:
-
Create a file using the same name as the existing associated file.
-
Upload it to the design customization.
To upload the files:
-
Right-click on the Design customization in the asset tree.
-
Select Details.
-
Select the files to upload in the Customize associated files section.
-
Click Save. You can only upload two files at a time. Alternatively, you can create a tar archive (
.tar) or gzipped tar archive (.tar.gzor.tgz) file that contains the files and upload one file instead. Matrix will extract the files and place them into the files directory. Once the files have been uploaded, they will appear under the design customization asset in the asset tree.
Applying a design customization
Once you have created the design customization, you need to apply it to the site or a page.
To apply a design customization:
-
Go to the Settings screen of the asset.
-
Select the Design customization in the System defined fronted design within the Designs section.
-
Click Save.
Read the Asset screens documentation for more information on this screen.
This action will apply the design defined in the design asset and the settings selected in the design customization to the asset.
Examples
To understand how design customization works, consider the following example.
Overriding an image
We currently have a design that is showing the Squiz logo on the left side of the screen, as shown in the figure:
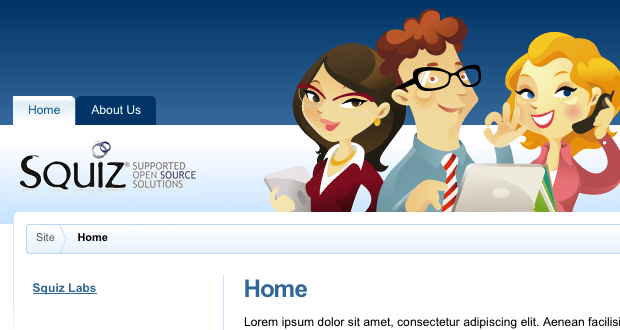
For the Squiz Labs page, however, we want to show the Squiz Labs logo.
Instead of creating a new design, a design customization is created.
The Squiz Labs logo is uploaded as an associated file of the customization.
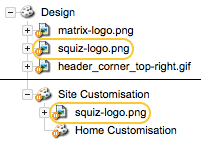
The name of the file that is used is squiz-logo.gif as it is the same name as the Squiz logo file under the design asset, as shown in the figure:
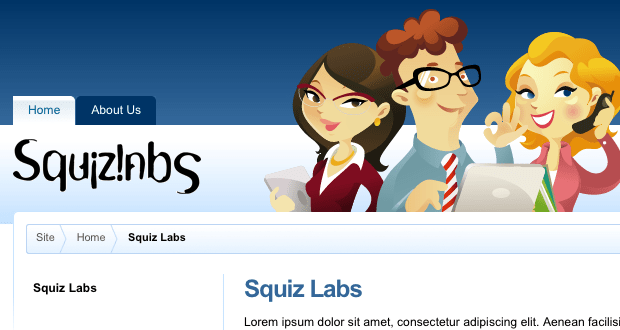
The design customization is applied to the Squiz Labs page. When a user views this page, the Squiz Labs logo is displayed, as shown in the figure: However, for all other pages in the site, the squiz logo will be displayed, as they are using the design asset.
Hiding a design area and creating a customization of a customization We have a design that needs to show a list of the latest assets that have been published in the site (that is, a What’s new page). Above this list, the home page also needs to show a list of the latest news items. Two nest content design areas are added to the parse file, as shown in the following code. Read the Nest content design area for more information on this design area.
<MySource_AREA id_name="latest_news" design_area="nest_content" print="no">
  <MySource_SET name="type_codes" value="page" />
</MySource_AREA>
<MySource_AREA id_name="whats_new" design_area="nest_content">
<MySource_SET name="type_codes" value="page" />
</MySource_AREA>The first design area is for the latest news list. As this is only required for the home page, the print argument is set to no. The second design area is for the What’s new page.

Two design customizations are created, as shown in the figure. The home page customization is a child customization of the site customization. This relationship means that the home page customization will inherit any of the changed settings on the site customization.
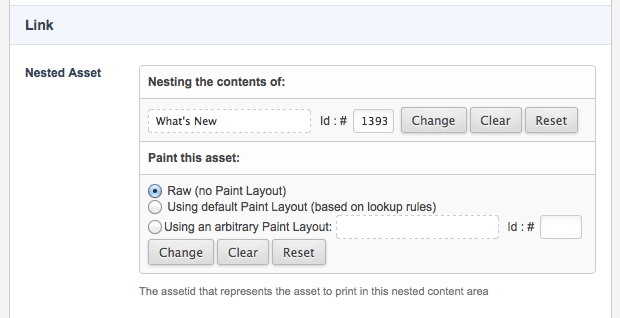
On the site customization, the whats_new design area is customized, and the What’s new page is selected on the Details screen, as shown in the figure:
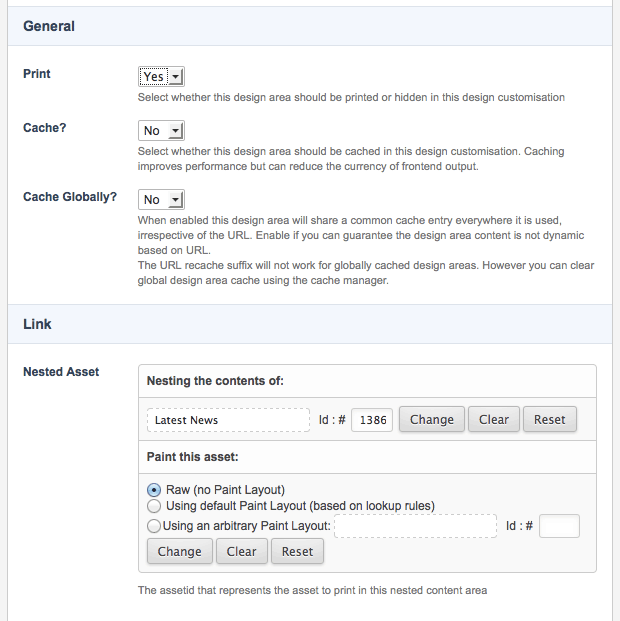
On the home page customization, the latest_news design area is customized. On the Details screen, the print option is set to Yes, and the latest news page is selected, as shown in the figure:
The site customization is applied to the site and its child pages. The home page customization is applied to the home page. When the user views the home page, the latest news and What’s new lists appear on the right-hand side of the screen, as shown in the figure:
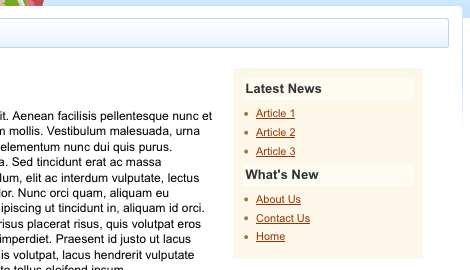
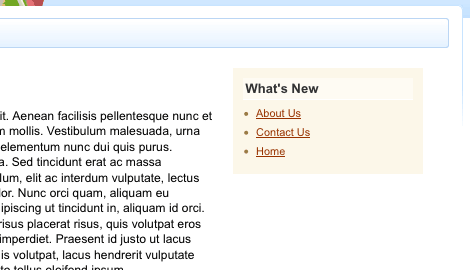
When the user views any other page in the site, only the What’s new list will appear, as shown in the figure: