Step 1: Create a simple Hello World website
The first step of these instructions will guide you through creating a basic Hello World website. You will create a folder structure, URLs, and a basic design.
The folder structure
Squiz Content Management sites are made up of many assets of different types. Assets are usually organized into folders of similar types to make them easy to access. By convention, display and control assets are separated from content assets. Read Working with assets to learn more about the different types of Squiz Content Management assets.
In this example, you will create a folder called Configuration, which houses everything that makes up the site template and any integrations or back-end functionality built with assets. This is where developers and site builders collaborate on the site functionality, rendering, and content editor experience.
You will also create a folder named after the website. This folder will be used to contain the site and its content. This is where content editors, subject-matter experts, and approvers collaborate on the content of the site.
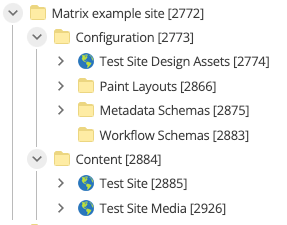
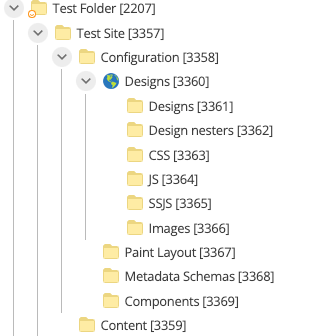
You will create a structure that looks like the image shown below. In this example, the folder containing the site template is called Configuration, and the content folder is called Content. This folder structure is used for a clear separation of functions and also to make it easier to apply permissions or re-use the template on multiple websites.
|
You can use the binoculars icon to find out where your current asset appears in the structure.
Select 
|
How to set up your folder structure
To set up your base folder structure in the Squiz Content Management UI:
-
Choose a high-level parent asset from your asset tree.
-
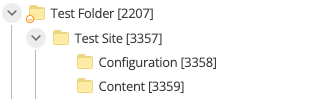
Create a parent folder for your site under the high-level parent with the name of your project, for example, Test Site.
-
Right-click on the high-level parent folder.
-
Select .
-
Enter the name.
-
Select Create.
This folder should be named after your website, but for this example it will be called Test Site.

-
-
Create a folder called Configuration as a child of Test Site
-
Create a folder called Content as a child of Test Site.
Populate the configuration folder
Set up the structure underneath the Configuration folder.
Create the following assets as children under the Configuration folder:
-
A site asset called Designs.
-
To create a site asset in the Configuration folder:
-
Right-click on the Configuration folder.
-
Select .
-
Enter Designs as the site name.
-
Select Create.
-
-
-
A folder called Paint Layouts. Paint Layouts are inner page templates.
-
To create a folder in the Configuration folder:
-
Right-click on the Configuration folder.
-
Select .
-
Enter the folder name.
-
Select Create.
-
-
-
A folder called Metadata Schemas. Metadata schemas are used for all structured content and custom content models within Squiz Content Management, as well as for HTML metadata.
-
A folder called Components. Components are used for modular templates that can be added as a page section.
-
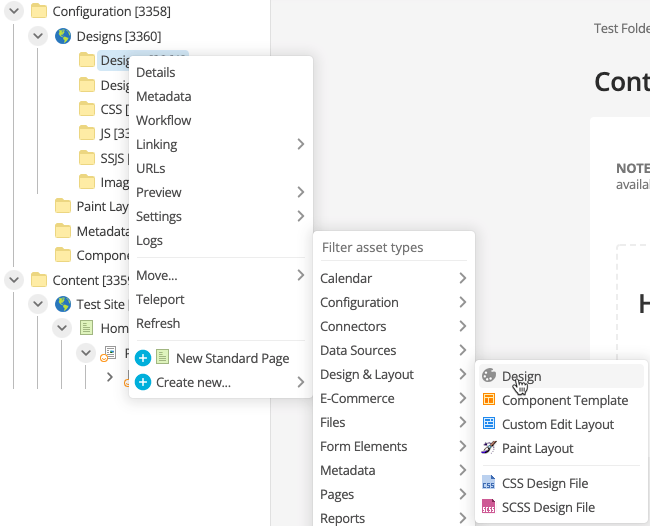
Create the following assets as children of the Designs site asset:
-
A folder called Designs. This is where your main template files will be stored.
-
A folder called Design nesters. This is where includes for your template will be stored.
-
A folder called CSS. This is where the CSS files are stored.
-
A folder called JS. This is where any JavaScript code is stored.
-
A folder called SSJS. Server-Side JavaScript - used for custom server-side logic is stored here.
-
A folder called Images. Any images that are included in the global design will be stored here.
-
-
At the end of these steps, you will have a structure like the one shown below:
Populate the content folder
Set up assets under the Content folder.
| You can call the Content folder anything you want, such as the friendly name of your website. It is called the Content folder here for ease of reference. |
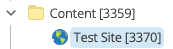
To create a site asset^ called Test Site:
-
Right-click on the Content folder.
-
Select .
-
Type
Test Siteas the site name. -
Select Create.
Add URLs to the site assets
You must assign a URL to two assets on your site:
-
The site asset
-
The design asset
The main URL of your site is assigned to the site asset. You can use one of the following URL settings:
-
A new domain, for example,
www.example.com,
OR
-
The base URL of your Squiz Content Management instance, with a suffix. For example,
<organisation-name>.matrix.squiz.cloud/test-site/.
| The base URL of your Squiz Content Management instance is usually the fastest way to get started when testing a new site. |
The Designs site asset should use the same URL as the site asset, with a _designs suffix.
For example, <organisation-name>.matrix.squiz.cloud/test-site/_designs/.
To add URLs to the Test Site and Designs site assets:
-
Click Save.
-
Enter the domain name.
-
Select the HTTPS check box.
-
Click Save.
Create a home page
|
The Content page asset offers a rich page building experience with support for:
Check out the Page Builder user documentation for a comparison between Standard Page assets and Content Page assets. |
The next step is to create a home page for your site.
The home page is a standard page asset, with a special association with your site asset so that Squiz Content Management knows to serve this page as the home page.
To create a standard page under the site asset called Home:
-
Right-click on the Test Site site asset.
-
Select .
-
Type
Homeas the name. -
Select Hidden link to hide this page from navigation menus.
-
Select Create.
To assign the Home page to the site asset as the index page:
-
Right-click on the Test Site site asset and select Details.
-
Scroll down to the Special page links section.
-
Select bnt:[Edit].
-
Add the asset ID of the home page to the Index page field.
You can either enter the asset ID in the Index page field or use the asset picker to select the asset. -
Click Save.
To edit the home page and add "Hello World" to the contents:
-
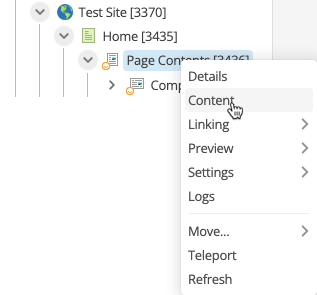
Right-click on the Home asset.
-
Select Content.
-
Click Save.
-
Type the text
Hello Worldinto the Content tab. -
Click Save.
Create a design asset
A design asset provides the global design layout for your site template. The main aspect of creating a design asset is to add a design parse file. This file is an HTML file that includes special Squiz Content Management tags. Squiz Content Management parses this file to create several hidden design assets under the hood.
| The design asset for this example site is very simple. Read the design assets body area documentation for more information about what else you can do with the design asset. |
To create a design asset as a child of the Designs folder under the Designs site asset:
-
Expand the Designs site asset.
-
Right-click on the Designs folder.
-
Select .
-
Type Global design as the name.
-
Select Create.
The next thing to do is add default HTML structures to the parse file.
To define the default parse file structures for a design:
-
Right-click on the Design asset and select Edit parse file.
-
Click Save.
-
Add this HTML structure to the parse file:
<html> (1)
    <head>
        <title>%globals_asset_name% | %globals_site_name%</title> (2)
    </head>
    <body>
        <header class="bg-white border-bottom"> (3)
        </header>
        <div class="page-wrapper container"> (4)
            <div class="page-content mt-3">
                <mysource_area id_name="body" design_area="body" /> (5)
            </div>
        </div>
    </body>
</html>
1 Global HTML tags (HTML, head, title). 2 Keywords, that print the name of the page and the name of the site. 3 A header to which you will add more features later in this guide. 4 Divs that will be used to apply some Bootstrap 5 classes that will be used later in the guide for styling. 5 The mysource_areatag, which is a special Squiz Content Management tag that tells Squiz Content Management to print the body of the page here.This is the basic parse file structure to which you can add other design elements. -
Click Save.
Apply your design to the site
To apply your design to the site:
-
Right-click on the Test Site asset and then select .
-
Click Save.
-
Add Global design asset to the Design field under the System defined frontend design header. You can either enter the asset ID in the Design field or use the asset picker tool to select the asset.
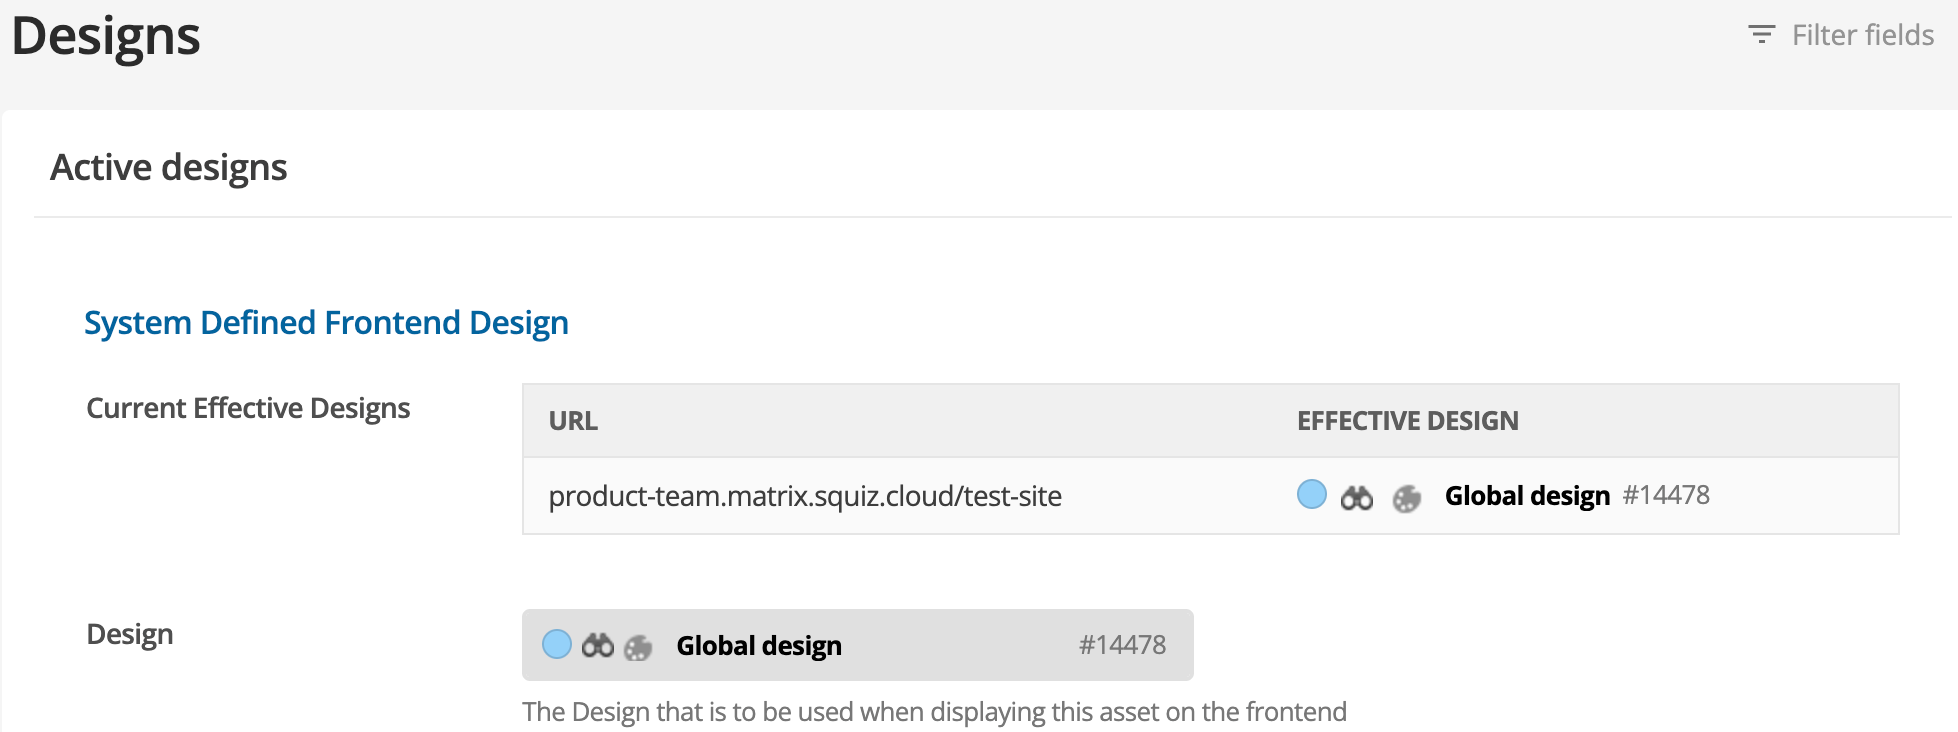
| If a design asset already exists in your site, it may be set as the System Defined Frontend Design by default. When you add your design, it will be overridden. |
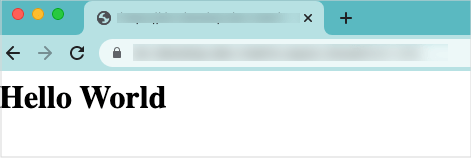
Test your site
Now that you have created a site, added URLs, and given it a home page, it is time to see your site in action.
Test your site in a browser by using one of the following methods:
-
Copy the URL from the site asset and paste it into a browser.
OR
-
Right-click on the site asset and select .

You will see your site in the new tab.