Step 10: Publish your site
When your site template is built, and your content is populated, you must make your site live to make it available for users.
This example site is publicly available without logging in, with content that can be cached to improve page load speed. Suppose you are building a logged-in site, like an intranet, portal or membership site. In that case, there will be more permission configuration to set up, and you will need to plan out your caching approach. This more complex set up is outside the scope of this guide.
Apply public read permission
To allow public access, you must set public read permission on all your configuration and content assets. Permissions cascade down the asset tree, so you can set this on the top folder of your site and cascade down.
-
Right-click on the top folder of your site.
The top folder referred to here is the folder above the Configuration and Content folders. -
Go to .
-
Click Save.
-
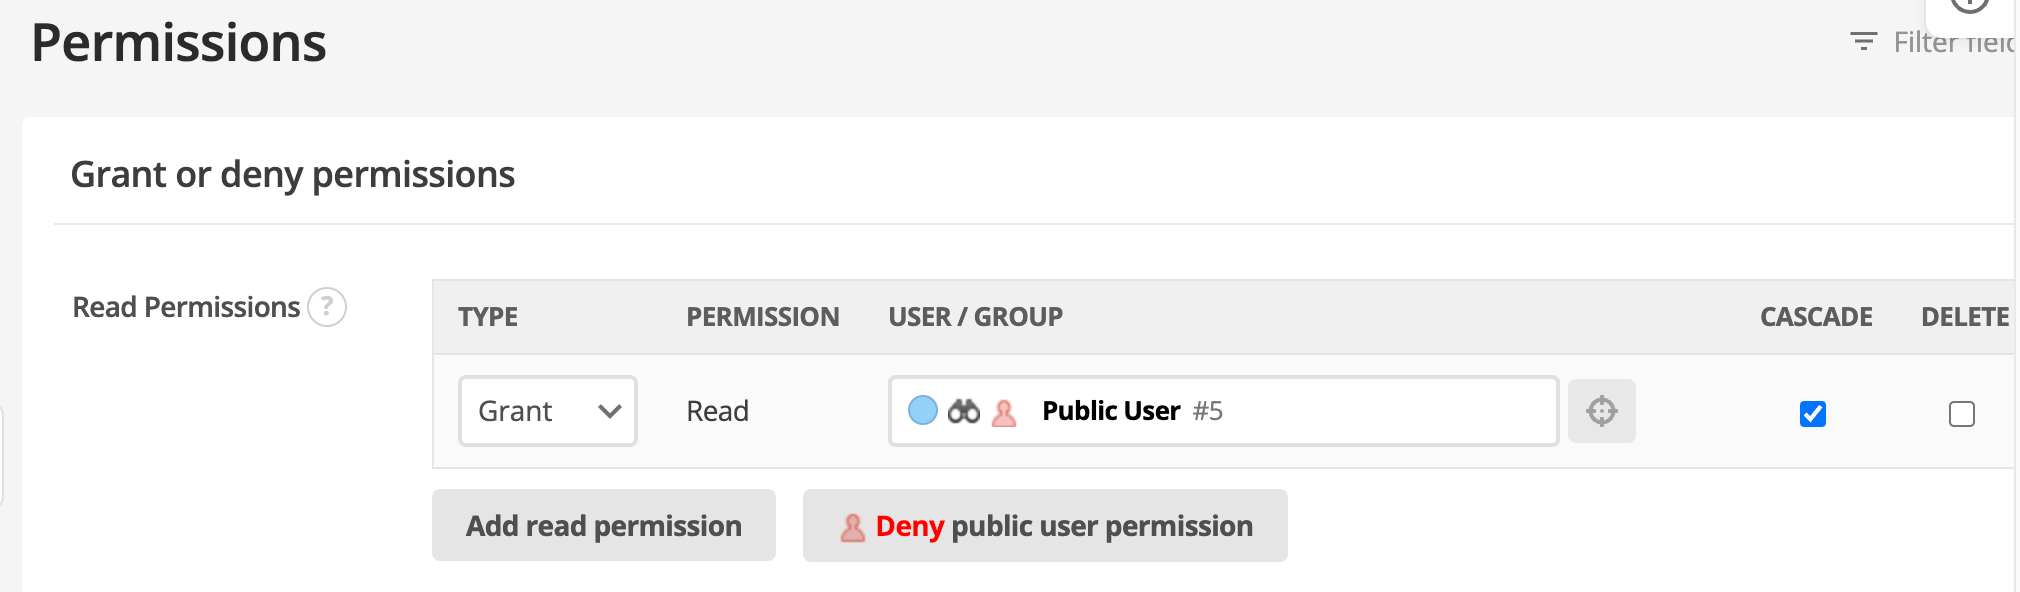
Under Read Permissions, select Grant public user permission
-
Make sure that the CASCADE check box is checked.
-
Click Save.
A HIPO job will run to cascade the permissions through your site. It may take a few minutes.
| Although your permissions are cascaded, public users cannot see the site because the asset statuses have not been made live. |
Make your site live
The site status is set on the top-level folder to cascade to the rest of the site.
-
Right-click on your top-level folder asset.
-
Select Details.
-
On the Change Status field, select Approve and Make Live.
-
Click Save.
A HIPO job will run to cascade the permissions through your site. It may take a few minutes.
-
Refresh the asset tree and click the Tick icon in the top right to highlight the color code of the assets in the tree. You will now see that the whole site is green.
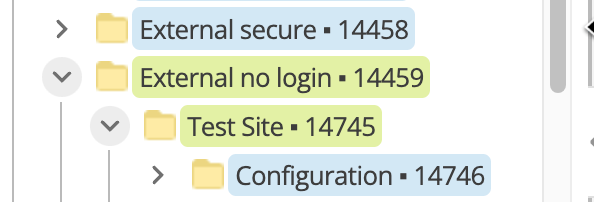
-
Open your site in a new browser or incognito window, and it should now be publicly available.
When file assets are made live and public, their URL format changes, so that they are served directly from the web server for improved performance.
You will see that images and documents will have a URL format of /__data/assets/<asset-type>/####/<asset-id>/cookieconsent.js when they are live and public.
You can change this behaviour by specifying Allow unrestricted access.
Read Allow unrestricted access for more information.
|
Caching
When you create a new site and make it public and live, it should automatically start caching. This means that a copy of each page can be served quickly from the CDN, without being reloaded from Squiz Content Management every time a user requests the page. This optimizes for fast page load for many users at the same time. However, it will mean that when your content editors edit a page, newly published changes may not be available to users until the cache expires.
You may need to configure caching more precisely to suit your publishing needs. Read the Clear Matrix cache documentation to learn how to set up cache clearing triggers to clear the cache on specific actions. You can configure the cache manager to set different expiry times for cache for different parts of the site. Read the Cache manager documentation to learn how to set cache expiry times for different parts of the site. You can also use Edge Side Includes (ESI) to cache different regions of your page template or content for different lengths of time. Read the Edge side includes to learn how you can cache separate regions of your page template or content for different time durations.