Step 8: List assets
Asset listings dynamically generate a list of assets. Some uses for asset listings are:
-
Landing pages listing child pages
-
Image carousels
-
Document listings
-
Comments.
In this example, an asset listing is used to generate a list of links in the footer dynamically. The footer could be generated using the menu design area from Step 3. However, it is a good candidate for an asset listing as it can be nested into the design as an include.
Create an asset listing
-
Create a folder called Listings as a child of the Configuration folder.
-
Right-click on the folder.
-
Select .
-
Enter the name
Footer listing. -
Select Create.
Configure the asset listing
Asset listings have many configuration options. For this basic listing, you will configure what kind of assets to show, and how many levels of sub-pages to list.
-
Right-click on the Footer listing asset.
-
Select Details.
-
On the Details screen, configure the following fields:
-
In Asset types to list, select Standard page.

-
Scroll down to Asset Locations.
-
Enter the asset ID of the site asset into the Root Nodes field, or use the asset picker.

-
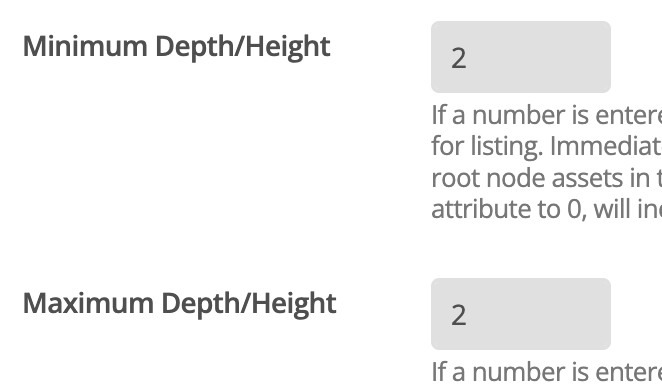
Set minimum depth/height to 2. This setting will limit the pages listed in the footer to two levels.
-
Set maximum depth/height to 2.
-
-
Click Save.
Add some formatting HTML to the footer listing
-
Select .
-
Expand the Type Formats folder.
-
Right-click on Default Format and select Content.
-
Click Save.
-
Replace the existing code line with the following code:
<li> <a class="text-muted" href="%asset_url%">%asset_short_name% </a> </li> -
Click Save
Include your asset listing in the footer
Edit the footer include to include your asset listing:
-
Right-click on .
-
Select Content
-
Click Save
-
Replace the lines:
<div class="col-6 col-md">
<h5>About</h5>
</div>
with the following line:
%globals_asset_contents_raw:_XXXXX_% (1)
| 1 | Change XXXXX to the asset ID of the Footer listing asset. |
Test your site
For a good asset listing demonstration, you must first add more pages to your site.
Add more pages to the site
Add more pages to Section 1 and Section 2 to test the asset listing. Add three pages as sub-pages of Section 1 and three pages as sub-pages of section 2. Create the pages as Standard Pages. Add the following pages under Section 1:
-
Page 1a
-
Page 1b
-
Page 1c
Add the following pages under Section 2:
-
Page 2a
-
Page 2b
-
Page 2c
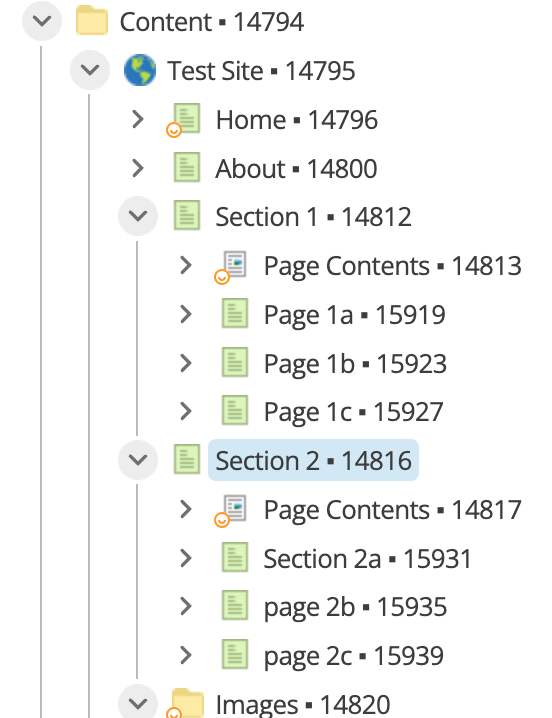
When you have created the new pages, the page structure will look like the image below:
Test the asset listing
You can test your site in a browser in two ways:
-
Copy the URL from the site asset and paste it into a browser.
OR
-
Right-click on the site asset and select .

-
You will see your site in the new tab.
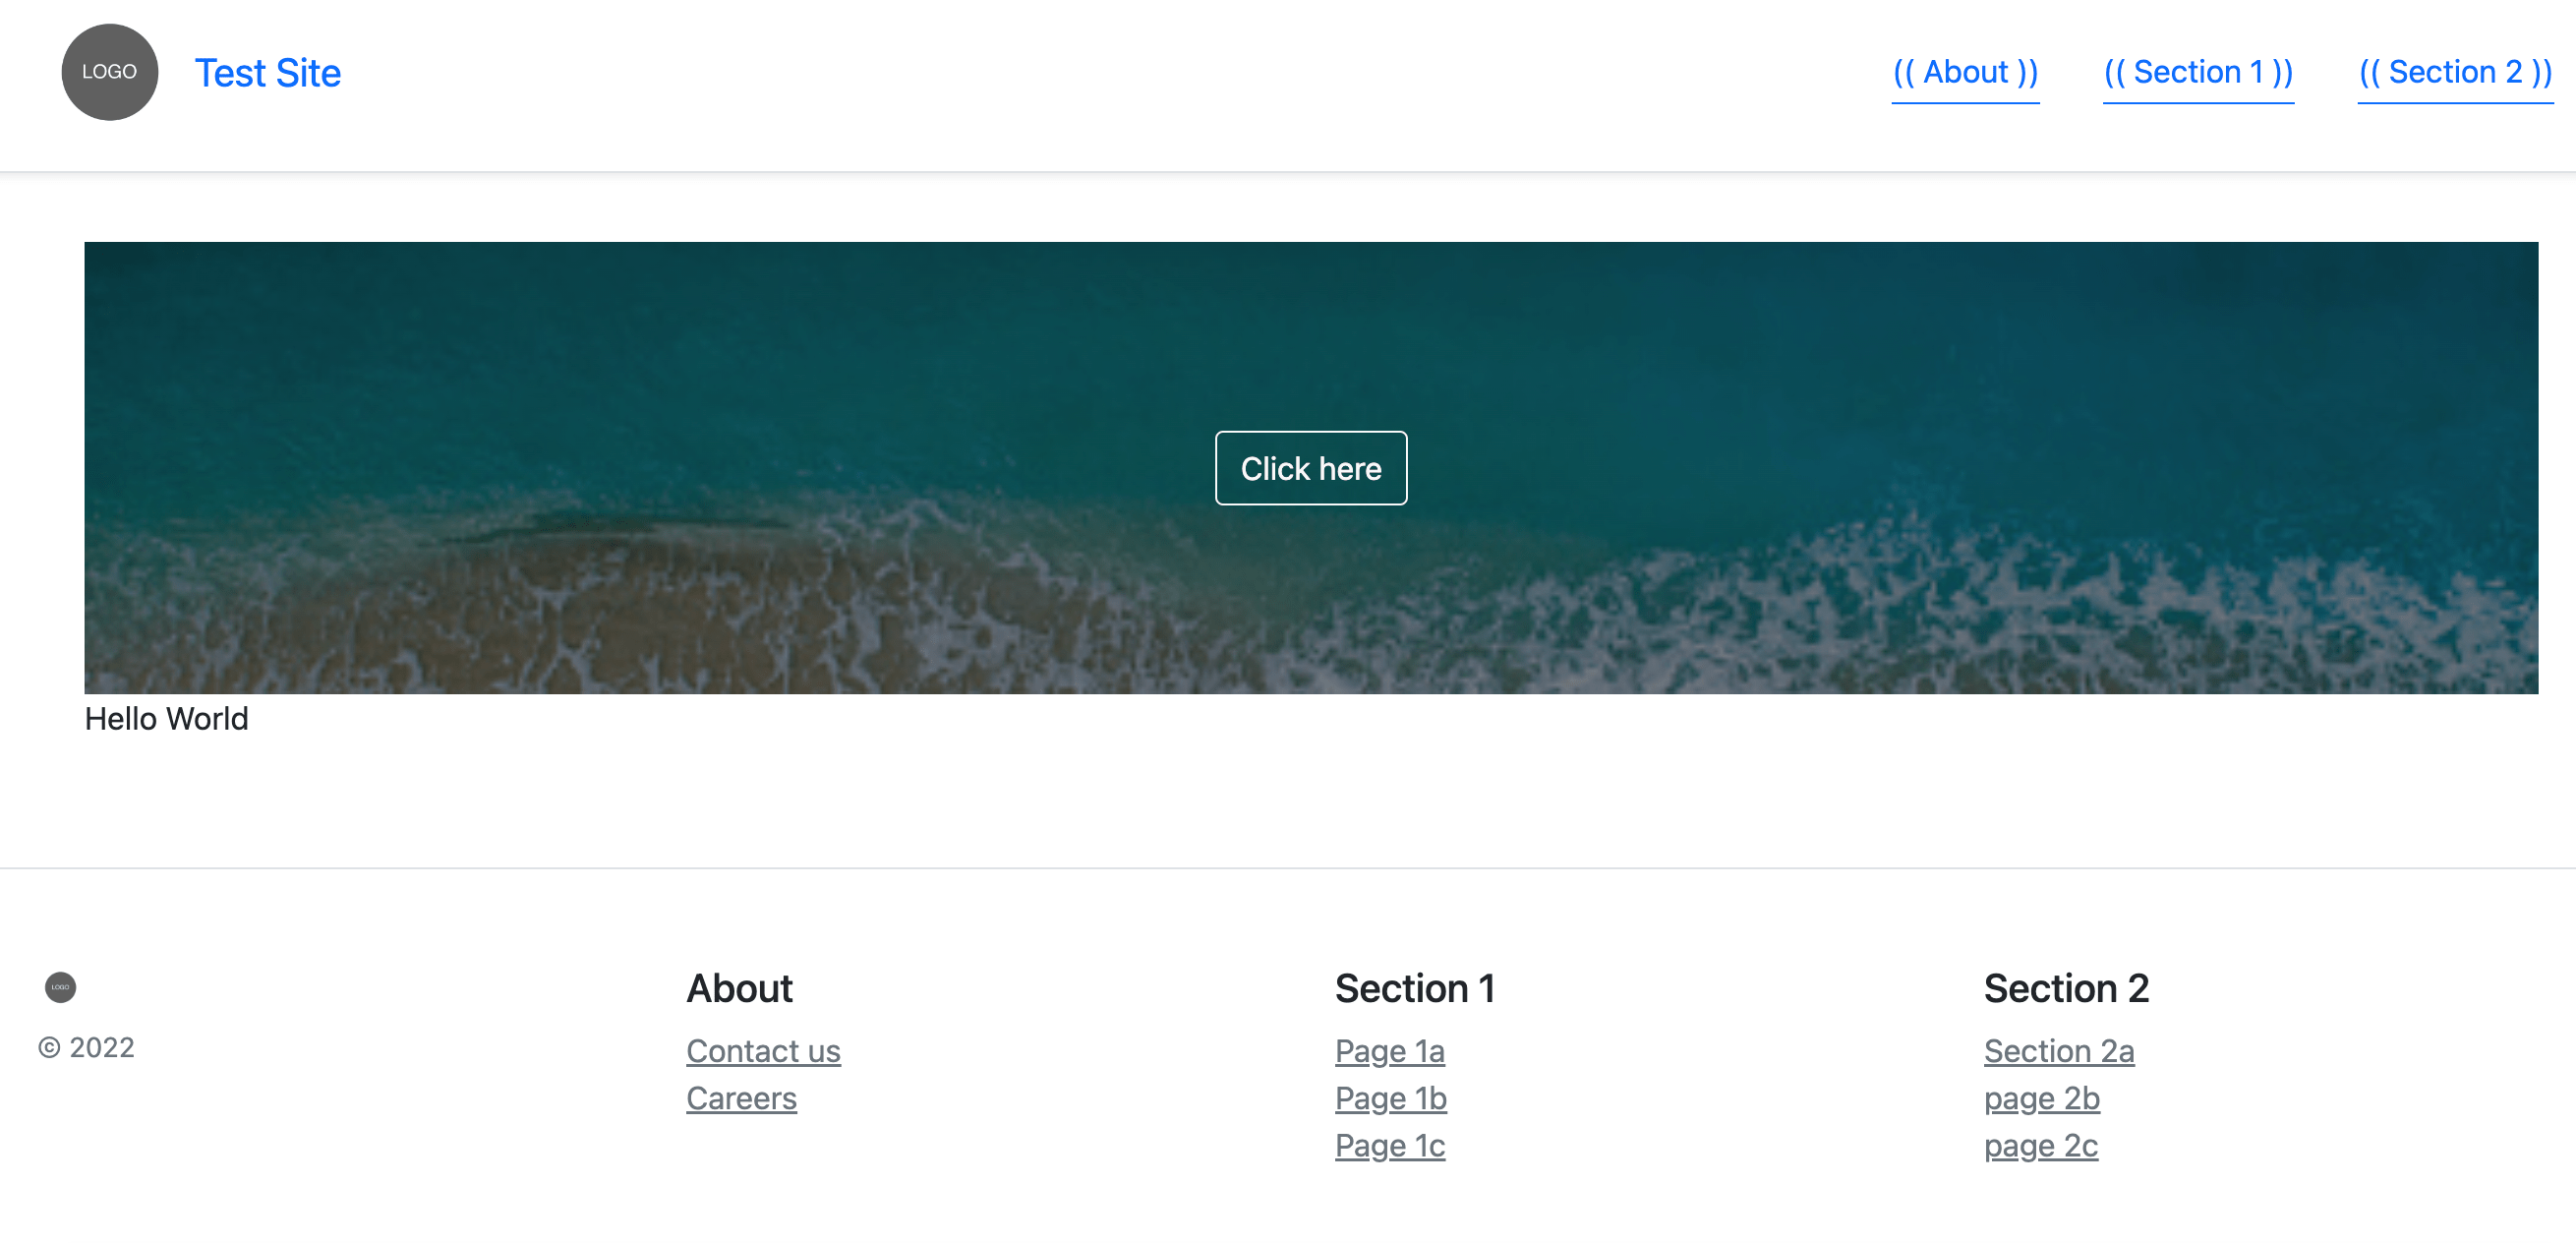
Your site will now look like this:
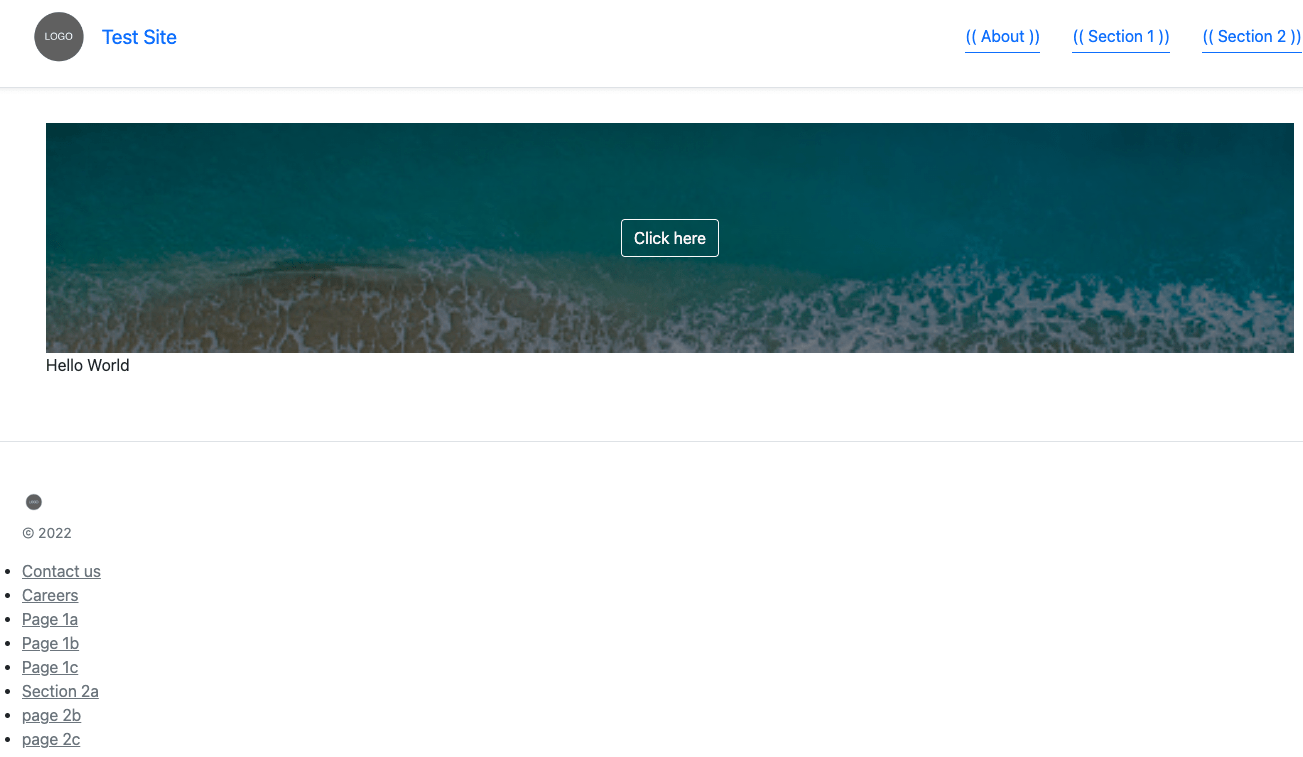
-
The asset listing is working, but now the assets must be organized under the level 1 sections of the site to create a 2-level footer design.
Group the asset listing by parent
You can specify how to group your asset listings. In this example you will group by parent asset.
-
Right-click on Footer listing.
-
Select Asset grouping
-
Click Save
-
In the Add New Group section:
-
Check the checkbox in the New Group? section.
-
Select at the top level in the first drop-down list.
-
Select Parent Asset in the second drop-down list.
-
Click Save.

When you click Save, more asset listing configuration options appear.
-
-
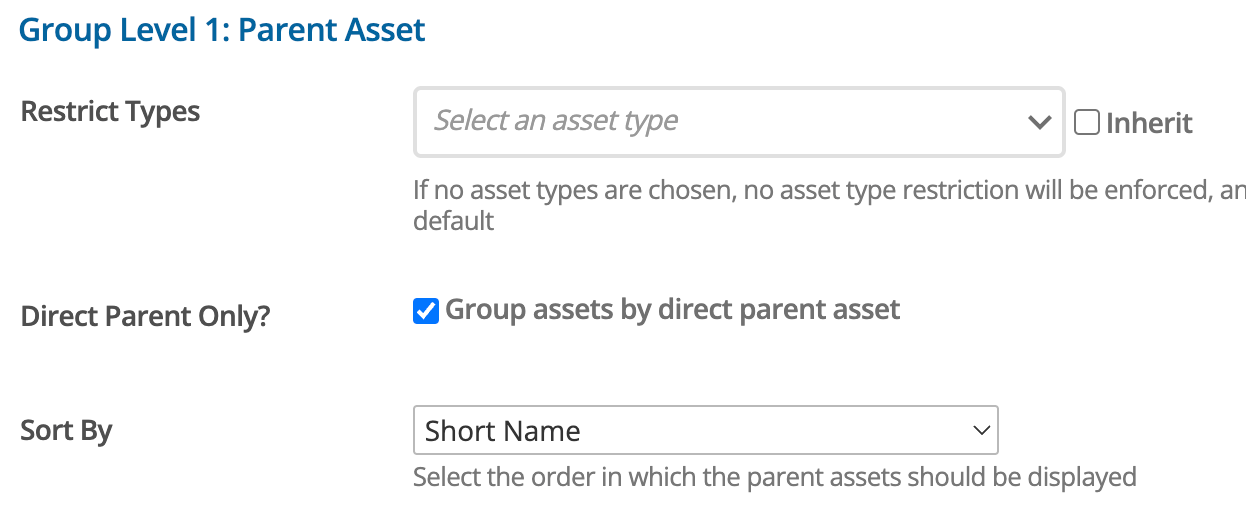
Add the following settings:
-
Check the Direct Parent Only checkbox.
-
Select Short name in the Sort By field.
-
Click Save.
-
-
Configure the format of the group listings:
-
Right-click on folder.
-
Select Content.
-
Click Save.
-
Replace the existing code line with the following code:
<div class="col-6 col-md"> <h5>%group_name%</h5> <ul class="list-unstyled text-small"> %group_listing% </ul> </div> -
Click Save.
-
-
You now need to tell the asset listing about your custom grouping:
-
Right-click on, Footer listing.
-
Select Details.
-
Click Save.
-
Scroll down to the List Formatting section.
-
Select Custom grouping from the List Format field.
-
Click Save.
These settings will display the group name under a heading and then list individual level 2 pages in a nested list.
-
-
This footer is implemented using
<div>tags, however the default for an asset listing is<ul>tags. Remove the wrapping<ul>tags:-
Right-click on .
-
Select Content.
-
Click Save.
-
Remove the
<ul>tags, leaving%asset_listing%. -
Click Save.
-
Reload your page in the browser: You will see the pages in your site grouped into sections:
Further reading
For more information about the use of asset listings, see: Asset listings documentation.