Configuring metadata schemas
A metadata schema defines the metadata fields that need completion on the Metadata screen of an asset. Each schema defines the following settings:
-
The metadata fields and their type
-
The default field values
-
If the fields are required
-
Whether fields are editable
-
Which fields appear in the HTML source code of the page.
Once you have added a metadata schema, you can configure its settings on its associated asset screens. These screens are often the same as (or similar to) those for a standard page. Read the Asset screens documentation for more information about common asset screens.
Metadata schemas offer unique fields on the Details and Usage screens. Read on to learn more about these screens.
Details screen
The Details screen allows you to set up your metadata schema by adding sections and fields.
Details
- Name
-
By default, the name used in the schema name field to create the metadata schema will appear here. You can change the name of the metadata schema by clicking into the schema name field and entering the new name for the metadata schema.
- Options
-
The following options are selectable on this page:
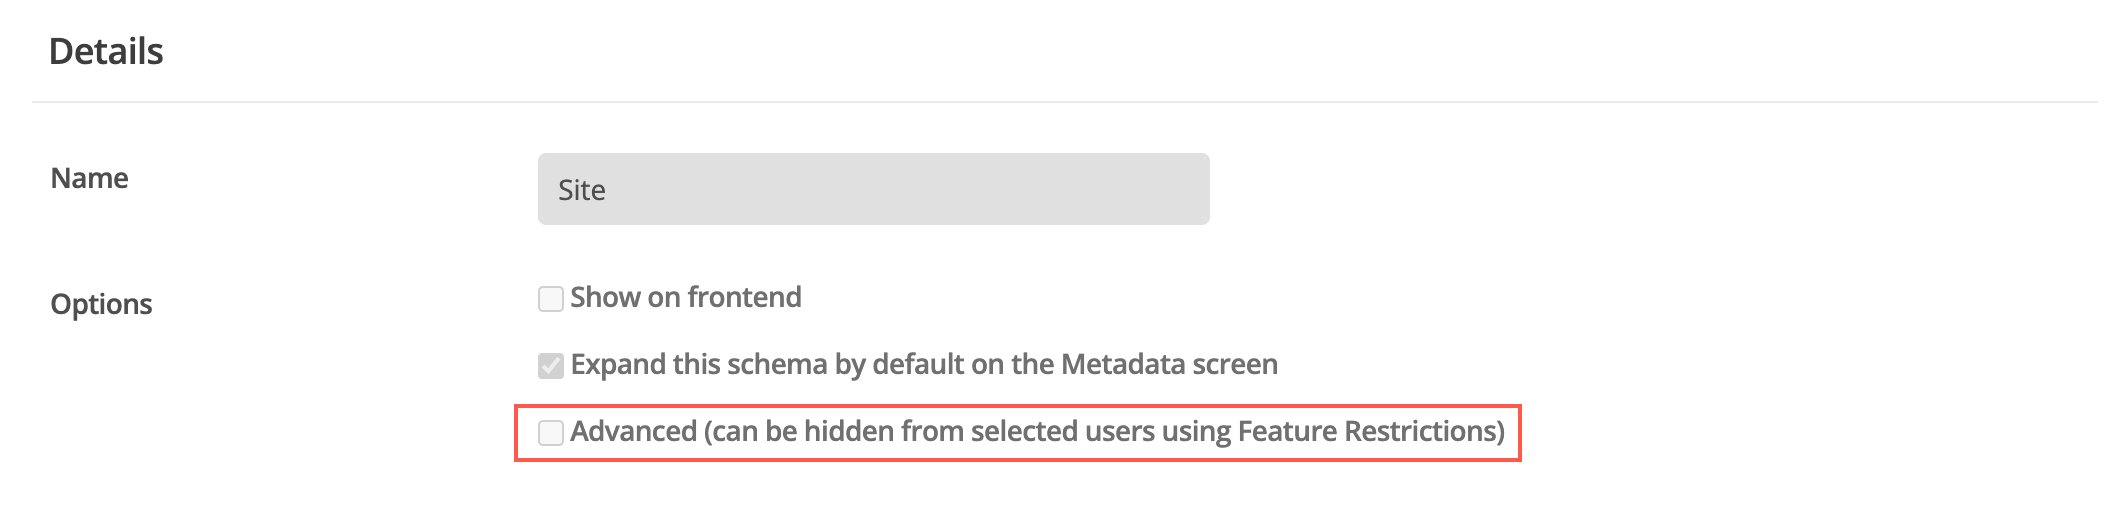
- Show on frontend
-
Whether to show this page on the frontend.
- Expand this schema by default on the Metadata screen
-
Whether this schema is shown expanded (uncollapsed) on the Metadata screen.
- Advanced (can be hidden from selected users using Feature Restrictions)
-
This option sets the schema as Advanced. If your system has the Advanced metadata restriction enabled on either the Content editor feature restrictions page or through Feature restrictions, this schema will be hidden from content editors.
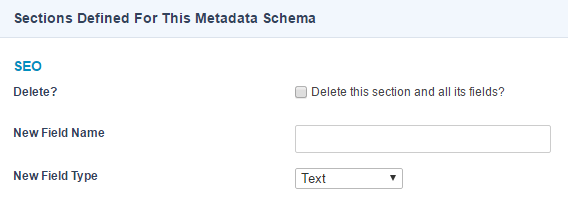
Metadata sections
This section shows the sections and fields added to the metadata schema. It also allows you to delete fields and sections. If you have not added any sections, no information will appear.
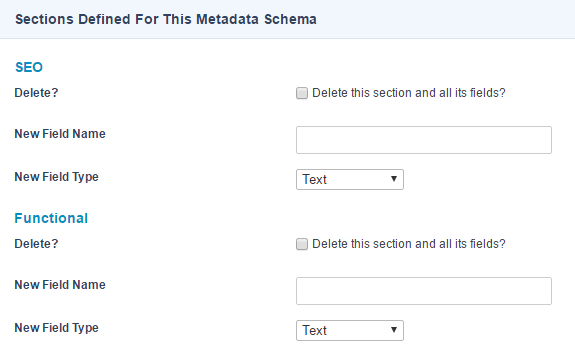
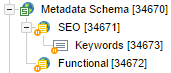
Once you add a section, it will appear in this section of the screen, as shown in the example below.
Each blue heading represents a section added to the metadata schema. For example, in the figure below, two blue headings appear: SEO and Functional. This coloring signifies the two sections added to this metadata schema.
For each section listed, the following fields and options are available:
- Name
-
The Metadata section’s name.
- Description
-
A description of the Metadata section. If the Show description on frontend option is checked (see Options, below), the text entered here is displayed on the frontend.
- Asset type restrictions
-
The asset types to which this Metadata section will apply. By default, no asset types are selected. As asset types are selected they appear in the Metadata section. If a selected asset type has the Inherit checkbox checked, child assets of this asset type will also inherit the particular Metadata section. If no asset types are listed, the Metadata section appears for all assets to which the Metadata schema is applied.
| It is good practice to set an asset type restriction such that cascading actions do not apply your schema to unintended assets. |
- Options
-
Five UX-related checkboxes, three of which are selected by default.
☑︎ Show on frontend
☐ Show description on frontend
☑︎ Expand this section by default on the Metadata screen
☑︎ Advanced (can be hidden from selected users using Feature Restrictions)
☐ Show in component data side-panel (content screen only)If the last checkbox is selected, the specified Metadata section appears in the side panel of the content screen.
- Fields
-
A list of metadata fields added to the section. If no fields have been added to the section, only the Add field button is shown. Press this button to present the Add field dialog.
 Figure 3. add Field
- Field name
-
The new field’s name.
- Friendly Name
-
The new field’s presentation label.
Metadata field names can only contain alphanumeric characters, full stops, hyphens, and underscores. The Friendly Name field is not restricted in this manner. - Type
-
When you are adding a new field, select the type of field from the list provided. The options include:
- Date
-
A date and/or time field.
- Hierarchy
-
A hierarchy field is similar to a select field, generated with a pre-defined list of values. This list, however, can show a hierarchy of information.
- Related asset
-
An asset picker that lets you associate the editing asset with another.
- Select
-
A select field, checkbox list field, or radio button list field.
- Text
-
A standard text field that can also be a textarea input. This is the default Type assigned to a new field.
- Thesaurus
-
A select field generated with options from a pre-defined list of thesaurus terms.
- WYSIWYG
-
A WYSIWYG editor field.
For more information about each of these options, refer to the corresponding chapters in this manual.
Added fields appear in this section of the screen.

To delete a field from a section, select the Delete check-box and click Save.
To edit a field, click the link in the Field name column. The Details screen for that field will appear.
To rearrange the order of the fields, move the field assets as they appear under the metadata schema in the asset tree.
- Delete?
-
To delete a section and all of its fields, check the Delete this section and all its fields checkbox and save the screen. The specified Metadata section is removed from the Metadata schema.
Create new section
This section allows you to add new sections to the metadata schema. Enter the name of the new section into the section name field and save the screen. A new section will appear in Metadata sections.
Options
This section allows you to decide whether to show the metadata schema in the HTML source code of the page.
By default, this value is yes, meaning that all sections and fields will appear in the HTML source code.
Metadata does not automatically appear within the HTML source code of a page unless your design includes the metadata design area or the %asset_frontend_metadata% keyword.
|
The following fields are available:
- Show on frontend
-
Select whether to show the section on the frontend. By default, this value is
yes, meaning that the section and all of its fields will appear in the HTML source code on the frontend. - Expand this schema by default on the Metadata screen
-
Select whether this schema is expanded or collapsed by default on the Metadata page.
For more information on this design area, refer to the Designs documentation on Matrix Manuals.
Usage screen
The Usage screen shows the assets in the system that are using the metadata schema. This view means that the metadata schema is currently either applied or denied on the asset.
If the metadata schema is not on any assets, no information will appear on the screen. Once the metadata schema is in use on an asset, the information shown will appear:

The top-level assets which have the metadata schema applied appear. Child assets will be displayed in the table only when their schema options differ from their parents.
Sections
A section allows you to group metadata fields. You need to add a section before you can add a field to the metadata schema. Within the HTML source code of the page, a section will appear as a comment.
Adding a section
To add a section to a metadata schema, go to the Details screen of the schema. Enter the name of the new section into the section name field and save the screen. A new section will appear in the Metadata sections.
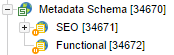
A Metadata section asset will also appear under the metadata schema in the asset tree.
Editing a section
To edit a section, load the Details screen.
Details
This section allows you to change the name of the section and add a description.
The following fields are available:
- Section name
-
The name of the section.
- Section description
-
A description of the section. This description will show on the Metadata screen of an asset. It can display information to your users about the purpose of this section.
Options
This section allows you to decide whether to show the section, all of its fields, and its description in the HTML source code of the page.
The following fields are available:
- Show on frontend
-
Select whether to show the section on the frontend. By default, this value is
yes, meaning that the section and all of its fields will appear in the HTML source code on the frontend. - Show description on frontend
-
Select whether to show the section description on the frontend.
- Expand this section by default on the Metadata screen
-
Select whether this section is expanded or collapsed by default on the Metadata page.
Fields
Only metadata schema sections can have fields added. There are different types of fields you can use within a metadata schema. To read more about each field type, refer to the metadata fields section.
Adding a field
To add a field to a metadata schema:
-
Go to the Details screen of the schema.
-
Find the sections defined for this metadata schema and locate the section to which you want to add the new field.
-
Enter the name of the new field into the New field name box.
-
Select a type from the New field type list.
-
Save the screen to add the new field to the Fields list for that section.
You will find a Field asset will also appear under the section in the Asset tree.
Editing a field
There are two ways to edit a field within a metadata schema:
-
On the Details screen of the schema, click the Edit metadata field link for the field. This link will take you to the Details screen for that field.
-
Right-click on the field asset in the asset tree and select Details.
Required metadata fields
On a field’s Details screen, you can mark a field as required. When you mark a field as required, the assets with this metadata schema applied will not be able to go live until the required fields are complete. If an asset has Workflow applied, the approval process will not complete until you fill the required values.
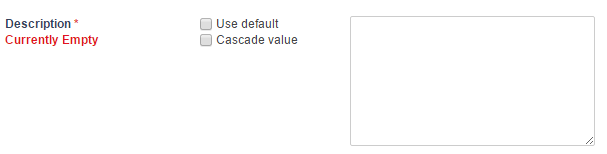
Required fields are marked with an asterisk on the Metadata screen of an asset. They will display the message Currently empty if there is no metadata entered.
Using keyword replacements
On the Details screen for a metadata field, you can use a keyword replacement in place of a value in a field.
For example, you can use a keyword replacement %asset_name% in the default field.
For a full list of keyword replacements, click the View all available keyword replacements link located under the Details section heading on the screen.
When you click on this link, a pop up will appear showing the full list of available keyword replacements. You can then copy and paste the keyword replacement you want to use from the list into a field.
Applying a metadata schema
Once you have built a metadata schema, you can apply it to various assets within your system. You can also apply multiple metadata schemas to an asset.
If, however, two or more schemas have the same field name, a warning message will appear. For example, if you apply two metadata schemas to an asset and both schemas have the field description, a warning will appear. For this reason, it is good practice to ensure metadata fields are uniquely named.
Any Matrix user can add or edit a metadata schema. However, only users with administrator privilege to an asset can apply a metadata schema to that asset.
You can apply a metadata schema to an asset on the Schemas screen. Once a schema is applied, you can fill out the values on the Metadata screen. Read the Asset metadata screen documentation for more information on how to apply a metadata schema and fill out the values.