Configure a user group
Once you create your user group, you can configure its settings on its associated asset screens. Read Asset screens for more information about the common asset screens in Squiz Content Management.
The Details, Feature restrictions, Members, Role assignments, and Preferences screens for a user group are different to the common screens.
| By default, any new user group that you create within the system will have Denied public read permission applied to it as a security precaution. |
Feature restrictions
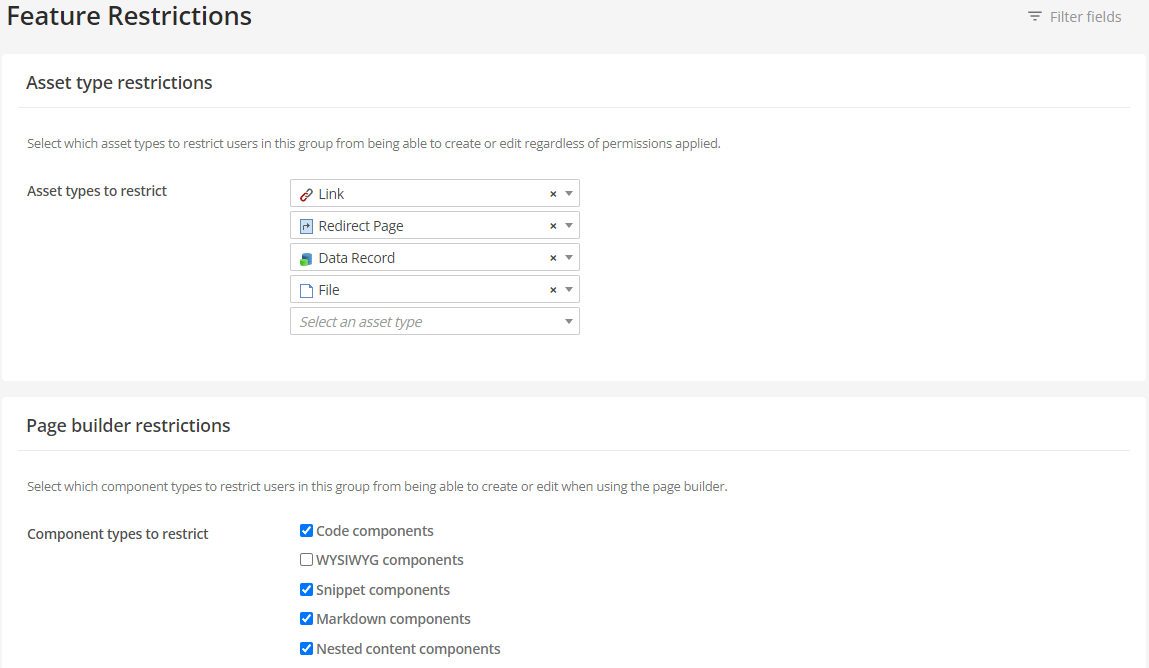
If you are a System administrator you can restrict access to certain Squiz Content Management features for User, Content editor, and Backend user account types through the Feature restrictions screen.
Feature restrictions make it possible for users to become productive faster in Squiz Content Management because they do not need to receive comprehensive training before they can begin contributing content to your Squiz Content Management sites.
|
Configuring which user interface features are available is not a security setting. When a user interface feature is made unavailable the page elements that provide the feature are hidden, not removed. |

The screen lets you configure restrictions for four types of features including:
-
Asset types
-
Page builder components
-
Tools
-
Asset screens.
Adding restrictions to this screen will hide and restrict access to those features within the admin UI for all users inside that user group. Feature restrictions do not apply to system administrators or root users.
For example, if you add Redirect page as an asset type restriction, users under that group can not create or edit any assets of that type, regardless of their permission access.
Content editor and Backend user account types already have a default set of features they can access. Read the documentation for more details about what assets, screens, and options content these account types have.
|
User interface settings can be configured using the Content editor feature restrictions page or the Feature restrictions pages The settings on these pages are nearly identical and are cumulative. The key difference is the scope of each page. The Content editor feature restrictions page controls what UI features are available to all Content editor users. The Feature restrictions page applies UI feature access settings to specified user groups. Both of these pages include a General features section and a Metadata display section. The restrictions under these headings are not as self-explanatory as the other settings on the page. |
General features
- Quick search of entire system (restricts to current asset tree only)
-
Enabling this restriction limits quick search to the current asset tree.
For example, if a user only has access to a certain tree of assets, their quick search will only search within this tree. Or if a user teleports to an asset, the quick search will only search that part of the current tree selection.
- Asset tree of entire system (restricts to current site only)
-
Enabling this restriction will limit the asset tree to the current Site asset.
An example of enabling this restriction is if you are on a domain that relates to a Site asset, the asset tree will be restricted to that Site asset.
- Cascade status from dropdown menu (restricts to current asset only)
-
Enabling this restriction hides the Cascade current status option from users when updating the status of an asset from the Screen header.
For example, when updating an asset from Under construction to Approve and make live, only the current asset can be moved to the new status. All child assets beneath the current asset retain their current statuses, instead of all being updated.
Metadata display
- Linked field type and ID
-
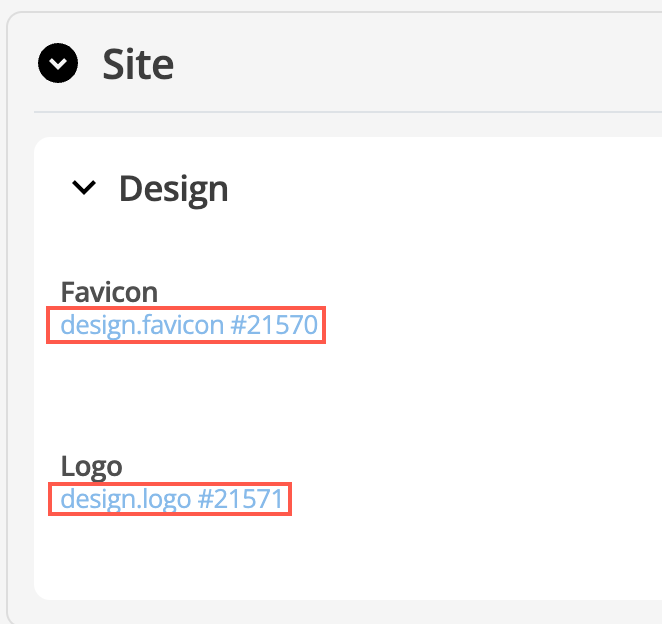
This setting lets you hide a Metadata screen UI element that shows a linked asset ID of the field:

- Advanced metadata
-
The Advanced metadata restriction toggle will hide any metadata schemas that have been marked as Advanced.

- Metadata code output
-
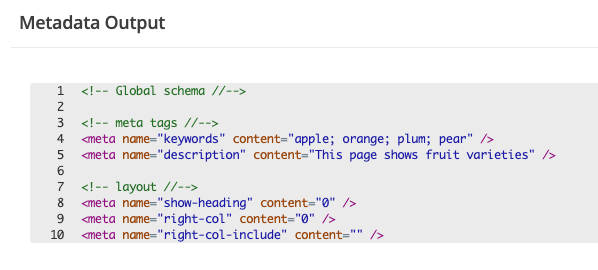
This restriction toggle hides the Metadata code output UI field.

Members screen
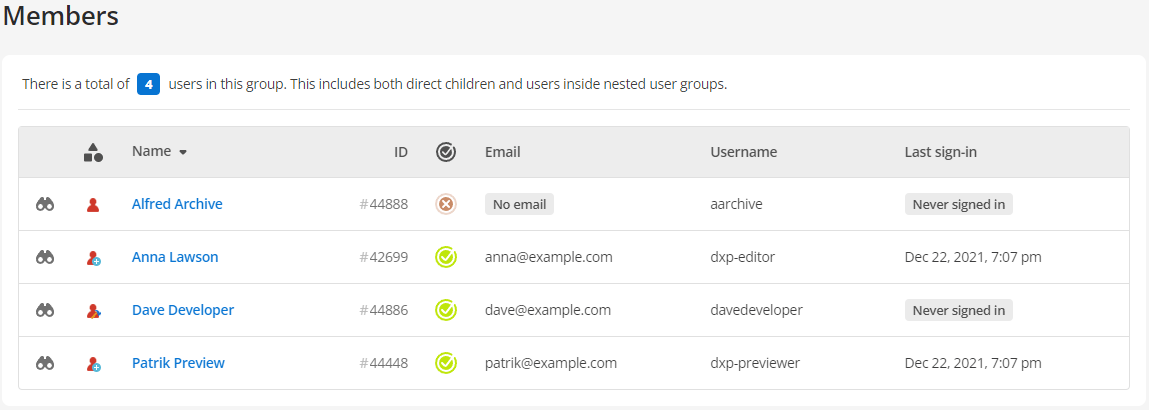
If you are a System administrator you can use the Members screen to see all the users of a particular user group, regardless of their hierarchy depth within that group.

This screen can help you manage large user and group sets within your Squiz Content Management instance by revealing all members in the user group, including those users that belong to nested user groups. Each user listed on this screen shows you high-level information such as their user type, status, username, full name, email address, and the last time they signed in to Squiz Content Management.
Click the binoculars to reveal the user in the asset tree. Click the username to load the Details screen for the user.
Usage screen
The usage screen shows you the permissions and workflow asset relationships that apply to the user group. You can use this screen to help resolve asset permissions issues and investigate workflow applicability right down to the workflow step level.
Permissions
The permissions tab loads by default and shows you the asset permissions applied at a user group level.

-
The asset name and type. Click the asset name to go directly to the asset or select
to show the assets' location in the asset tree.
-
The asset ID and its status.
-
Whether this user group is either granted or denied access to this asset.
-
The permission this user group has for the given asset. Indicated permissions include the following:
-
Read
-
Write
-
Admin
-
-
Whether the permissions are cascaded from the parent asset.
-
How many child assets are present beneath the parent asset.
Workflow
The workflow tab shows you any workflows that are associated with the user group.

|
Click the asset name to go directly to the asset or select |
-
The name of the workflow schema.
-
The name of each workflow stream that applies to the user group.
-
The name of the workflow step that applies to the user group.
-
The workflow schema’s asset ID and its current asset status
Role assignments
Roles are a specialized form of user groups where the users assigned to roles are not fixed like they are for regular user groups. Roles are generally not recommended for a system with only one site, and are therefore disabled by default for Squiz Content Management 6.
If you are a Root user you can enable role assignments through the settings group.
Read Roles to work out whether roles are necessary for your specific user group needs.
Preferences screen
The Preferences screen lets you customize various options for the users in the user group. For example, you can select which WYSIWYG plugins the user can use in the WYSIWYG editor toolbar.
The preferences available on this screen are the same as those available on the Global Preferences screen. Read Global preferences documentation for an explanation of the preference settings you can customize.
The Global preferences screen is the default settings screen for all users. You can override these preferences on this screen for each user group.
For example, you may want to remove the Select color plugin from the WYSIWYG editor toolbar for all users but allow your Content approvers user group to access it.
You can remove it on the Global preferences screen but then add it back on the Preferences screen for that user group.
To change a preference for all users who are members of a user group:
-
Select Customize this preference and click Save.
-
Additional fields will appear on the screen for that preference.
-
Make the changes required using the Global preferences for help with understanding each setting.
-
Click Save to modify the settings selected for this group.
| You can revert to the default setting by selecting the Revert to global preference checkbox before you click Save. |