Asset metadata screen
The Metadata screen lets you fill out the metadata values for an asset. These metadata values appear in the HTML source code of the page. You can also use metadata within your site. For example, you can display the metadata value of a PDF File in an Asset Listing. For more information on the Asset Listing, read Asset listing.
You can apply a metadata schema to all assets or a selection of assets. For more information on the Metadata Schema, read Configuring metadata schemas. A metadata schema defines the fields and their type, whether fields are required or optional, the default field value, whether a field is editable, and which fields appear in the HTML source code of the page.
Current frontend metadata
This section shows the metadata values that will appear in the HTML source code of the asset.
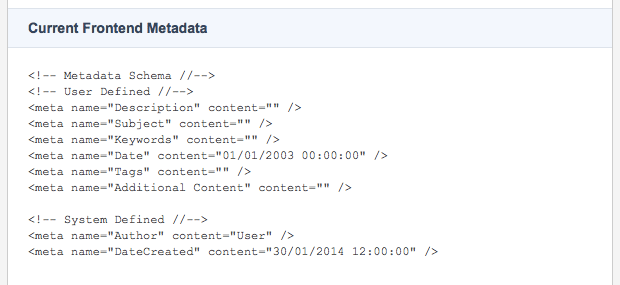
If a field is set not to appear on the frontend, it will not appear in this section. You cannot edit the metadata values in this section; you can only view them.
Metadata entry instructions
This section lets you enter the metadata values for the asset. Each field defined in the Metadata Schema applied to the asset will appear in this section.
If a field is editable, the boxes will appear next to each field name. For example, Description, Subject, Keywords, Date, Tags and, Additional content are editable fields.
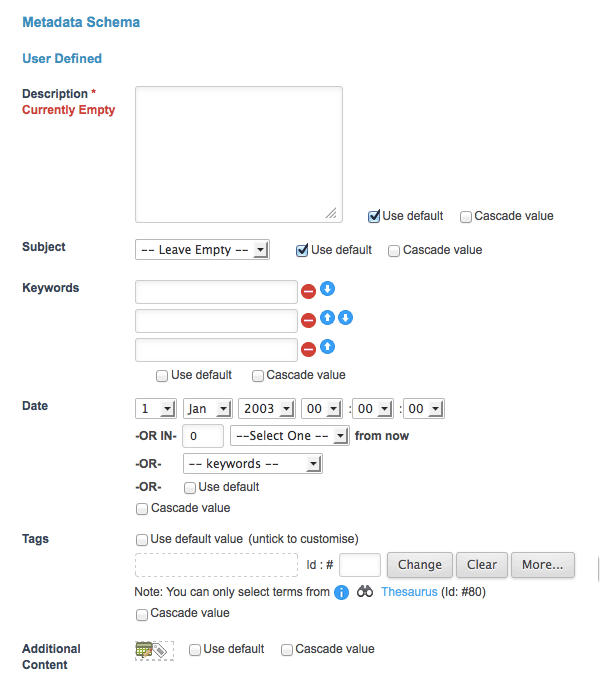
An asterisk (*) appears next to the field’s name to indicate the field is required.
For example, in Editable metadata fields above, the *Description* field is a required field.
| If there are any required fields defined for a Metadata Schema, the asset will not be able to be made live until you complete all required fields. |
If a field is not editable, the boxes do not appear next to the field. For example, Author and DateCreated are not editable fields.

Editing a text field
A text field lets you type information into the box for the field. For example, the Description field is a text field.
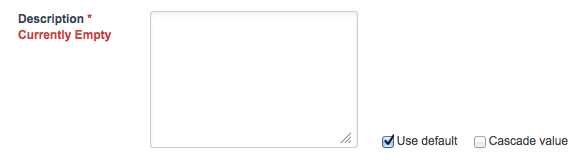
The text field lets you type in any information that helps describe the current asset’s content.
To edit the field, clear the Use default option, and the box will become editable. Enter the value into the box provided and click Save. If you want to cascade the value you entered to the child assets, select the Cascade value option before you click Save.
Editing a select field
A select field lets you choose a value(s) from a pre-defined list. This list is defined when you create the Metadata Schema. The list in a select field can appear in one of four ways:
- Drop-down list
-
Select a value from the list. You can only select one value. If you select Leave empty, the metadata field will be left blank.
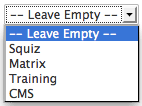 Figure 5. A Drop-down list
 - Multi-select list
-
Select the value from the list. You can select multiple values by holding down the Ctrl key on the keyboard and clicking on the values in the box. To clear a value hold down the Ctrl key and click on the selected value. If you do not select anything from the list, the metadata field will be left blank.
 Figure 6. A Multi-select list
 - Checkbox list
-
Select a value from the list by clicking on the box next to the value. With a checkbox list, you can select multiple values in the list. To clear a value, click on the box next to the selected value. If you do not select a value in the list, the metadata field will be left blank.
 Figure 7. A Checkbox list
 - Radio button list
-
Select a value from the list by clicking on the box next to the value. You can only select one value from the list. If you select Leave empty, the metadata field will be left blank.
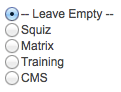 Figure 8. A Radio button list
To edit the field, clear the Use default option, and the box will become editable. Select the value from the list provided and click Save. If you want to cascade the value(s) you have selected to the child assets, select the Cascade value option before you click Save.
Editing a Multiple Text field
A multiple text field lets you enter your list of values. You can enter as many values as you want on this list. An example of a multiple text field:
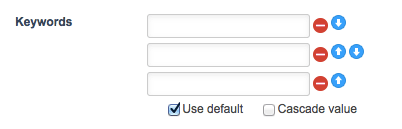
To edit the field, clear the Use default option, and the boxes will become editable. Enter one value per box. As you add values, additional boxes will appear on the screen. Once you have entered the required values, click Save. To delete a value from the list, click on the Delete icon.
To rearrange the list, you can click on the Up arrow icon or Down arrow icon.
If you rearrange the list, remember to click Save; otherwise, the new list order does not save. If you want to cascade the values you have entered to the child assets, select the Cascade value option before you click Save.
Editing a date field
A date field lets you enter the date and time for a metadata value. You can enter a specific date and time, or you can select a date and time from the Keywords list of values. This list of values include:
- Creation date
-
This is the date and time when a user created the asset.
- Last updated date
-
This is the date and time of the previous time a user clicked the Save button.
- Last published date
-
This is the date and time of the previous time the asset status was changed to Live.
An example of a date field:
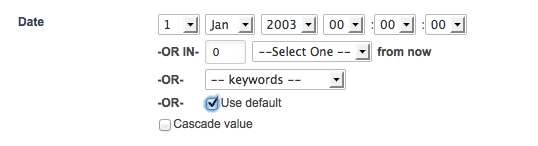
To edit the field, clear the Use default option, and the boxes will become editable. Either select the date and time from the lists provided or select a value in the keywords list and click Save. If you want to cascade the value you entered to the child assets, select the Cascade value option before you click Save.
Editing a thesaurus field
A thesaurus field lets you select terms from a Thesaurus asset in the asset tree.
To edit the field, clear the Use default option, and additional fields will appear on the screen:
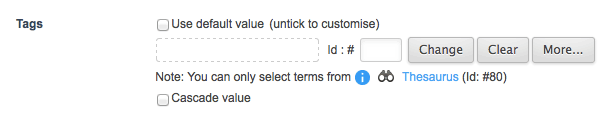
Select the term you want to use from the Thesaurus and click Save. To find which Thesaurus in the asset tree you can use to select the terms from, click on the Binoculars icon. You can add additional terms by clicking on the More… button. If you want to cascade the terms you have selected to the child assets, select the Cascade value option before you click Save.
Editing a WYSIWYG field
A WYSIWYG field lets you enter rich text into the metadata field through the WYSIWYG editor.
To edit the field, clear the Use default option and then click Save; the WYSIWYG editor will appear on the screen:
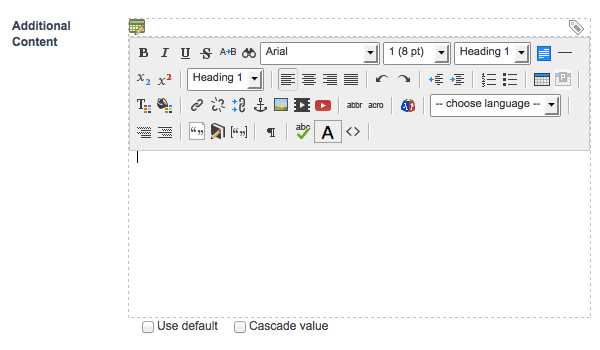
Enter the value into the WYSIWYG editor and click Save. If you want to cascade the value you entered to the child assets, select the Cascade value option before you click Save.
Editing a hierarchy field
A hierarchy field is similar to a select list where you can choose a value(s) from a pre-defined list. This list is defined when you create the Metadata Schema. How you set up the list controls what fields display on the metadata screen.
Flat view hierarchy field
An example of a flat view hierarchy field:

To edit the field, clear the Use default option, and the box becomes editable. Select the value from the list provided and click Save. If you want to cascade the value you have selected to the child assets, select the Cascade value option before you click Save.
Drill-down view hierarchy field
An example of a drill-down view hierarchy field:
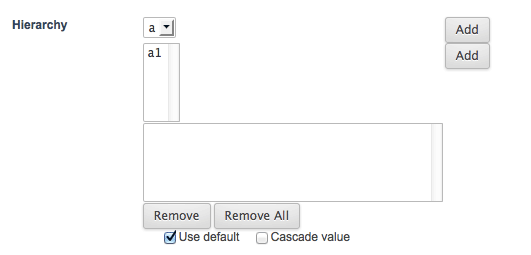
To edit the field, clear the Use default option, and the boxes will become editable. Each level in the hierarchy displays in the field, followed by the list of selected values.
In the previous example, there are two levels in the hierarchy, followed by the list of selected values, which is empty. Add the values to the select list by using the Add buttons and click Save. For example, when you select the first Add button, a.a is added to the selected values. When you choose a1 from the second list and select the second Add button, a.a1 is added to the selected values:
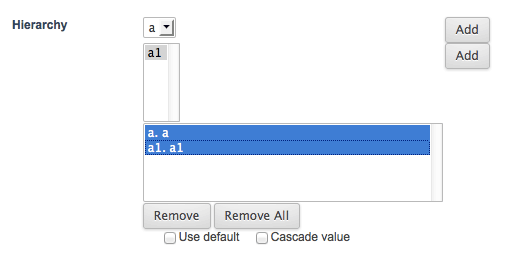
Select the values in the select list to save them. The values are not saved for this field if the select list items do not have a highlighted background. To remove a value from the list, select the value from the list, and select Remove. To remove all values from the list, select Remove all.
If you want to cascade the value(s) you have selected to the child assets, click the Cascade value option before you click Save.
An action bar is available on the top of the Metadata screen. The Keyword replacements and Keyword Extractions links and popups have been moved into this action and have refreshed icons.
Using keyword replacements
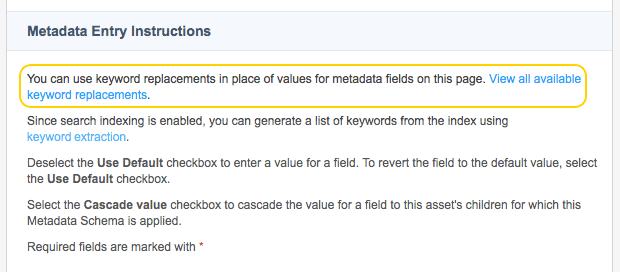
Instead of specifying a value into a metadata field, you can use keyword replacements to fill out the information for you. For example, if there is a field called Page Name, you can use the keyword replacement in the metadata field. Squiz Content Management will replace this keyword and put the name of the asset in this field.
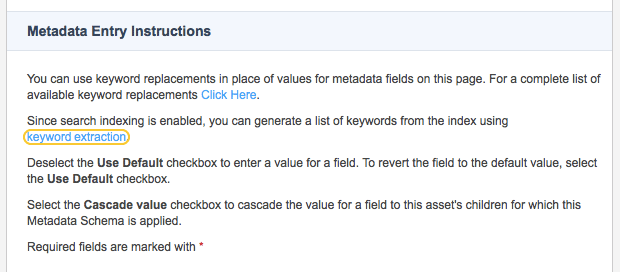
In the Metadata Entry Instructions section, click the View all available keyword replacements link to view the keywords.
When you click on this link a pop up will appear showing the full list of available keyword replacements:
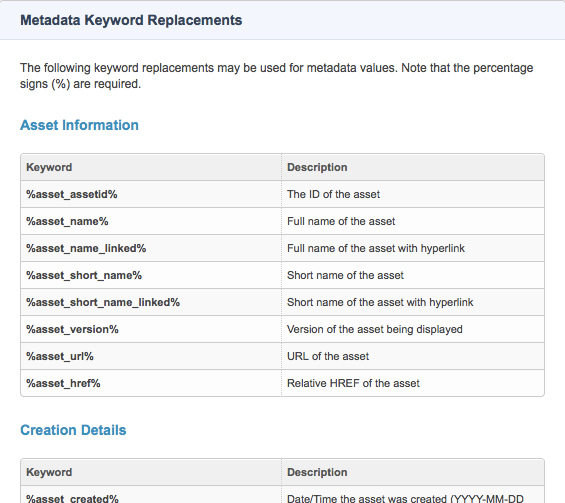
Highlight the keyword replacement you want to use from the list provided, copy it by pressing Ctrl+C on the keyboard, and paste it into the metadata field by pressing Ctrl+V on the keyboard.
Using keyword extraction
If your system administrator has set up Search Manager in your Content Management system, you can use the keyword extraction tool to get a list of possible keywords for an asset. For more information on the Search Manager, refer to the Search manual. This tool helps you to create a list of keywords to use in a metadata field.
Under the Metadata entry instructions section heading on the Metadata screen, there is a link called keyword extraction:
When you click on this link a pop up will appear showing the list of keywords:
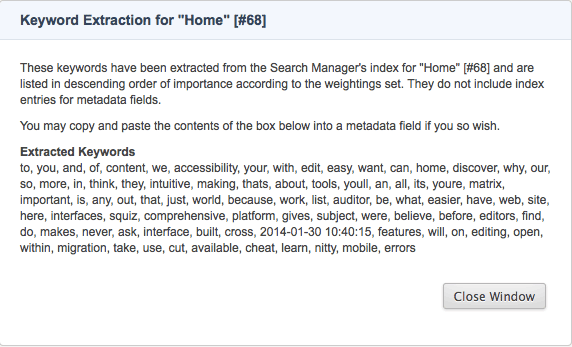
The Extracted Keywords section shows a list of all keywords extracted from the content of the asset. The most commonly occurring keywords control the order of this list. Highlight the keywords you want to use from the list provided, copy them by pressing Ctrl+C on the keyboard, and paste them into the metadata field by pressing Ctrl+V on the keyboard.
At the top of the Metadata screen are Expand all and Collapse all buttons. Regardless of the current metadata accordion states, these buttons will collapse or expand all sections and reset any open or closed states.
Each Schema and Section has an accordion so they can be collapsed or expanded. The accordions are open by default unless otherwise specified in the config. They feature a new design that better supports the added features.
The Metadata output block is called Metadata code output. The block has been moved to the bottom of the Metadata screen from its previous location at the top.