Remote content
The remote content asset allows you to display the content of an external page within your site. This can be a page from another website or an external application.
You can specify a user name and password for HTTP authentication with the embedded site and even define start and end tags to specify that content on the remote page between the tags will be discarded. You can use this feature to strip off the design component of the remote page, to simplify its look when nested in your site.
You can also use the Content filtering fields on the Details screen to format the content that is being shown.
The remote content asset should only be used to show external pages within your site. To show internal pages, you can use a nested component.
Details screen
The Details screen of the remote content asset allows you to set up the asset. This includes specifying the URL of the external page, what content to show from the page and the page’s format.
Read the Asset screens documentation for more information about the Status, Future status, Thumbnail, and Details sections.
Location
The location section allows you to specify the location of the external page you would like to nest within your site.

By default, http://matrix.squiz.net will appear. Enter the full URL of the page in the Remote URL field. You need to include the protocol (for example, HTTP:// or HTTPS://) of the URL; otherwise, the content will not be nested correctly.
| You can use the keyword replacement to print the remote URL of the remote content asset. |
Tunneling
The tunneling section allows you to change what information is being shown within your site.
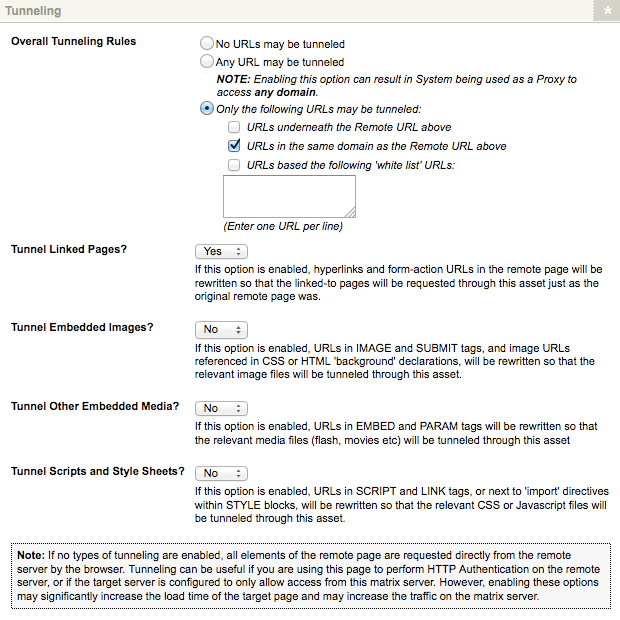
By default, content tunneling is not turned on for the remote content asset meaning that all the elements of the remote page like images, media, and external scripts are requested by the browser from their original location. This can cause problems if the remote content page has HTTP authentication or is configured to allow access by this Squiz Content Management server because of the individual requests for each element.
Squiz Content Management therefore allows you to enable content tunneling for images, media, and scripts. This means that the remote content asset will request those elements of the content itself and can therefore authenticate separately for each element.
| Enabling these options may significantly increase the load time of the target page and increase the traffic of the Squiz Content Management server. |
The fields that are available in this section are as follows.
- Overall tunneling rules
-
This section allows you to specify what to do with the hyperlinks on the page. By default, Any URL may be tunneled is selected. This means that the hyperlinks are rewritten so that when a user clicks on them, they will open within your site. The available options are as follows:
- No URLs may be tunneled
-
Select this option if you do not want the hyperlinks to be rewritten. This means that when a user clicks on a hyperlink, it will go to the original page.
- Any URL may be tunneled
-
Select this option if you want the hyperlinks on the page to be rewritten. When a user clicks on a hyperlink, it will open within your site as remote content.
Enabling this option can result in the system being used as a proxy to access any domain. - Only the following URLs may be tunneled
-
Select this option if you only want certain hyperlinks to be rewritten. The options that are available once you select this option are as follows:
-
URLs underneath the remote URL above: Select this option only to rewrite the URLs under the URL entered into the remote URL field above.
-
URLs in the same domain as the remote URL above: Select this option only to rewrite the URLs in the same domain as the URL entered into the remote URL field above.
-
URLs based on the following 'allow list' URLs: Select this option to enter a list of URLs to be rewritten. Enter each URL on a new line in the text field under this option.
-
- Tunnel linked pages?
-
If you select Yes, any hyperlinks and form-action URLs contained within the content will be rewritten so that when a user clicks on it, it will open within your site. If you select No when a user clicks on a link, it will open up within the original site.
- Tunnel embedded images?
-
If this is set to No, all images within the remote page are requested from their original location. If this is set to Yes, the remote content asset will request images.
- Tunnel other embedded media?
-
If this is set to No, anything that is not an image is requested from their original location. If this is set to Yes, the remote content asset will request elements.
- Tunnel scripts and style sheets?
-
If this is set to No, CSS or javascript scripts are requested by the browser from their original location. If this is set to Yes, the remote content asset will request them.
Content filtering
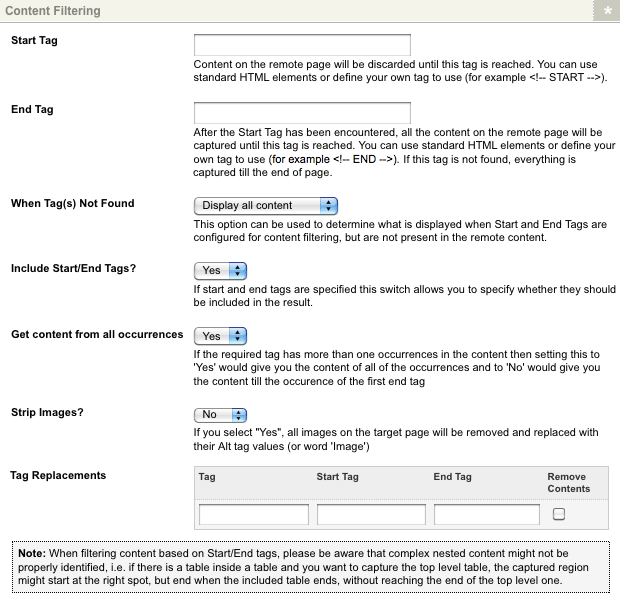
The content filtering section allows you to specify which content from the external page to show within your site and format the content.
The fields that are available in this section are as follows.
- Start tag
-
Enter an HTML tag from the external site. Content on the remote content asset will be discarded until this tag is reached within the HTML source code. You can use standard HTML elements (for example
<div>) or define your own tag in the external site to use (for example<!--start-→). When used in conjunction with the end tag, it allows you to strip out parts of the remote content page you do not want to appear, for example, the design. - End tag
-
Enter an HTML tag from the external site. All of the content found between the start and end tag will be displayed on the remote content asset. You can use standard HTML elements (for example
</div>) or define your own tag in the external site to use (for example<!--end-→). If the end tag is not found, all content from the start tag until the end of the page will be displayed by default. - When tag(s) not found
-
This field allows you to specify what to do if the start and end tags do not exist within the external page. You can select to show all of the content from the external page or no content. By default, Display all content is selected.
- Include start/end tags
-
Select whether to use the start and end tags specified in the fields above.
- Get content from all occurrences
-
This option allows you to configure how multiple occurrences of the start and end tags are handled. If this is set to Yes and multiple occurrences of the start and end tags are found, each one will be included in the remote content asset. For example, if the content is:
<div>Testing this <div>Now</div> HERE</div>
<div>Test that</div>
And the start tag is <div> and the end tag is: </div>, the remote content asset will display all of the content found in the example code.
If this option is set to No, the first occurrence of the start and end tags is matched.
In this example, only the following would be displayed in the remote content asset:
<div>Testing this <div>Now</div>It finds the first occurrence of the start tag and the first occurrence of the end tag and displays all of the content found between these two tags.
- Strip images
-
Specify whether to remove images on the page within your site and replace them with their alt tag values. If no alt tag has been set for an image, the word image will appear instead.
- Tag replacements
-
This section allows you to replace an HTML tag within the remote content with either HTML code or keyword replacements. For example, you can replace the HTML tag
strongwith<span style="color: rgb(255, 0, 0);">and</span>which will make the text red. Specify the tag to replace in the Tag field and the replacement tags in the Start tag and End tag fields.
For example, say the remote content page has the following content:
<p>Hello <strong>There</strong></p>If you set the tag to Strong, set the start tag to <span style="color: rgb(255, 0, 0);"> and the end tag to </span>, it will result in the following content on the remote content asset:
<p>Hello <span style="color: rgb(255, 0, 0);">There</span></p>This will mean that there will appear in red text. If you select the Remove content box, it will remove any content between the specified start and end tags. In our example, this would result in the following content:
<p>Hello</p>Connection settings
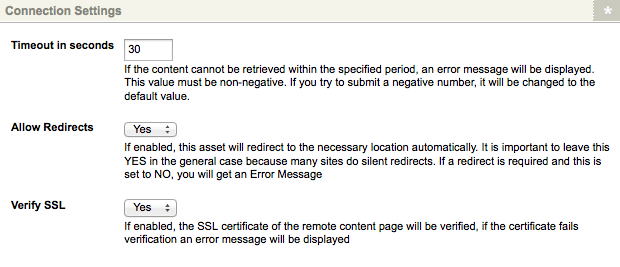
The connection settings section allows you to set the connection settings for the remote content asset.
The fields that are available in this section are as follows.
- Timeout in seconds
-
Enter a timeout value into this box. If the content cannot be retrieved within the specified period, an error message will be displayed. This value must be greater than zero. If you enter a value less than zero, it will revert to the default value of
30. - Allow redirects
-
By default, this is set to Yes. This means that if the remote page is a redirect page, the remote content asset will be redirected to the correct location. If this changed to No, an error message will display, and the remote content asset will not be redirected.
- Verify SSL
-
Determines if the remote content asset will attempt to verify the SSL certificate of the external site that is being nested. By default, this field is set to Yes, meaning that this asset will attempt to verify the SSL certificate; if a certificate fails verification, an error message will be displayed. Disabling this option will mean this process will be bypassed. This option is helpful for users wanting to nest content from web pages that do not have a valid SSL certificate but are otherwise known to be secure.
HTTP authentication
The HTTP authentication section allows you to enter a user name and password to use for the external page.
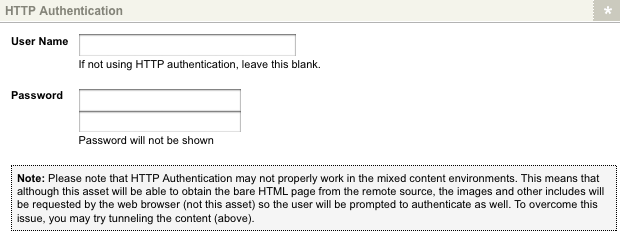
Although this asset will authenticate and obtain the basic HTML page from the external site, in a mixed-content environment the images and other includes will be required by the web browser, so the user will still be prompted to authenticate. To overcome this issue, you may try tunneling the content.
The fields that are available in this section are as follows.
- User name
-
Enter the user name to be authenticated into this box. If you are not using HTTP authentication, leave this blank.
- Password
-
Enter the password into both boxes for the HTTP authentication account. If the passwords you have entered do not match, you will receive a warning, and the changes to this screen will not be saved.
Messages screen
The messages screen allows you to customize the error and binary file messages that appear on the page.
Unavailable content
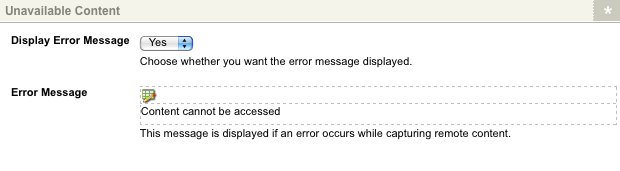
This section allows you to specify the error message displayed when the external URL is unavailable.
The fields that are available in this section are as follows.
- Display error message
-
Select whether to show the error message. By default, this is set to Yes.
- Error message
-
To edit the default error message:
-
Click on the edit
 icon.
The WYSIWYG editor will appear as shown in the figure below.
icon.
The WYSIWYG editor will appear as shown in the figure below.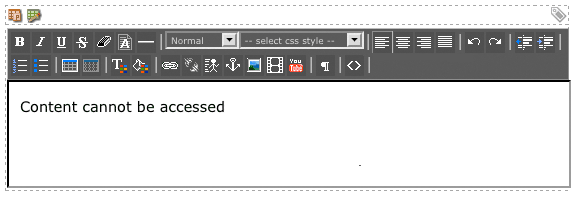
-
Edit the error message.
-
Click Save.
-
Binary files
This section allows you to specify the error message displayed if the remote content is a binary file.
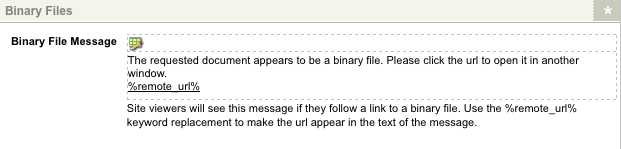
Binary files cannot be displayed within a remote content asset. To edit the default error message:
-
Click on the edit
icon.
The WYSIWYG editor will appear as shown in the figure below.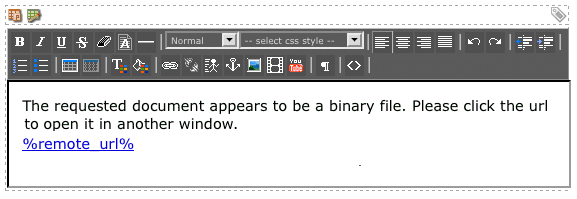
-
Edit the error message.
-
Click Save. You can use the keyword replacement to display the URL within the error message.
Post data screen
The Post data screen allows you to specify custom POST data to be sent with the initial request to the external URL. The POST data is not sent for subsequent requests while the user is navigating within the remote content environment.
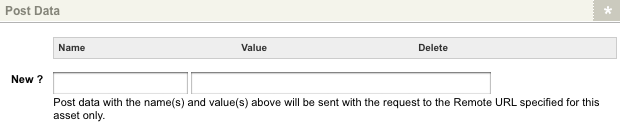
By default, no POST values appear, as shown in the figure above.
To add POST values:
-
In the New section add the name of the field into the first box.
-
Enter the value into the second box.
-
Click Save. The POST value will appear in the grey box at the top of the screen.

To delete a POST value:
-
Click the Delete box for that value.
-
Click Save.