The OAuth2 process
To learn about OAuth2 authorization and the mechanism that underpins it, we recommend The OAuth Bible.
The explanation below is based on this resource, with the required customization made for Integrations.
| Every OAuth2 API provider has specific requirements. Make sure to check the documentation of the service before assuming anything and building the OAuth2 routines in your component. |
Establishing the initial connections
The purpose of any basic integration scenario is to communicate the data between the systems.
To prevent any third party from getting access to this data, the involved systems need to communicate securely. This is done by establishing a secure connection via OAuth where the data is communicated to and between known parties.
Within the scope of the platform the known parties are:
- User
-
This is the individual (perhaps you) who holds the ultimate rights to the data. This data is protected by the credentials which are unique to this individual, the user.
- Service
-
This is the external resource where the protected data is hosted. For example Salesforce, Google, SAP, and more.
- Application
-
This is the program that is going to access the external data on behalf of the user. In our case, it is Integrations.
Before the platform (the application) would be given access to the protected data it needs to be ready to receive greetings and then would need to be introduced to that party (the service).
These are the necessary steps:
-
At the application, we need to configure the OAuth Callback URL to receive the greetings. We have an example of how to configure the OAuth Callback redirect URL. This is the URL where the service is going to send the Authentication confirmation.
-
The application needs to be registered with the service as a reliable party. This is done by creating an OAuth App at the service as explained in the case of Creating OAuth2 app in Salesforce
At this stage, no data belonging to any user is being exchanged.
This stage is usually done once per each external service.
This stage in the process produces specific values for client_id and client_secret.
These values are used afterward by the application to get access to the service to authenticate the user credentials.
Redirecting the user to the service
At this stage the user is being redirected to the service by an application using the following information:
- client_id
-
This is a unique identification of the application.
- client_secret
-
This is also provided by the application.
- auth_uri
-
This is the URL that the application is going to use to get the user authenticated.
- token_uri
-
This is the URL that is going to be used by the application to request the
access_tokenandrefresh_token. - scopes
-
Optional, this is usually to indicate what is the given scope of access.
Some OAuth API providers support more parameters that can be sent with this redirect. What additional parameters and how they are sent could be different from OAuth API provider to provider. It is recommended that you consult the documentation from each API provider to customize this procedure accordingly.
User authenticates
Here, the user gives explicit consent to the application so that it can access the protected data stored at the service provider on their behalf.
For example, in the case of the Google Spreadsheets component user would need to just start the process of verification like this:
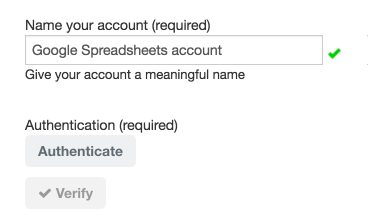
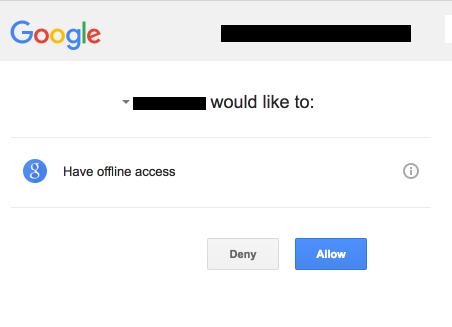
This sends a request to Google with all the necessary information already encoded in the request. If the user is already logged into the Google then a screen like this would be presented:
In some other cases the user might need to sign in to the system and authorize:
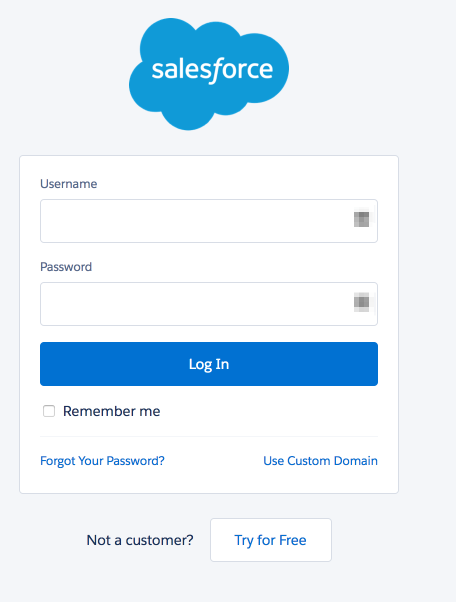
Some service providers might require a different sequence of events but the procedure is analogous.
In the end, the service is redirecting our user back to the application using the specific OAuth Callback URL with a specific code. This code will be used by the application for further negotiation.
| If everything is executed correctly this would be the last instance wherein the user would need to manually authorize the application to act on their behalf to access the protected data at the service provider. |
The application asks for access
From this point on the application and the service are negotiating the connection terms and establishing the rules.
The code which was given to the user after giving explicit access to the application is taken and included in the next call to the service by the application to acquire an access_token.
This time application sends the request to the token_uri.
Here is what this request includes:
- client_id
-
The same unique ID for this application.
- client_secret
-
The same secret for this application.
- code
-
This is exactly the code that the user was given earlier.
- redirect_uri
-
This is the same OAuth Callback URL for the application to receive the response from the service.
- grant_type = "authorization_code"
-
This values is required in order the procedure to go further.
After receiving the above information the service confirms the validity of the client_id and client_secret together with the code and issues a call to redirect_uri containing the access_token:
- access_token
-
This token is going to be used by the application to request the secured data on the service side.
- expires_in
-
This is the time until which the
access_tokenis valid. - refresh_token
-
This is the token that is going to be used by the application to request a new
access_tokenwhen it gets expired afterexpires_intime.
Refreshing the tokens
In most of the cases, access_token has some specific timespan (determined by expires_in) during which it is valid.
When this time passes service responds with 401 UNAUTHORIZED error.
Upon encountering this error application must initiate the procedure of refreshing the access_token using the earlier given refresh_token.
When the application receives the access error it initiates a call to token_uri with the following content:
-
client_id -
client_secret -
refresh_token -
grant_type= "refresh_token": This is a required parameter and must be passed for the call to be accepted. -
scope: This is an optional parameter that can be included if it is required, however, it should not have a different value from the ones earlier defined during the initial establishment.
What follows is similar. The service validates the supplied parameters and issues a call including:
- access_token
-
This is the new one.
- issued_at
-
This is the timestamp of the
access_tokenissue which together with theexpires_inparameter can be used to initiate an automatic refreshing of tokens if needed. - refresh_token
-
Some OAuth API providers might issue a new
refresh_tokenduring this procedure. It is the responsibility of the developer to encounter this.
After the tokens are refreshed application can resume accessing the protected data stored with the service.