Mapping data
As data is passed through a flow, the format of the data may need to be modified so that the Receiver component can recognise and use it. The Mapping is carried out inside the component that receives the data, so that the Output data can be received by the next component in the flow.
Tutorials including how to create your first integration flow, creating a webhook flow and data samples serve as a good introduction to data-mapping. It is dealt with here in further depth.
Tip: Data mapping is a relatively simple process that says Field A in the input maps to Field Z in the output. However sometimes this may not be sufficient. See the section Transforming data to learn about more complex data changes such as concatonating fields.
Mapping simple values
Let us consider a simple scenario when we have an incoming data through the Webhook component like the following JSON structure.
{
  "name": "Goose",
  "status": "sold"
}
We need to map these values into fields that are supported by the Petstore API component. Let us jump into the integration flow design right at the mapping stage.
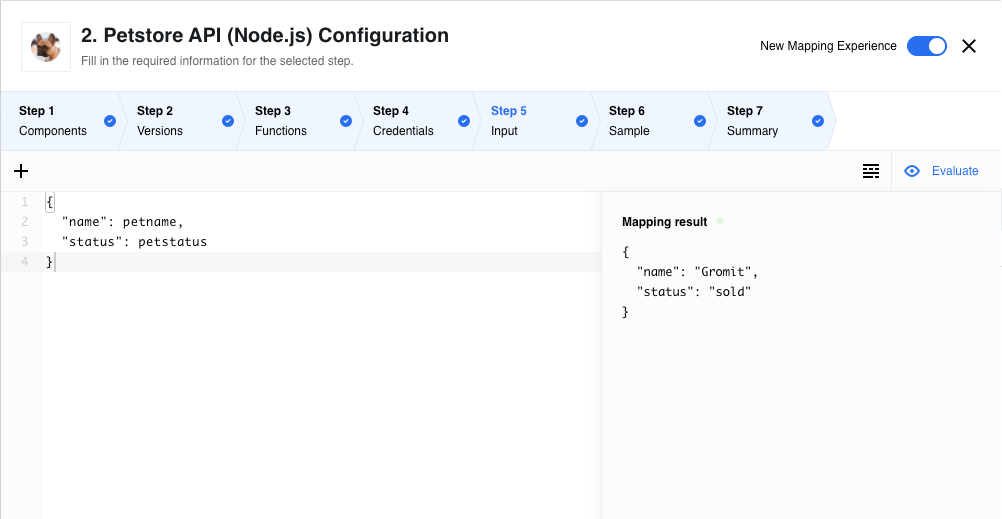
The screenshot above shows the Input tab of the Component Configuration. This is where the mapping is done.
Note: This screenshot shows a simple example. More complex components may require you to configure other elements of the incoming data.
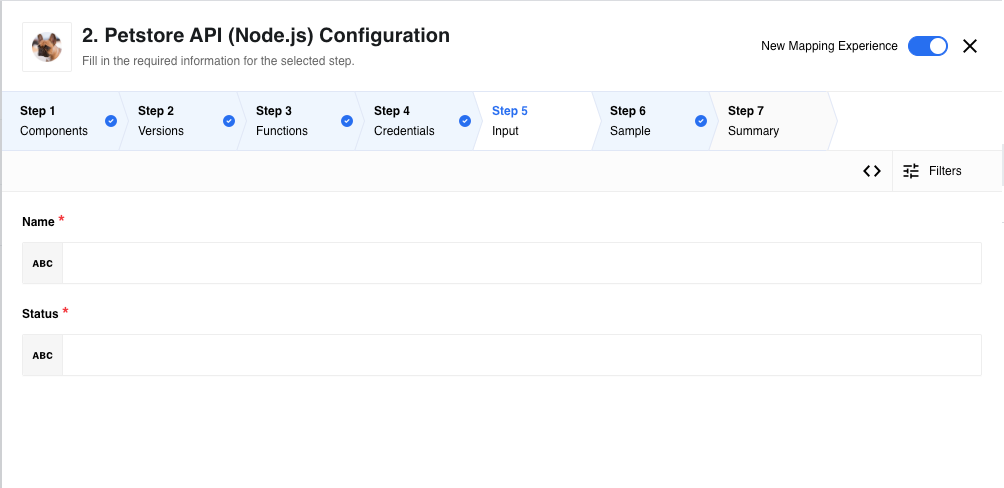
The Petstore API operation for creating a Pet requires a name and a status for the new pet.
That’s why the component has two mandatory (see red asterisks) mapping fields: Name and Status. These must be populated before we can continue.
Hover over a field to view the options. Choose the Plus icon. You can use the Search field to find the field you want or browse through the Steps with available output data to find the field you want.
For example, our incoming data has a field petname which we match with the Name field from Petstore API component. We also match petstatus with Status.
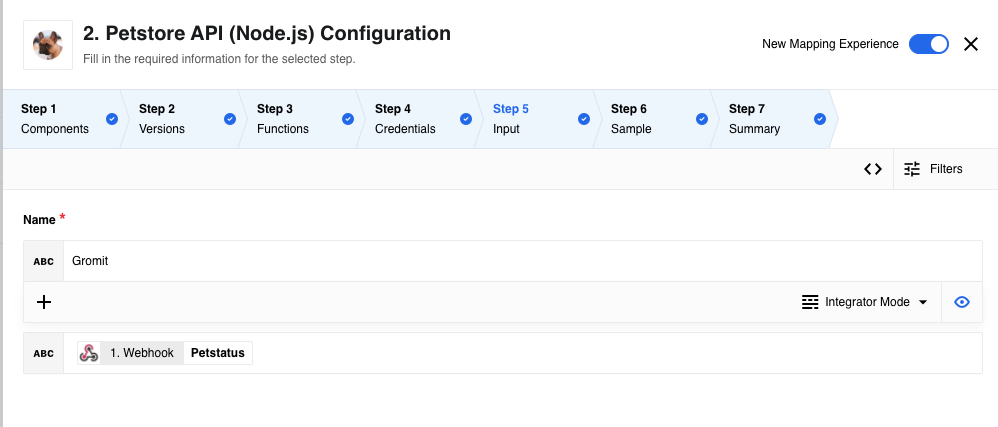
Click the Eye icon to view the mapping result. This can help to ensure you have mapped the right field if there are numerous fields with similar names. The screenshot above shows the successful mapping result which is Gromit.
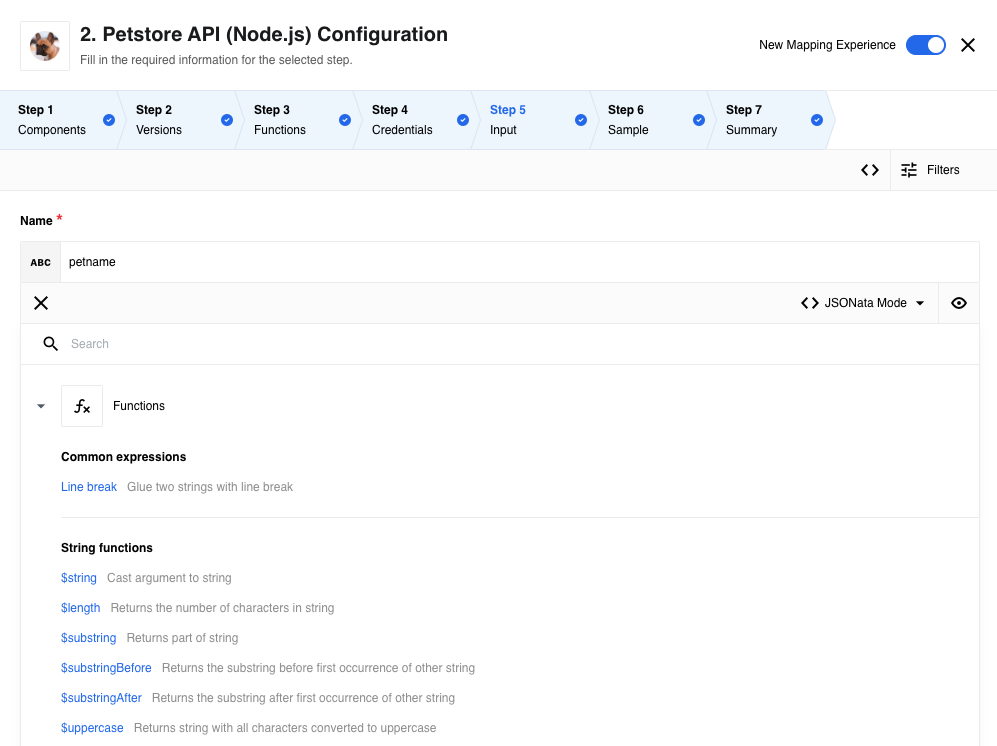
Before going further, hover over the field again. Switch from Integrator mode to JSON mode to see the list of functions and expressions available.
Using advanced mapping mode
The UI mode enables you to carry out simple field to field mapping. However you can use Developer mode for more complex actions such as array to array mapping. To enter Developer move choose the "< >" icon above the first mapping fields.
The following screenshot shows the Mapping function on the Input screen in Developer mode.
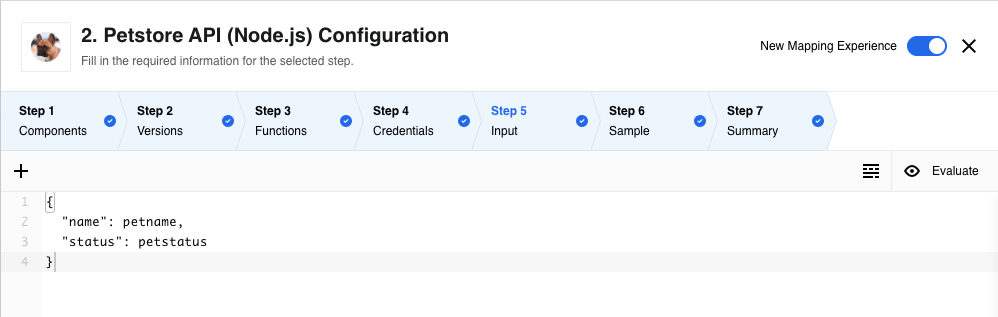
In Developer mode you can write a single JSONata expression for the entire input object instead of defining expressions for each individual field.
To use the Developer mode, you need to know the meta-model of the input data: the structure of the object and the property names.
Therefore, when you switch from Integrator mode to Developer mode, the mapper input field is pre-populated with the required JSON expression. The Integrations generates it from the incoming meta-model parameter values and random property values. You can write your mapping by overriding the property values with variables.
The above screenshot shows how the property values are replaced by the variables name and status.
These variables get their values from the incoming payload of the Webhook component.
To get a mapping result, you should evaluate the expression by clicking the Eye button.
| Your expression is evaluated as you type. The result is shown at once below the mapper input field, in the Mapping result section. An error message appears if you type an invalid expression. |
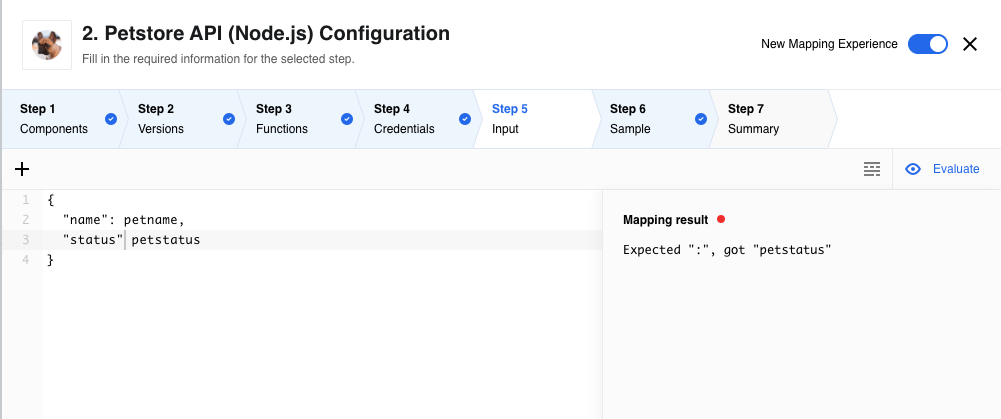
The screenshot above shows the incomplete JSON structure which is not accepted by Integrations and the error is shown in the Mapping result section.
| You can switch between Developer and Integrator modes during the design of integration flow but not after the flow is published. To change the mapping mode a new draft version of a flow must be created. |