Building a flow from a recipe
A recipe is a template for a complete integration flow.
Recipes allow you to set up a typical, re-usable complex flow without you needing to understand the entirety of the flow from scratch. A number of Integrations recipes are already available on the Squiz Marketplace.
Once you initiate a recipe’s activation process (first from Squiz Marketplace and then in Integrations, after signing in if necessary), you are taken to the Quick Recipe Setup panel in Integrations, where you can configure the workspace in which your recipe will be activated, as well as all the credentials required by all relevant steps within the resulting flow.
After completing the recipe’s set-up and activation process, your flow will be created, ready for you to use.
The visibility of your flow can be at either the workspace or contract level. Setting a certain visibility level requires corresponding permissions.
Learn how to add a recipe from Squiz Marketplace
Obtaining and activating a flow’s recipe
To obtain a recipe for a flow in Integrations, begin the process from the Squiz Marketplace:
-
Visit the Squiz Marketplace’s Recipes tab and click the appropriate Integrations recipe’s tile to begin activating that recipe.
All recipes listed in Squiz Marketplace are designed for Integrations, and each of these recipes works with other Squiz Digital Experience Platform (DXP) products. -
On the specific recipe’s page in Squiz Marketplace, click the Activate Recipe button, which begins the activation process and opens the recipe’s overview page in a new browser tab within Integrations.
If you are not already signed in to Integrations, you will be prompted to do so before continuing. -
On the recipe’s overview page in Integrations, click the Activate button within the Recipe Summary section to open the Quick Recipe Setup panel.
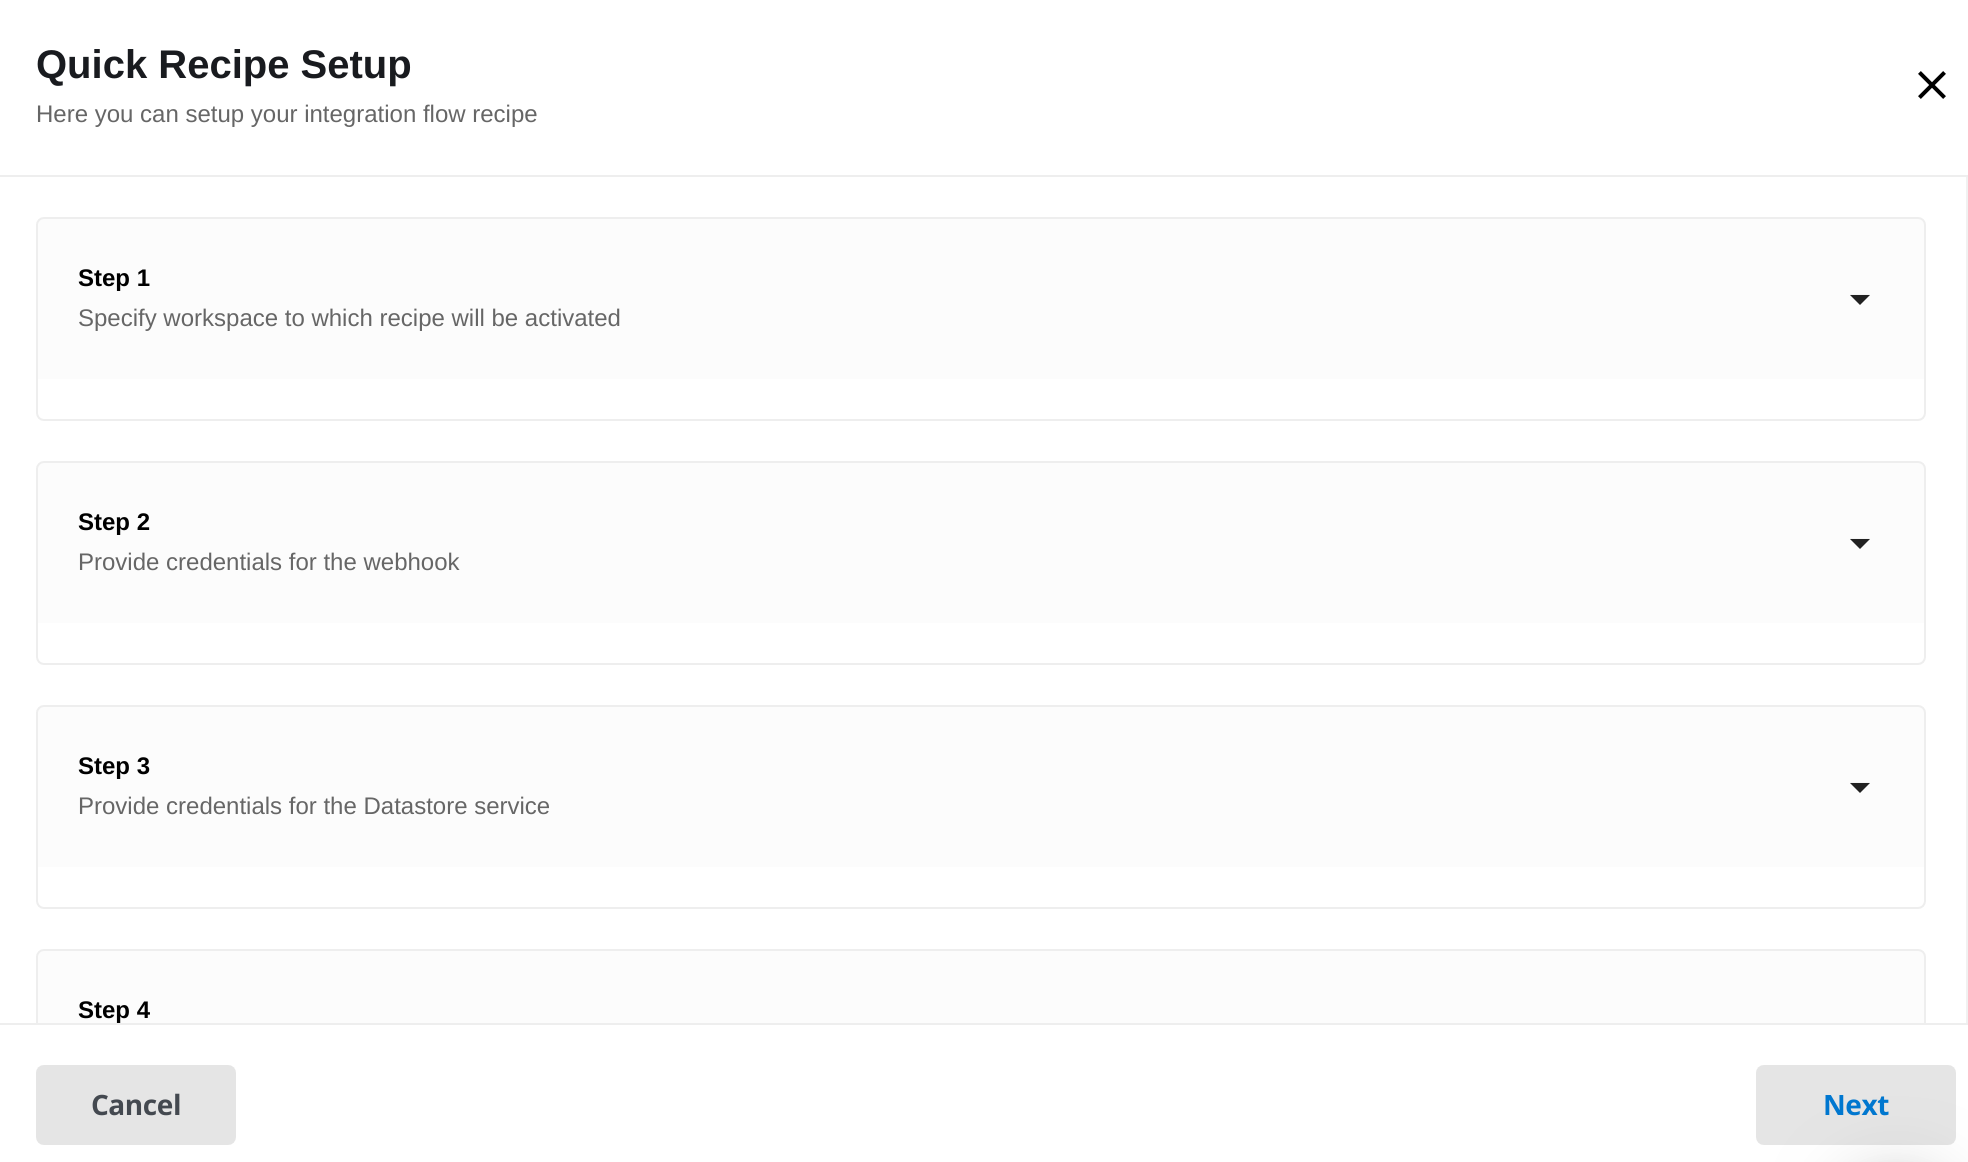 Figure 1. Quick Recipe Setup panel
 -
Within the Quick Recipe Setup panel:
-
In Step 1, choose the Contract and Workspace that the recipe’s resulting flow will be scoped to.
Click the Next or Back buttons to navigate between each step of the Quick Recipe Setup process. -
In Step 2, choose the credentials for the webhook that activates the resulting flow.
For the Matrix-based recipes, these Matrix credentials would be configured at this step. -
In Step 3, choose the credentials for the third-party application that the resulting Integrations flow interacts with. For example, Salesfore or Squiz Datastore.
-
If Step 4 appears, specify Datastore admin user credentials in this step. This is typically required for integrations with Datastore, where your blueprint requires
'isAdmin':trueis required in the JWT payload for requests to its Datastore service. -
Click Finish and Integrations creates your recipe’s flow.
-
| The resulting flow should function 'as is'. However, you may implement further configurations (for example, modifications to components) if necessary. |