Building a basic integration flow
This document provides a step-by-step instructions on creating a basic integration flow. It is intended for platform users who have little to no experience in Flow creation.
Configuring a trigger
Every integration flow starts with a trigger. The trigger is what causes the flow to run. To help you get started, only trigger components are available for selection when you are configuring your first step.
In this example we will use Simple Trigger as an example of the first step.
-
Select the appropriate workspace from the left hand menu. You can choose to either:
-
Click Add new flow on the dashboard.
-
Click .
-
This brings you to the Flow Designer page.
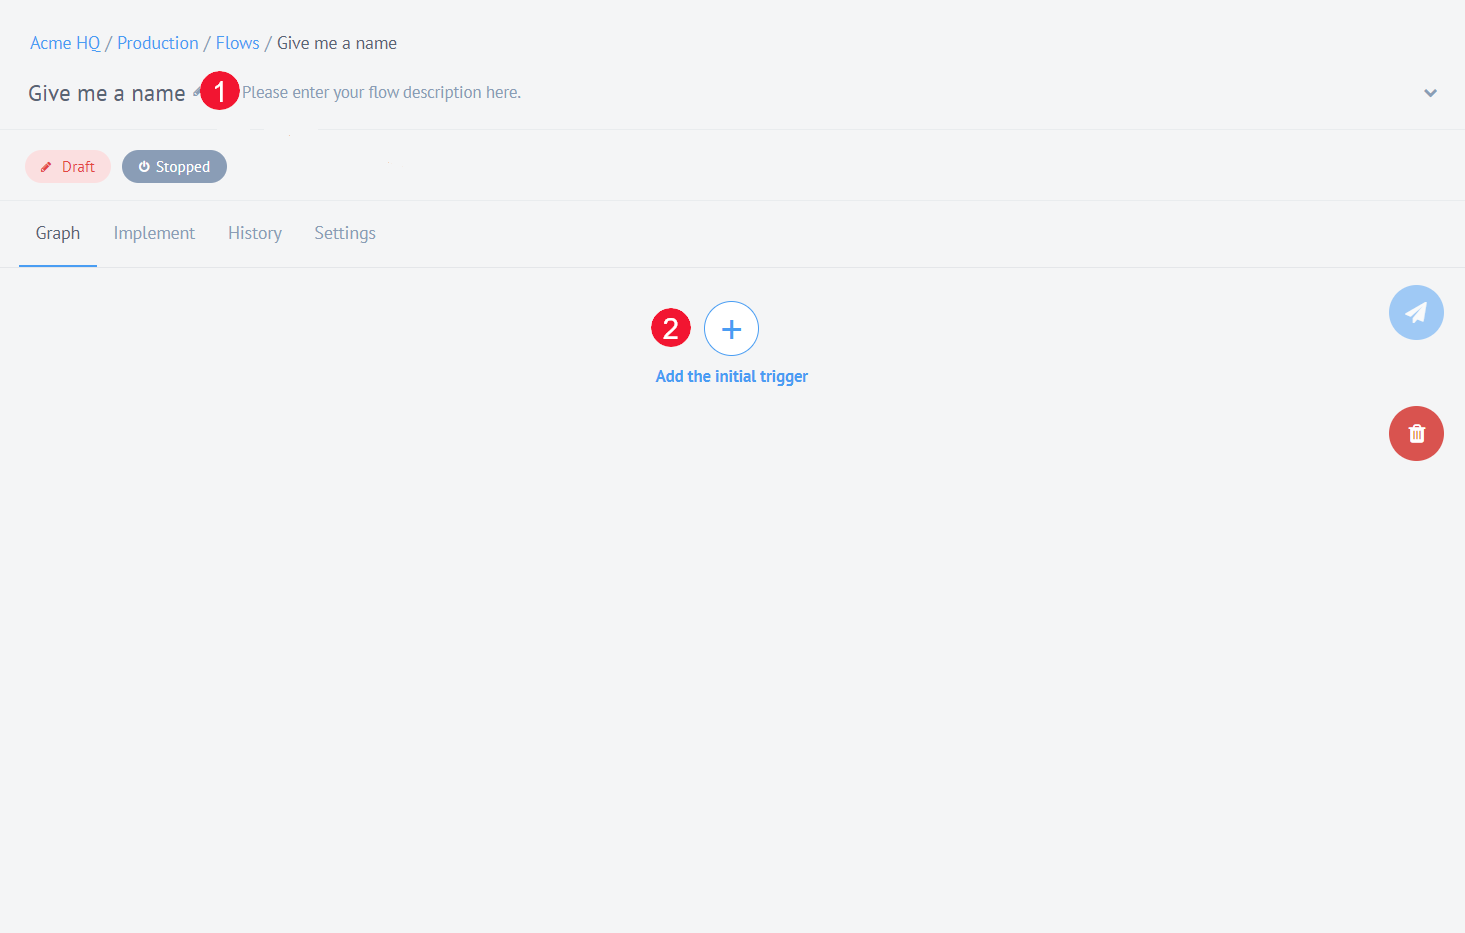
1 Click Give me a name to name your flow, and then enter a description in the next field. This is optional, but it is a good idea to give your Flow a meaningful name and description at the start so that you and your colleagues can easily identify its purpose later.
2 Click the Plus to add initial trigger. The tabbed Step Configuration page that opens takes you through the process of configuring the first step in your flow. Different versions of this page with different options and fields will be used for configuring all of the steps in your flow.
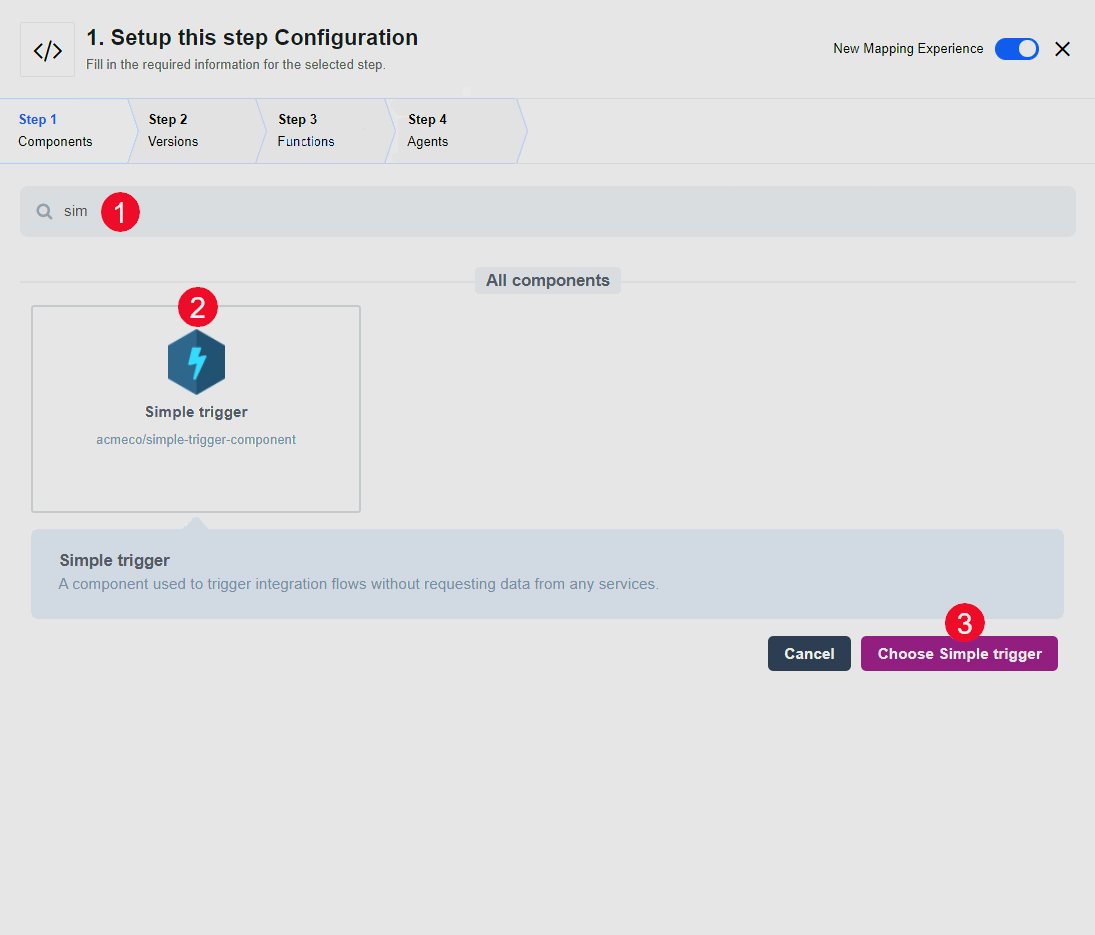
1 Find the Component you want to use - in this case 'Simple Trigger'. You can use the search bar to find a component quickly.
2 Select the component.
3 Click the Choose button.
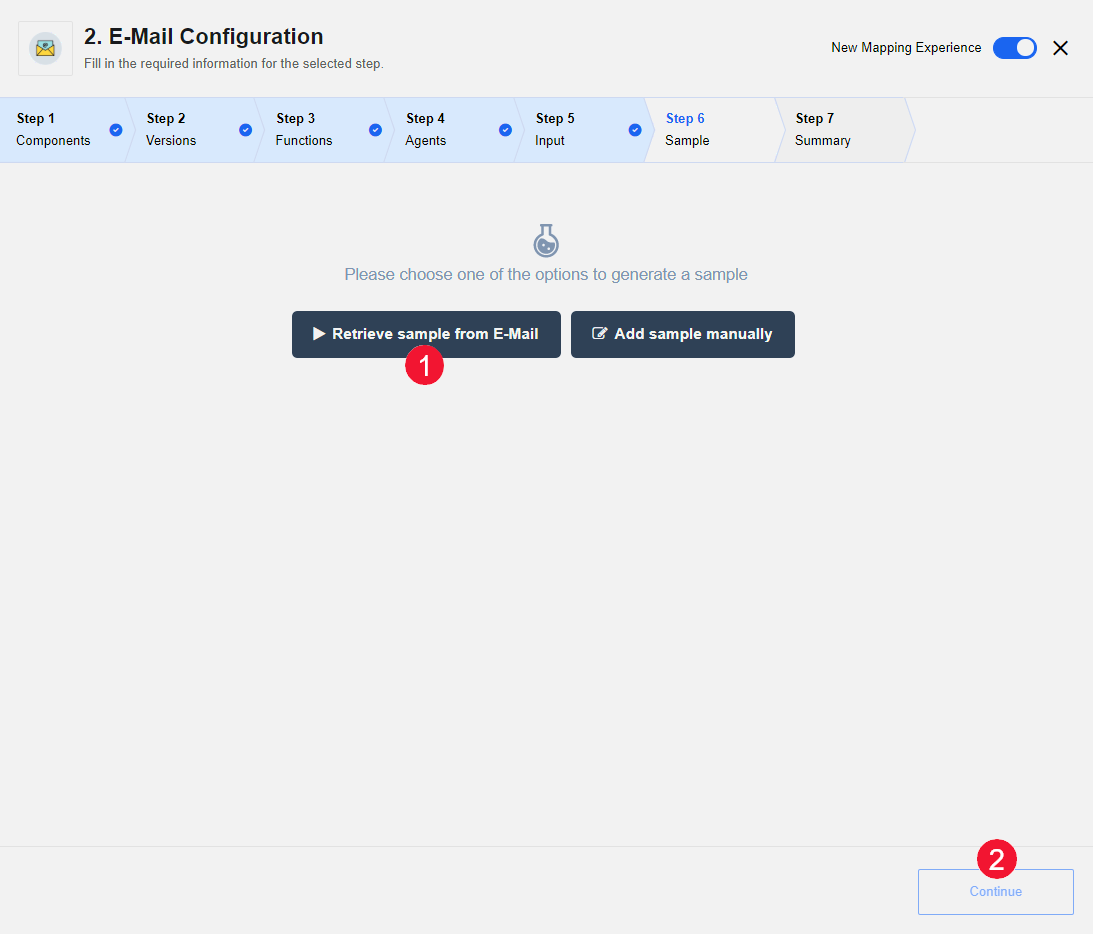
| In the image below you can see that you have skipped straight to Step 5. The other steps are prepopulated with defaults that suit most scenarios. Feel free to browse the tabs but for your first flow it is best not to edit them. |
All flows start with data input so the next step you need to configure is sample data retrieval.
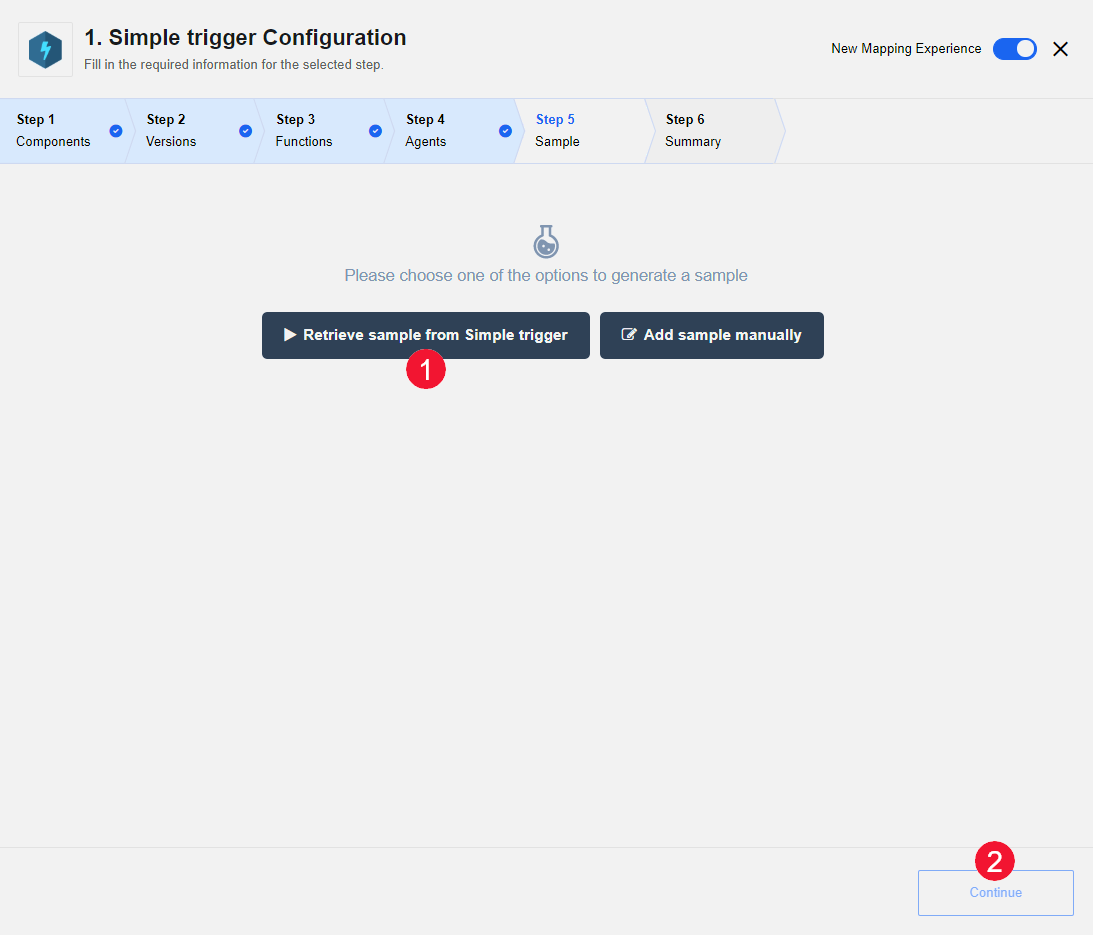
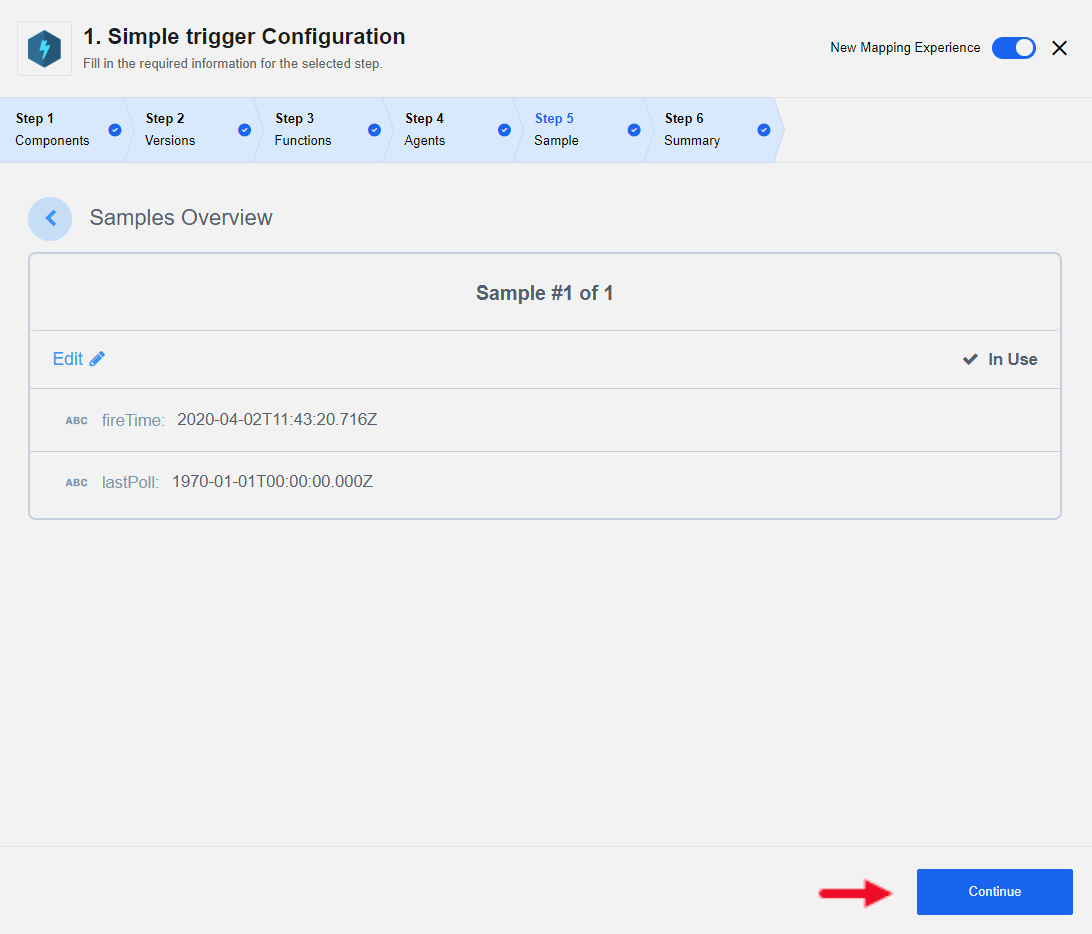
1 Click Retrieve sample from Simple trigger.
2 Click Continue after the sample has been retrieved.
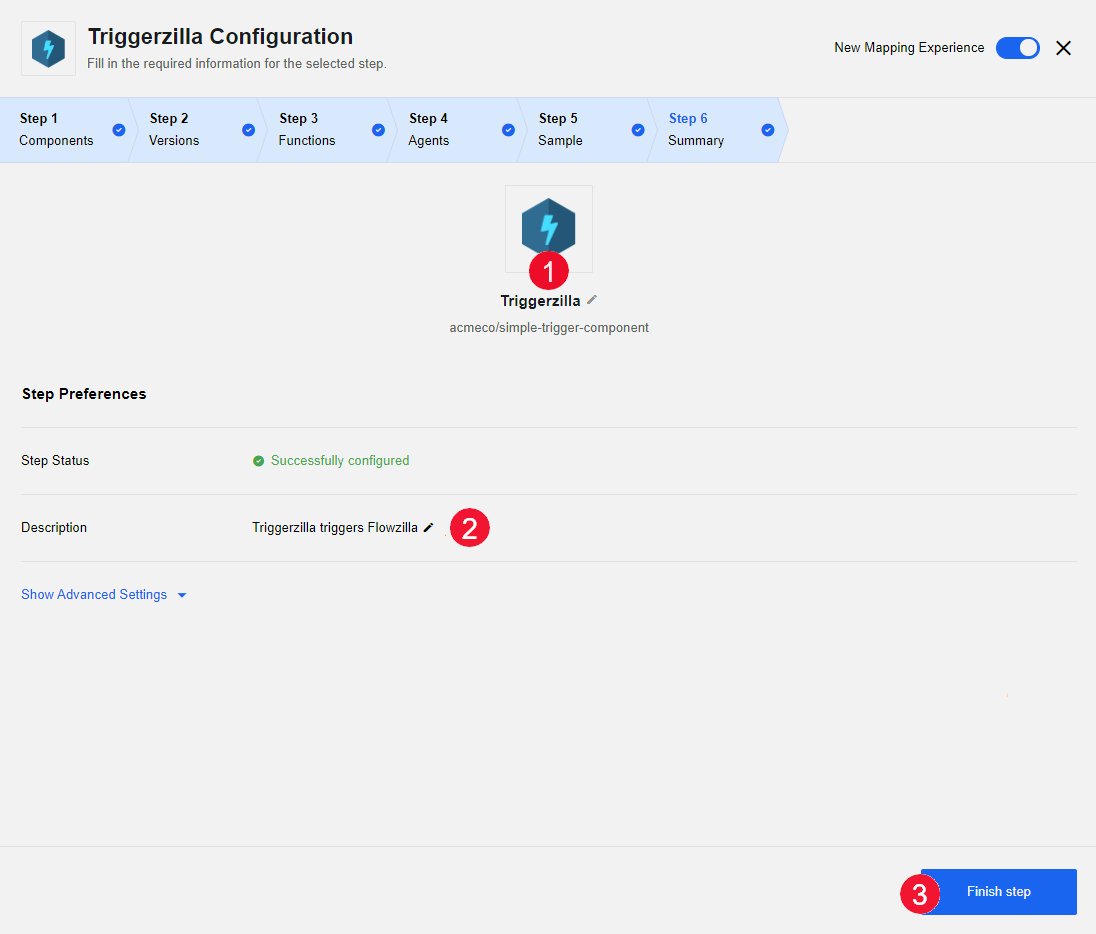
1 Optionally add a description of the step.
2 Click and click Finish step to finalize the initial trigger:
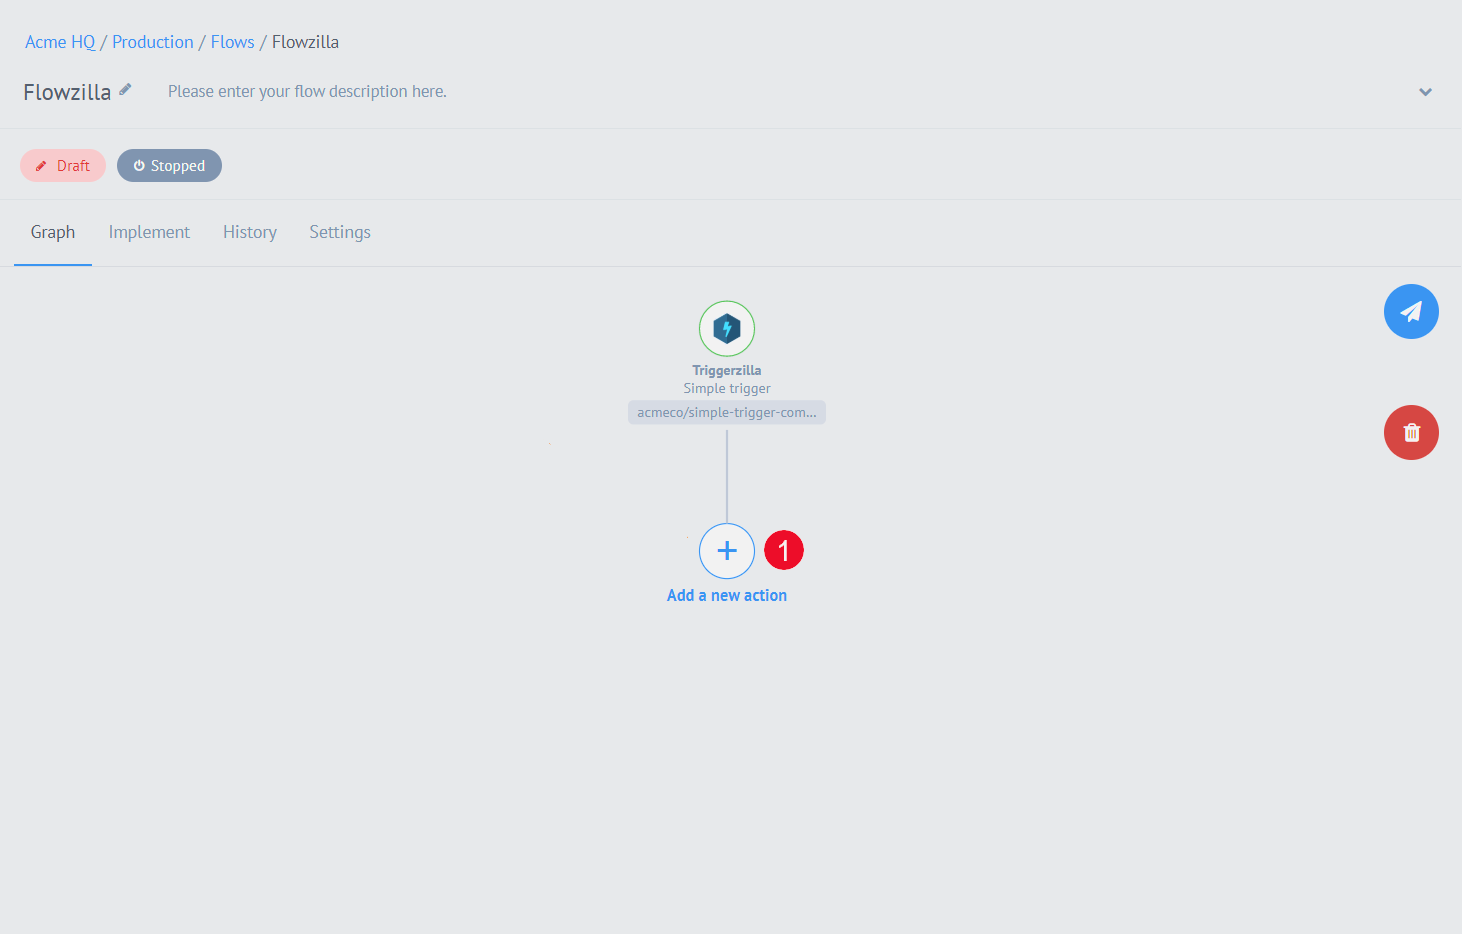
Configuring action steps
You can see in the Flow Designer that you now have the option to "Add a new action". An Action step is one where you do something with the inputted data. In this case we will send an email.
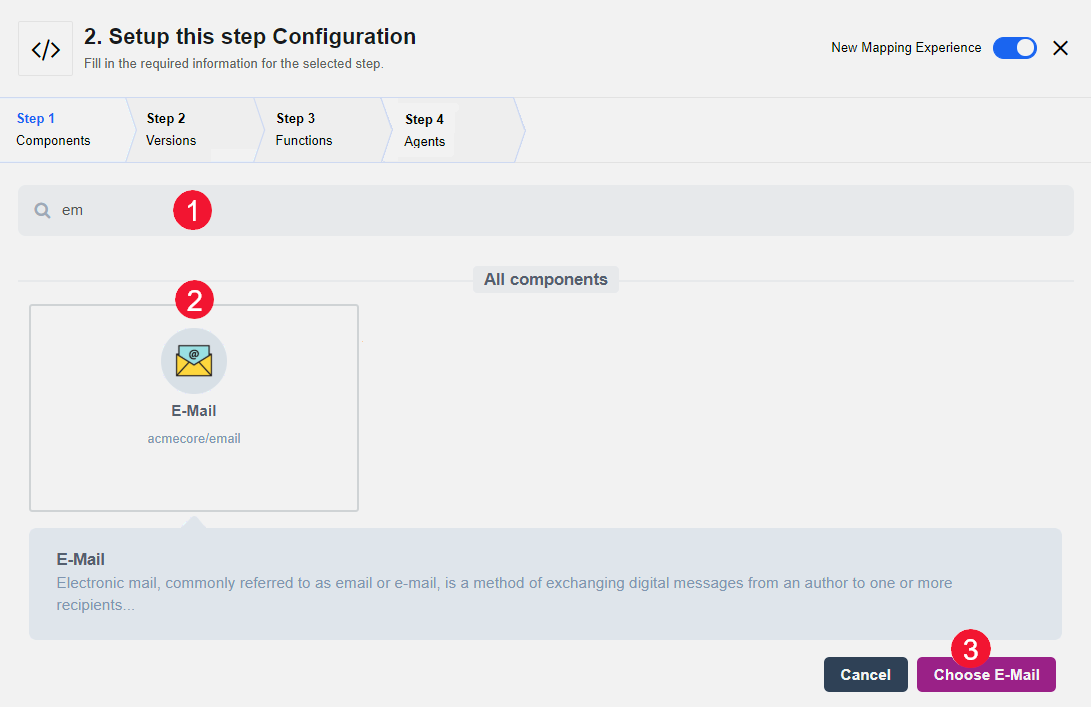
1 Start typing Email Component into the search bar.
2 Select the component.
3 Click Choose Email.
Some steps are pre-configured. In the Input step fill in the details of the email that you want to send when this step runs.
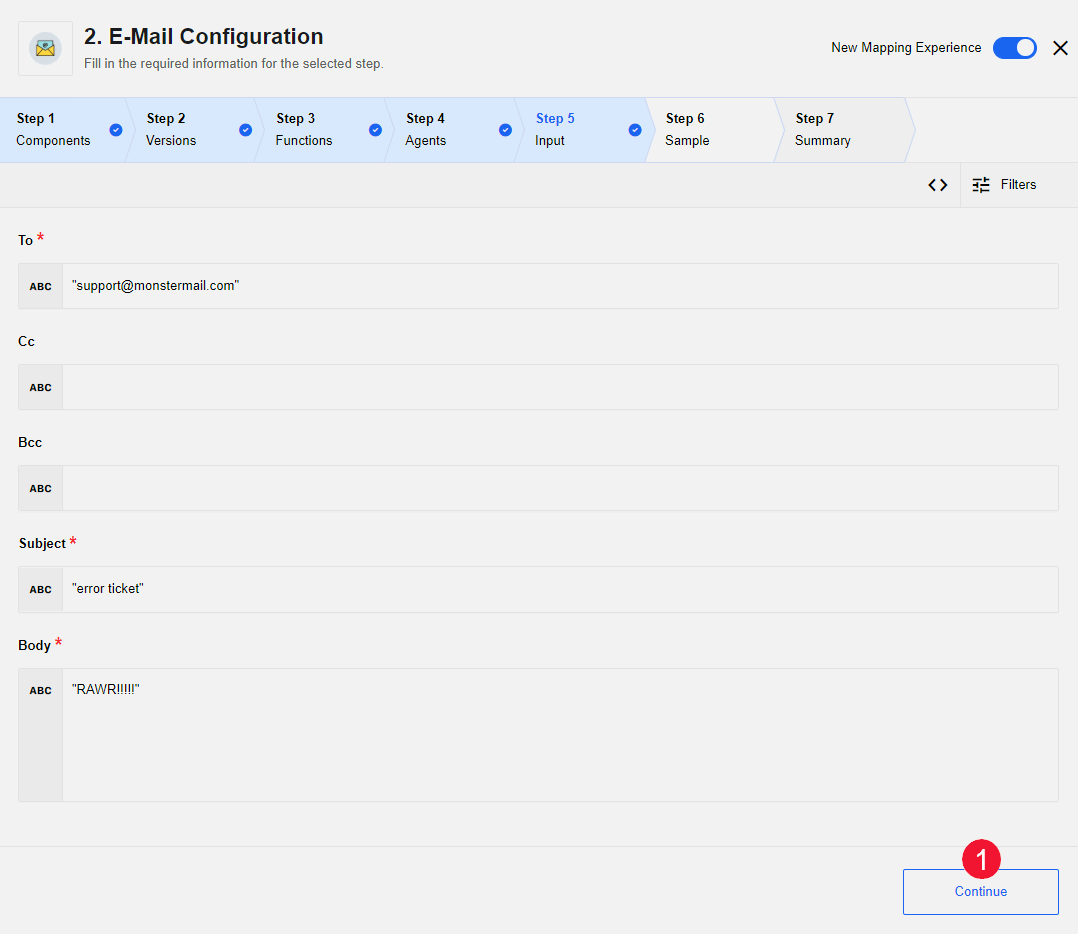
1 Click Continue.
1 Retrieve a data sample.
2 Click Continue.

1 Flow name.
2 Optionally add a step description.
3 Click Finish step.
Your simple flow now has enough complete steps to be published as a draft.
| You also have the option to continue adding actions, and if you hover over the line connecting your steps, you will see that you have the option to create multiple branches. |

1 Click the Publish button to take your flow from its automatic Draft status to Published.
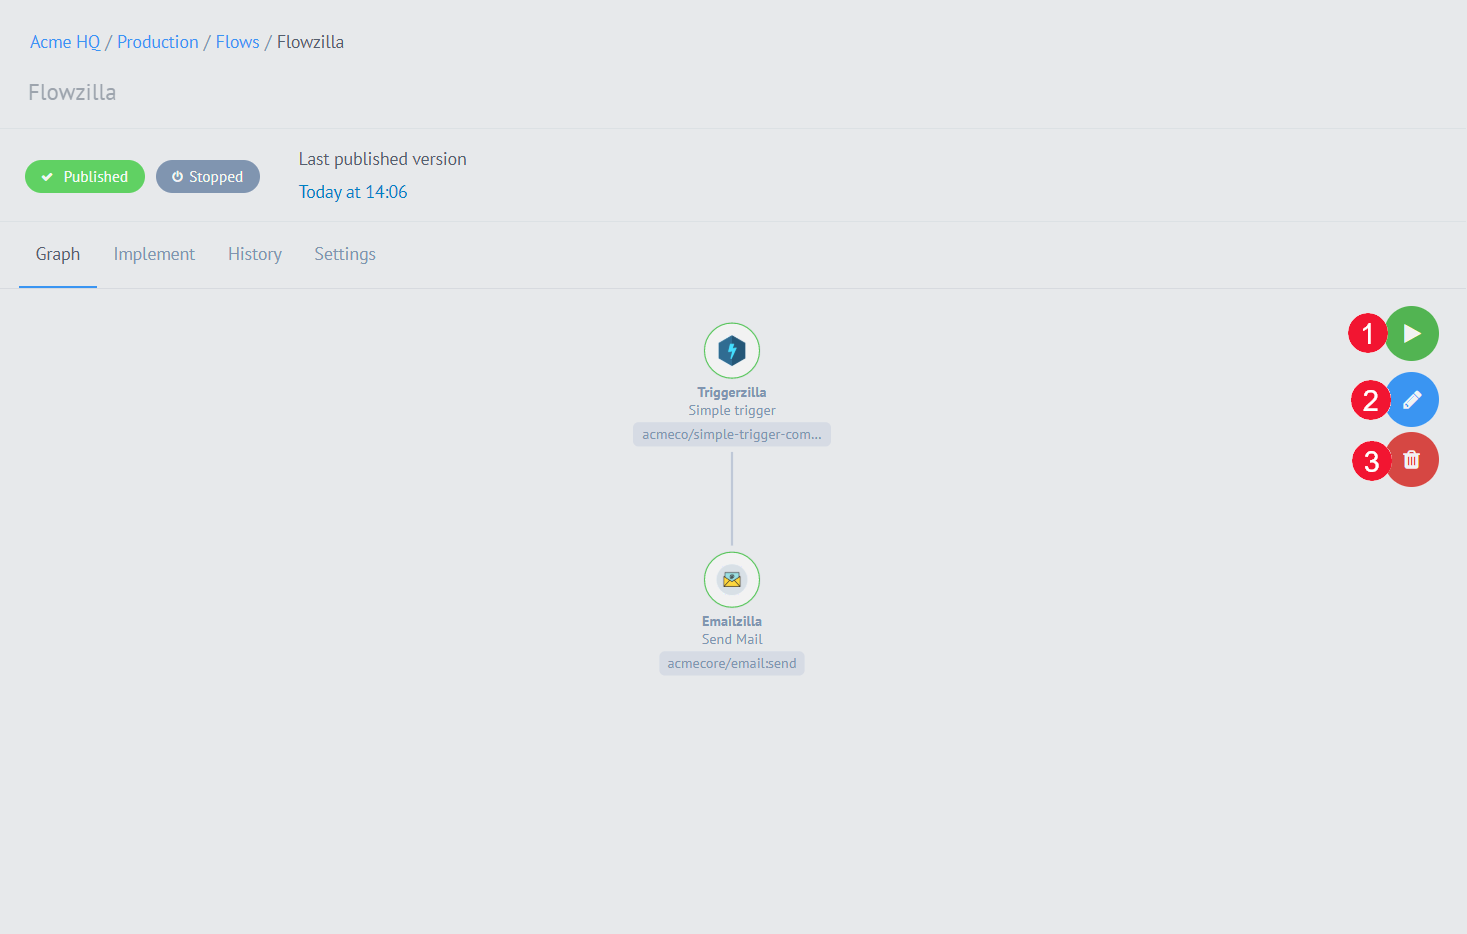
Your flow has been published. The icons to the right of the screen allow you to interact with your flow as follows:
1 Run.
2 Edit.
3 Delete.