Building a basic webhook flow
This article sets out how to create an integration flow that is triggered by a webhook.
We will create an integration flow that exposes an externally-reachable URL to accept HTTP requests in JSON format. The received payload gets interpreted as a pet and gets stored by the Petstore API.
Setting up the webhook trigger
The first step in every flow is a trigger which starts the flow by causing data to be input into the flow from an external system.
In this case, a webhook retrieves data. Consequently, the trigger component will be the generic webhook. This component can be used to retrieve data from any external application that supports webhooks.
How to obtain a flow’s webhook URL
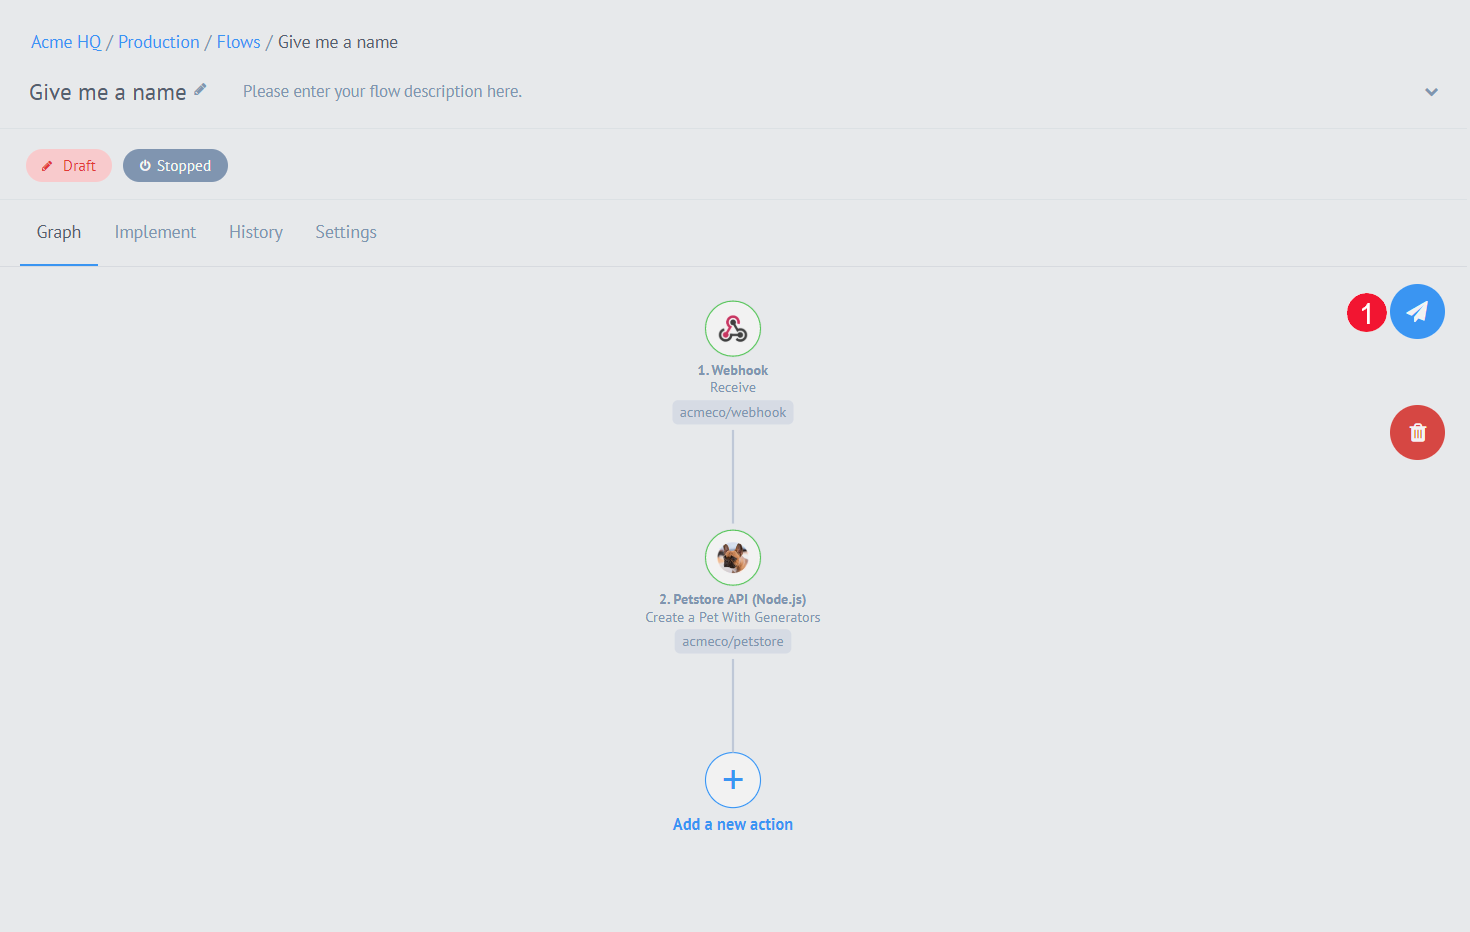
After a flow is published for the first time, the webhook URL can be found under the Webhook heading at the top of the flow’s main screen:

Look for the URL with the following pattern, (alternatively, use the appropriate version to derive the URL):
- US tenant
-
https://in.connect.squiz.cloud/hook/{FLOW_ID}
- AU tenant
-
https://in.au.connect.squiz.cloud/hook/{FLOW_ID}
| The URL does not appear if the flow has not previously been published or is currently being edited. Publishing the flow (by clicking the Publish Draft button) will reveal the URL in both of these scenarios. |
-
Click the Add new flow button on the Dashboard or on the Flows page to open the Flow designer page and start building your flow.
-
Click Add the initial trigger.
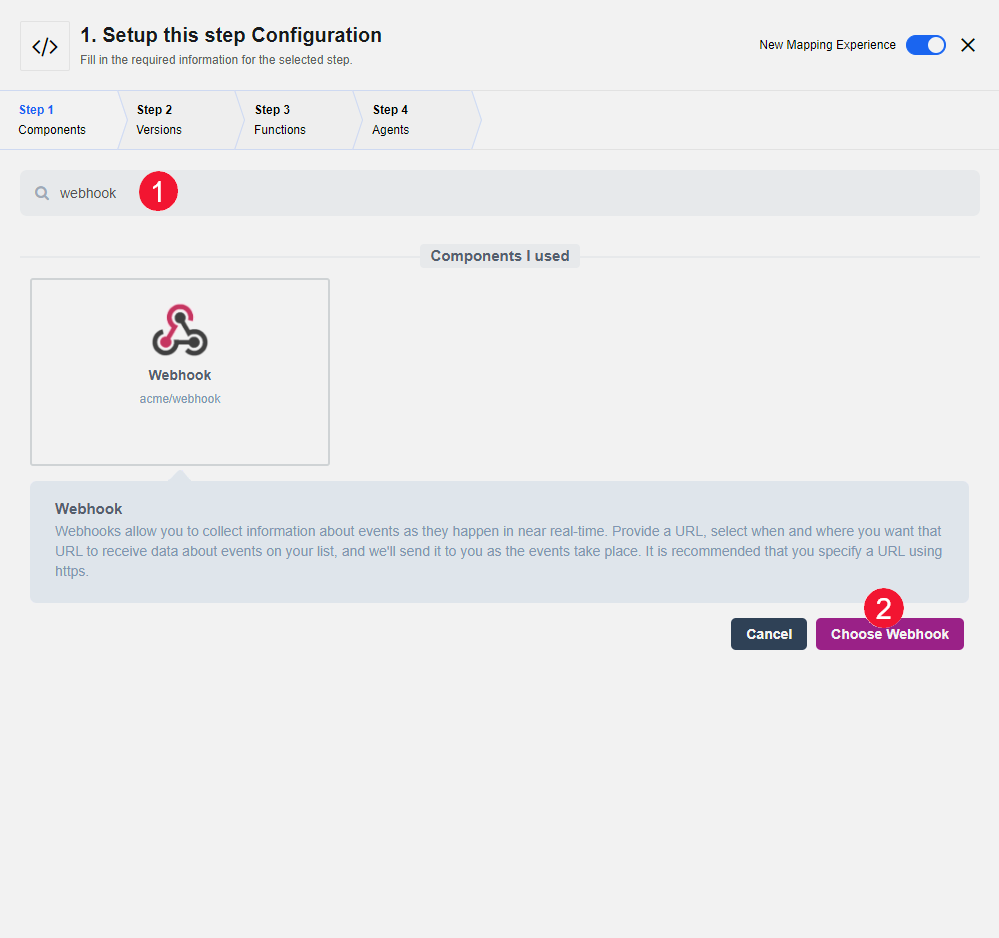
The page displays a list of the components that can be used as a trigger. Scroll through them or use the search bar (1) to find the Webhook component.
-
Click the component to select it and then click Choose Webhook (2).
-
Set up credentials for the webhook you want to use.
If you have entered these already on the Credentials page they will be available for selection in a searchable list.
If you have credentials to enter or want to proceed without credentials click Add New Credential.
-
Enter a name for your credential
-
Select the type of authentication the sender application requires and populate the required fields, or choose No Auth to proceed without authentication.
-
Select the credential you added
For this example, you will proceed using "No Auth".
When you add credentials to a component, they are only available within the workspace you are working in.
However a component may have multiple credentials associated with it. In particular, generic components like webhooks may have credentials for multiple external applications and multiple environments.
Use meaningful credential names to ensure you and your team select the right credentials for each flow.
-
Click Save to proceed.
At this point some of the configuration steps will have completed automatically. This will happen for most components. You can go back and review these tabs but you will rarely need to change these default settings.
-
-
In the Sample tab define the sample data structure that the webhook expects to receive from the external system. Choose one of these options to add the sample:
-
Send sample request.
-
Add sample manually.
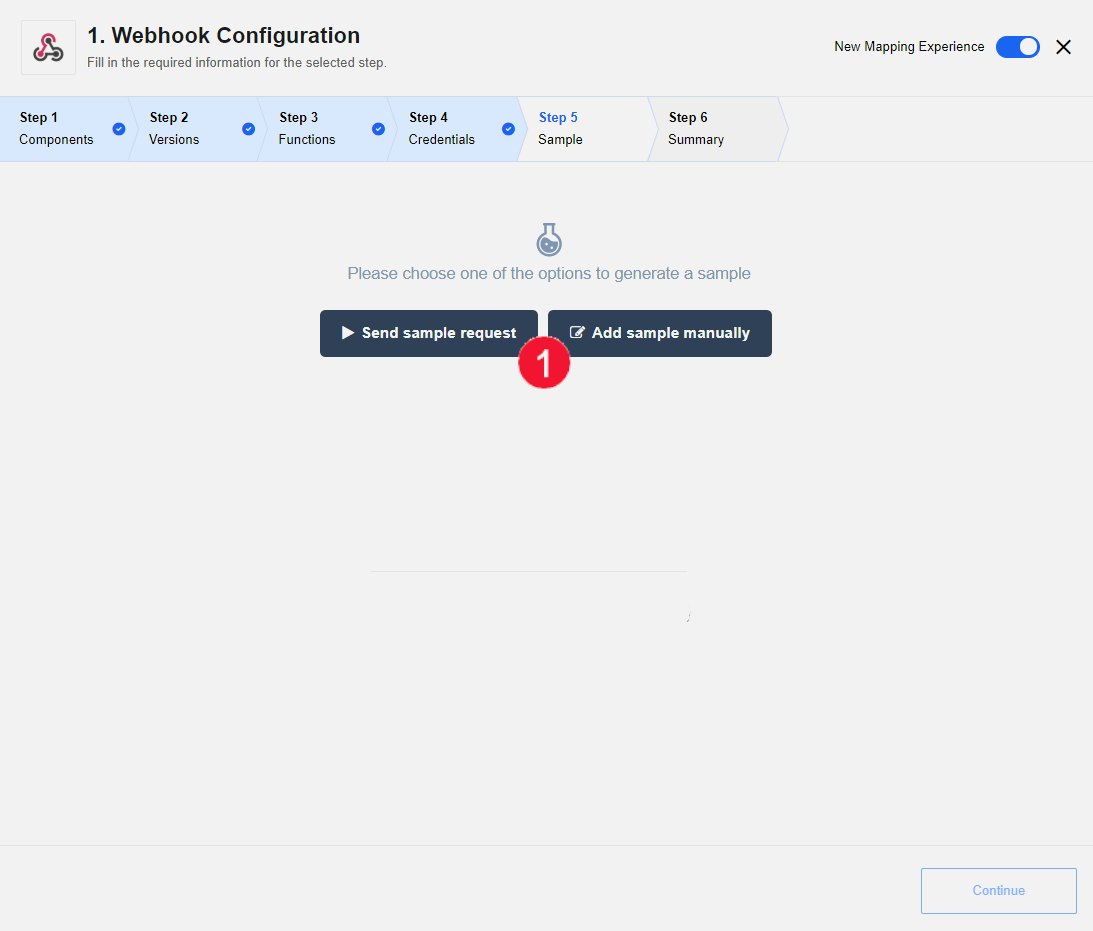
In this example, you will manually input a sample. The sample must be a valid JSON object
Click Add sample manually.
-
-
You now have the option to:
-
Click Generate Stub Sample to generate a correctly formatted JSON object and edit it as needed.
-
Enter a JSON object into the input field.
{
  "petname": "Gromit",
  "petstatus": "sold"
}
The sample then gets evaluated (1).
-
Click Save.
-
-
Click the Continue button to finish configuring the webhook component and load the step summary page.
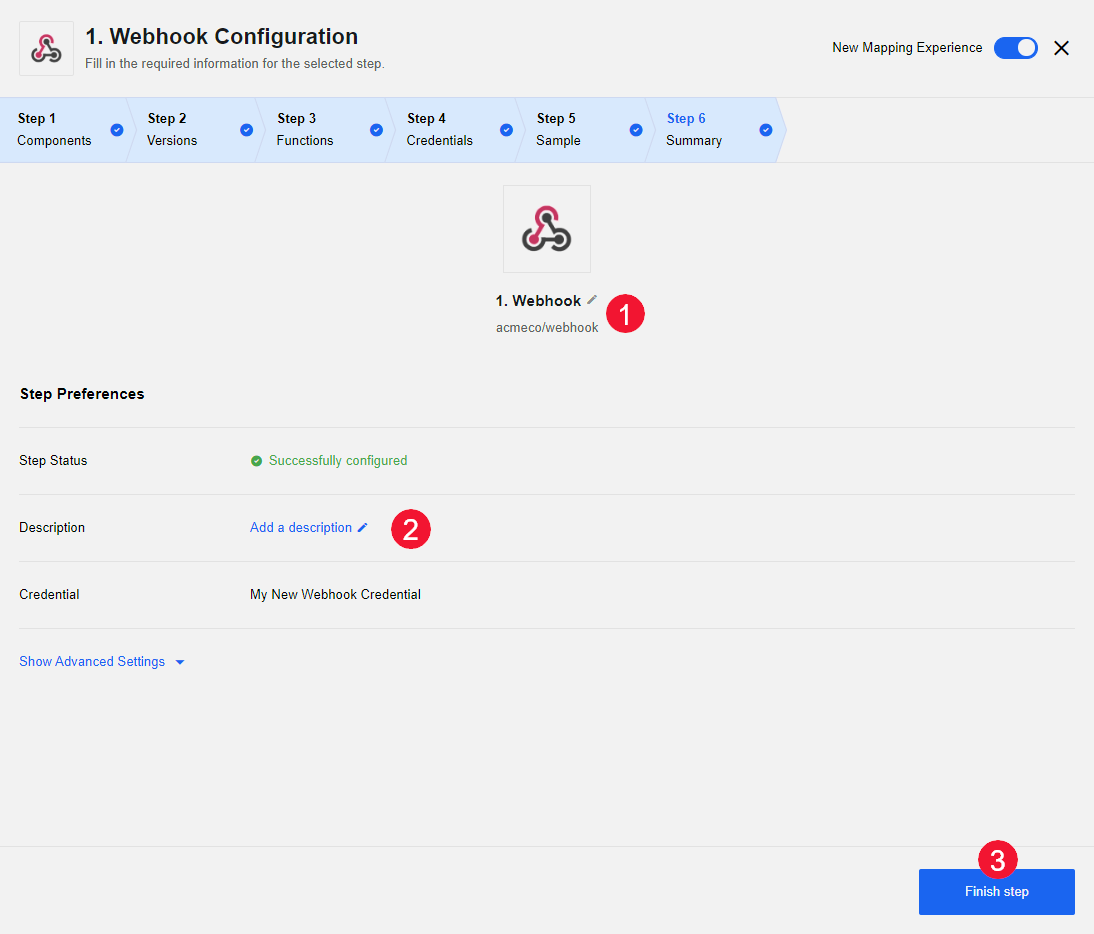
-
(Optional) Edit the step name (1) and add a description (2) if required.
-
Click Finish step to finish this Webhook step and return to the Flow Designer.
Choosing the data receiver
After you have a trigger configured to bring data into the flow, configure actions that transform the data, or use the data, or send the data to another application.
In this case, you want to send the data to the Petstore API (Node.js) component.
-
Click Add a new action.
-
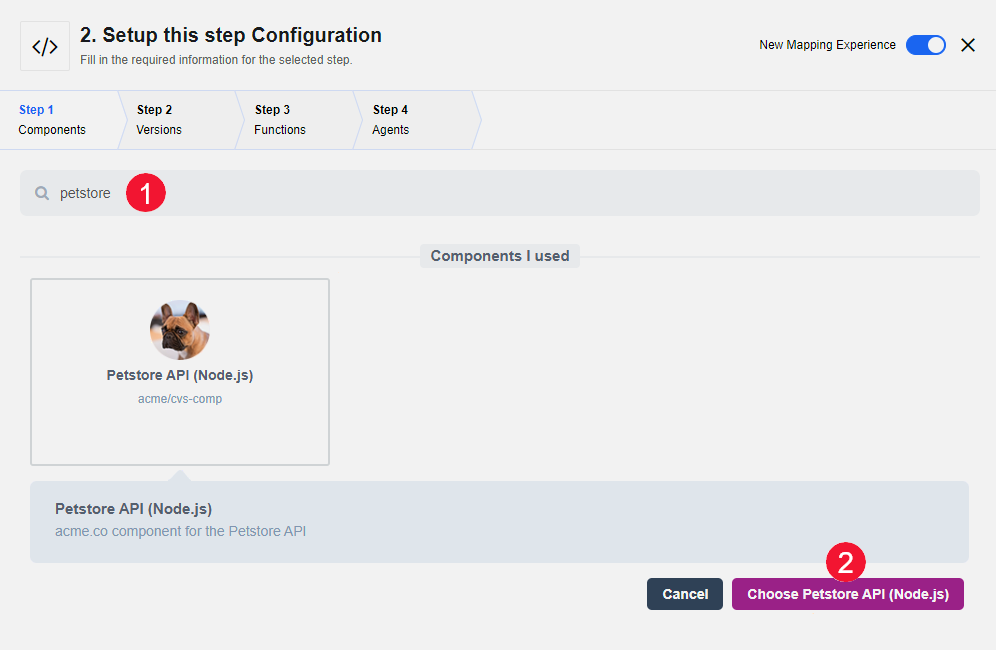
Use the search field to find the Petstore API component and select it.
-
Click Choose Petstore API
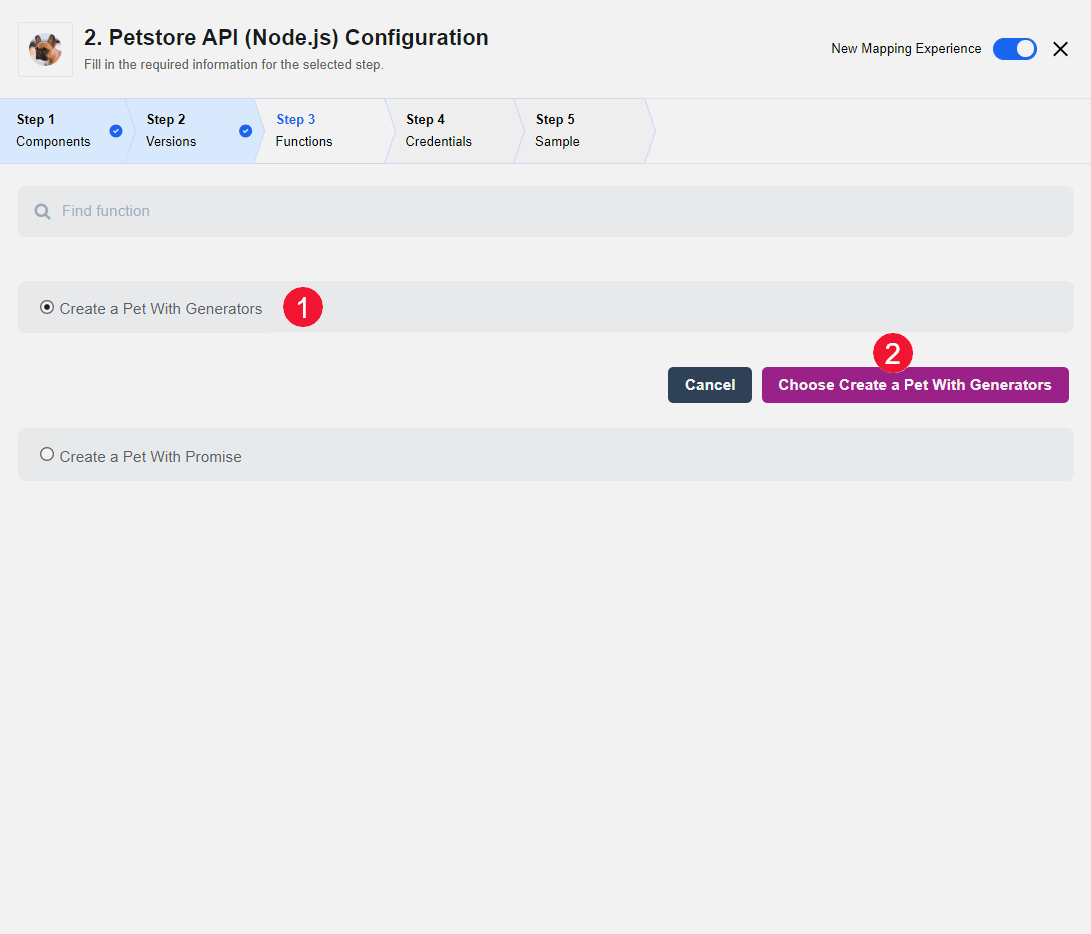
A typical platform component will have multiple available actions to retrieve, change, or add records at the target API. In this example, there are two actions from which to choose:
-
Create a Pet With Generators
-
Create a Pet With Promise
-
-
Select Create a Pet With Generators.
-
Click Choose Create a Pet With Generators to continue.
-
Select (or enter) credentials for the Petstore API. This is similar to adding credentials to the Webhook component. Petstore API is not a generic component so the Credential Type is selected for you and cannot be changed.
-
Add new credential details as follows.
- Account name
-
Enter a meaningful name for your credential
- API key
-
Enter your API key.
-
Click Save to verify the credentials.
-
-
Click Continue.
-
Click Retrieve sample from Petstore API (Node.js) to populate a sample of the data that will be the output for this step. You are authenticated with the Petstore API so you can retrieve this sample automatically.

-
Click Choose this sample to continue.
-
You can now review your configuration summary.
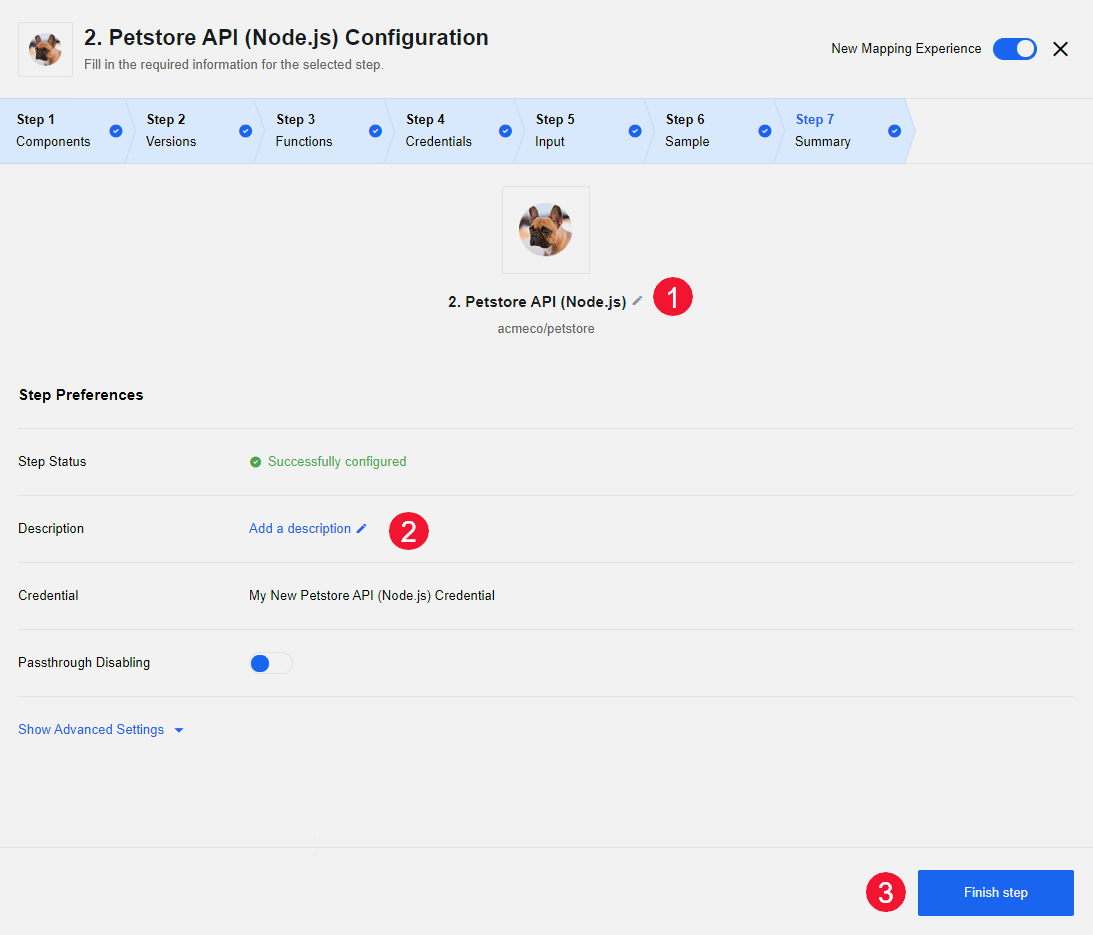
If required, you can update the name (1) or add a description (2).
-
Click Finish Step.
-
On the Flow Designer page click Publish Draft to make your draft live.