Custom error handler
Description
The custom error handler feature provides the ability to (re-)process errors within your integration flow to generate error information to suit your workflow. This feature can be used with any component with an action function. For example, you can implement this feature when sending an email message, or adding a row to a Gooogle Sheet.
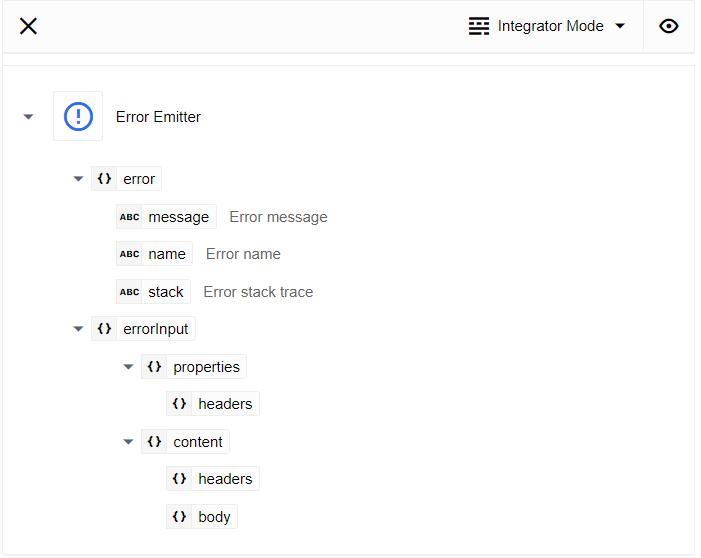
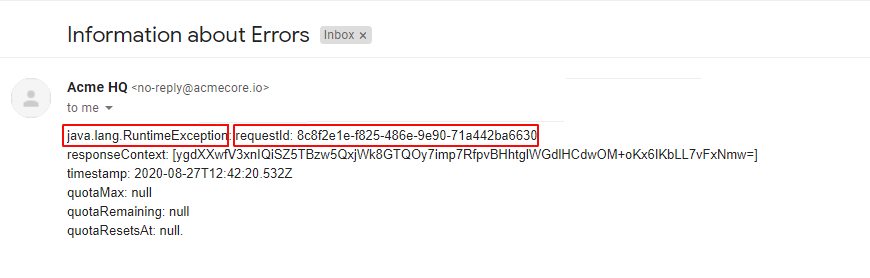
An example of (re-)processed error information generated by the custom error handler:
Accessing the custom error handler feature
To create a custom error handler for your flow, switch to the draft mode and click the Add error handling button:
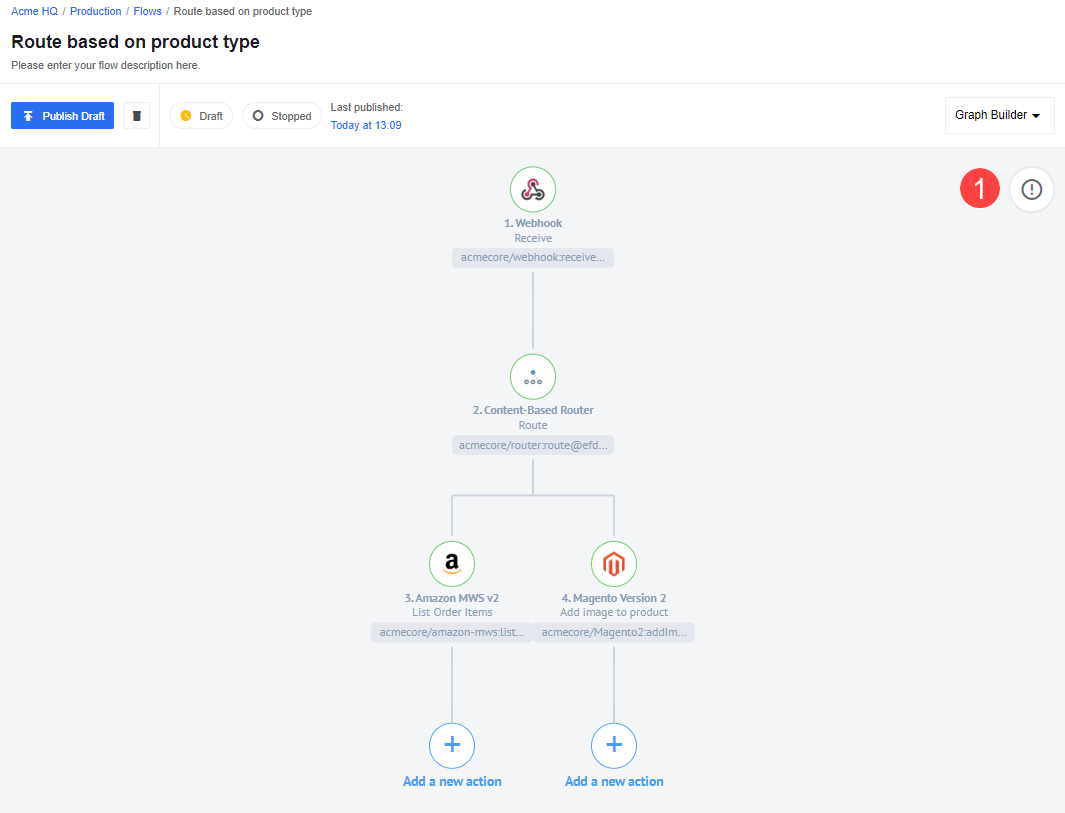
When configuring any custom error handlers in your flow, note the following:
-
Your draft must have at least one configured step.
-
Consider configuring the custom error handler towards the end of flow.
-
Plan how you will handle all errors before implementing any custom error handlers.
The following examples (one using the mail component and another using the Google Sheet component) provide more information about implementing custom error handlers in your flows.
Mail component example
Click the Add error handling button, and then the Choose Mail component to handle flow errors:
In our example, we are using an Mail component to send information per email.
We use information about error name and error message:

Here you can see what the message from the platform looks like if an error occurs. We received the name of the error and its message as expected:
Google Sheet component example
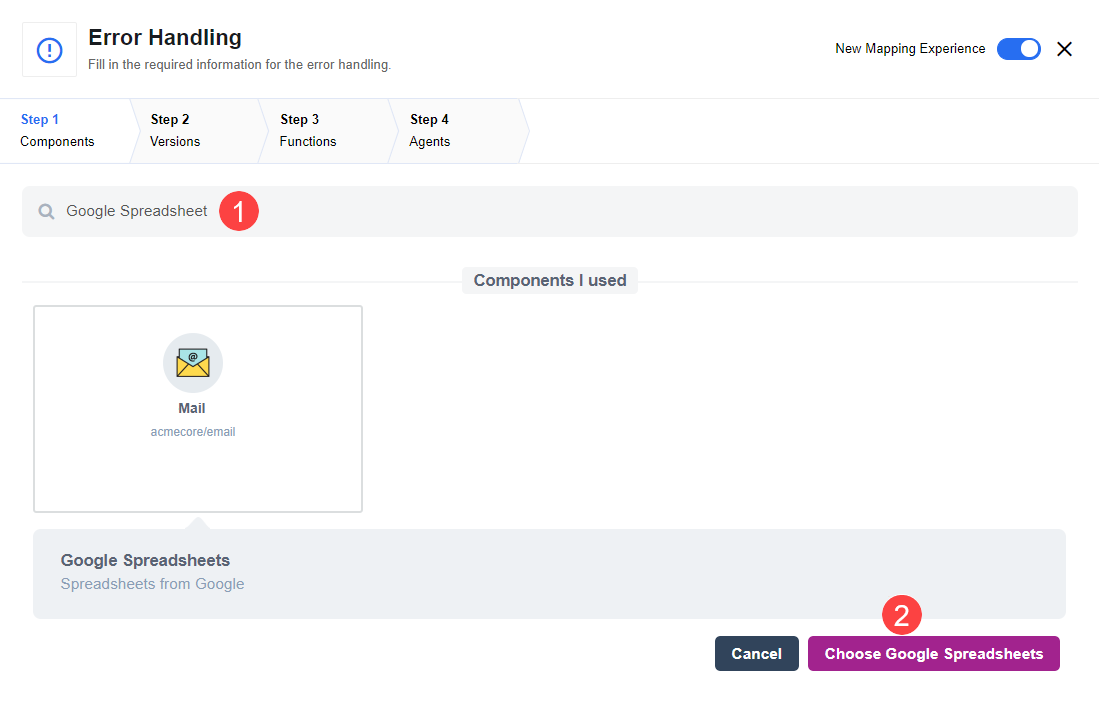
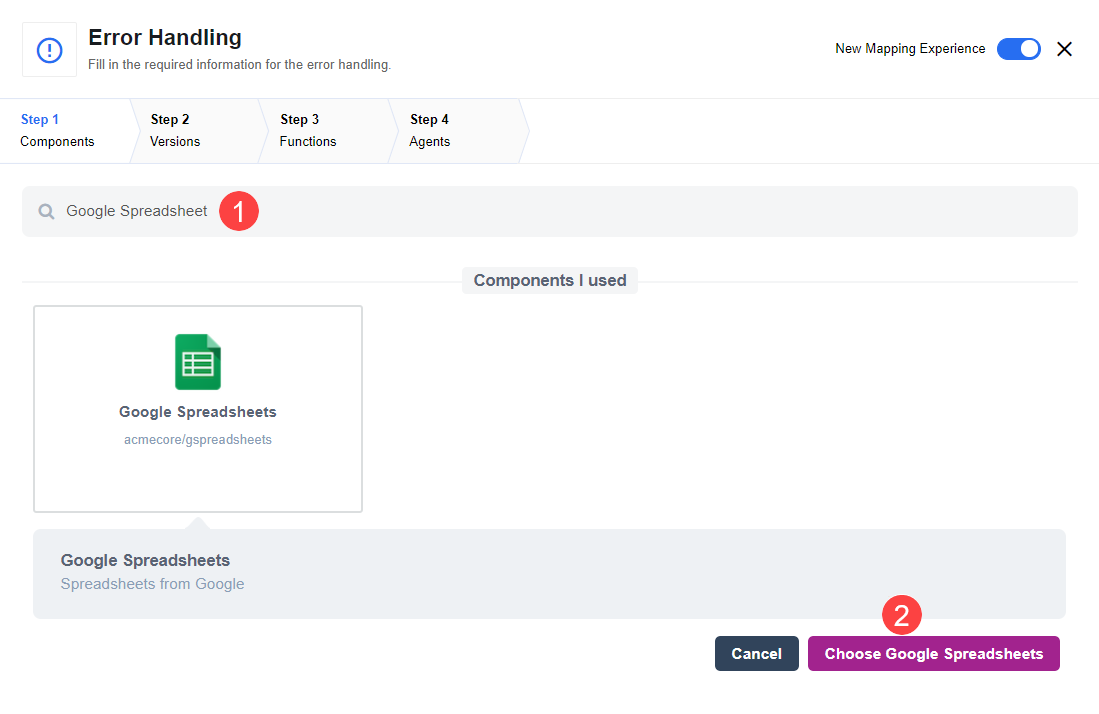
Click on Custom Error Handler button and choose a Google Spreadsheet component to handle flow errors. Before starting you must have a spreadsheet ready to receive the errors. This means spreadsheet with headers created:
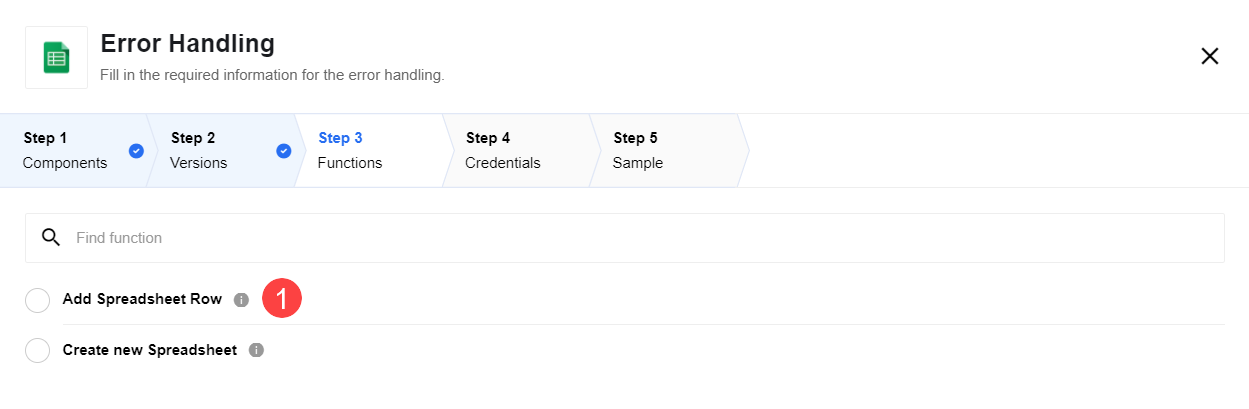
Then choose "Add Spreadsheet Row" as action:
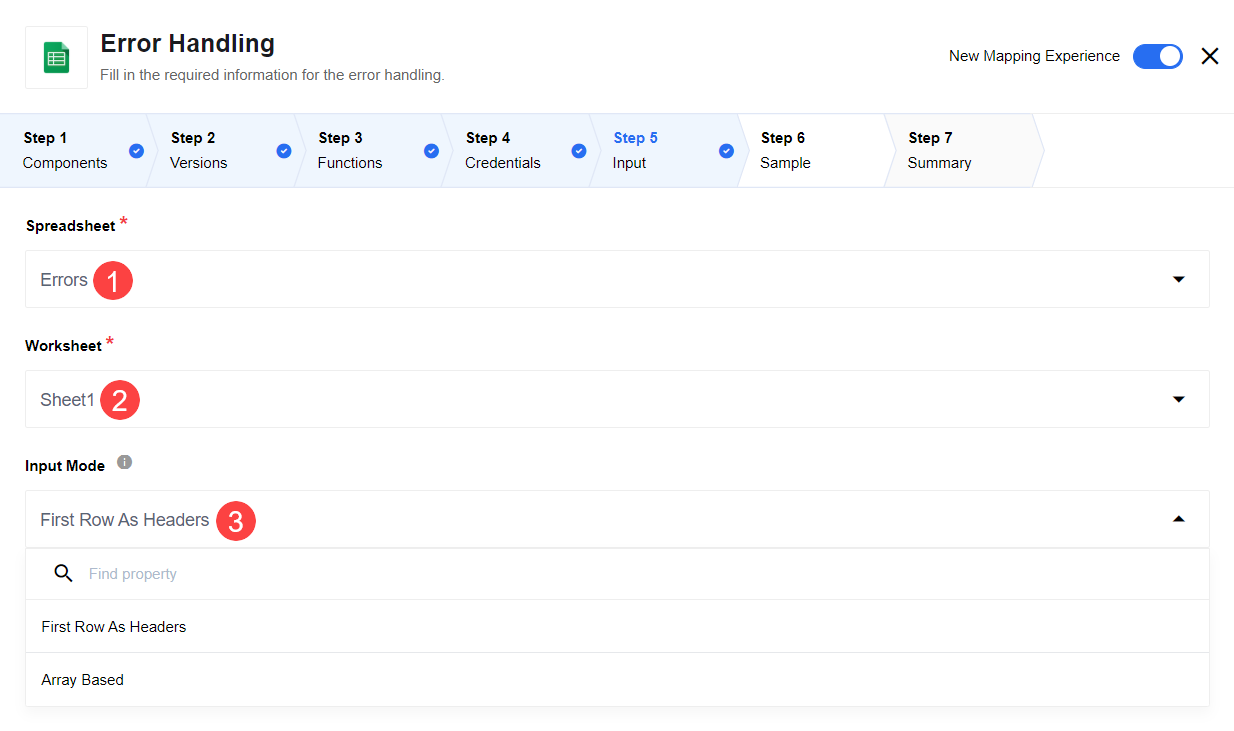
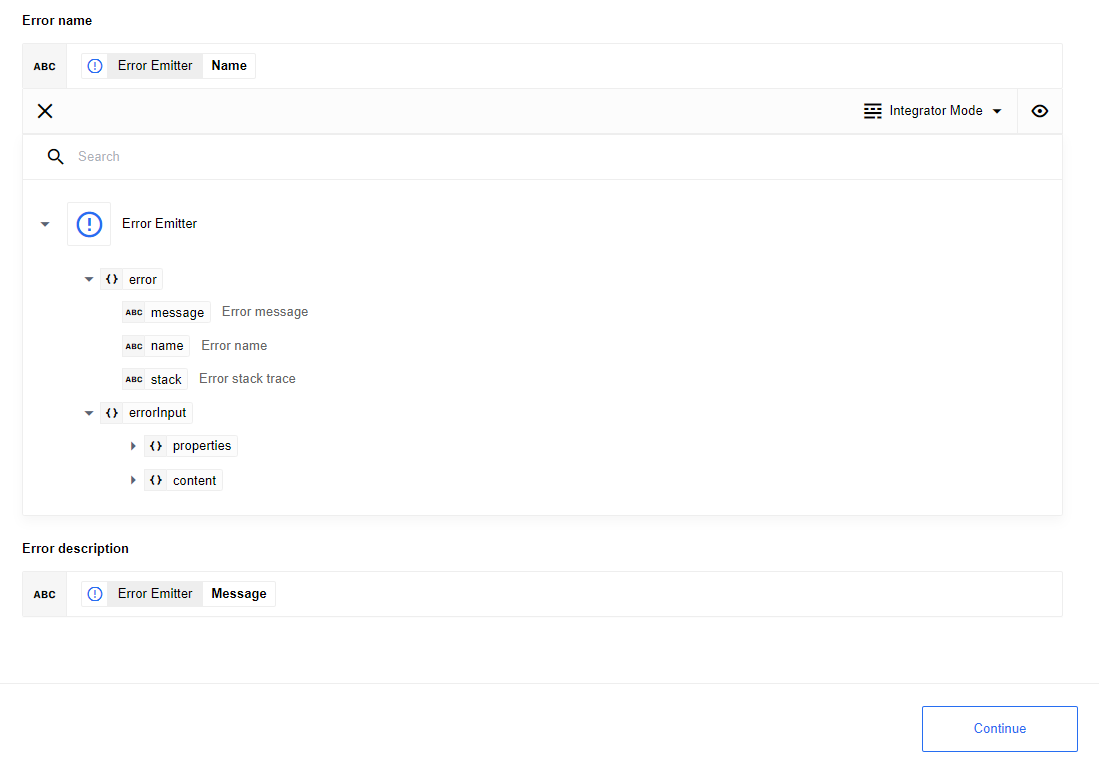
When configuring the component, please select a pre-created table, select a Worksheet and Input Mod. We are using "First Row as Headers" mode witch generates input based on values in first row cells. Again, cells must be created in advance, in our case they are called "Error name" and "Error description":
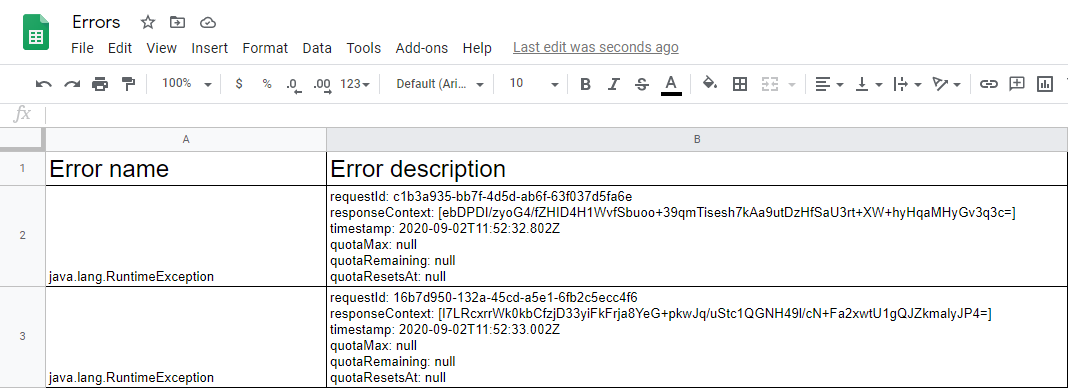
Now you can see the first cells "Error name" and "Error description" as input headers. In our case, we select the error name and its message as input:
Here you can see the final result, the spreadsheet with error messages filled: