Managing flows
This section contains key information to help you manage your published flows.
An overview of the Flows screen and how to manage your flows in Integrations.
Start, stop, edit, delete
| When you start a flow, the latest Flow version is used. |
Start, stop, edit, delete through the UI
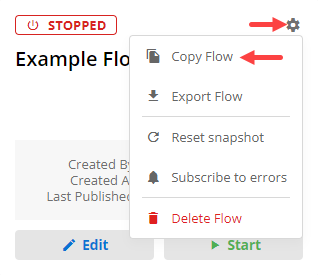
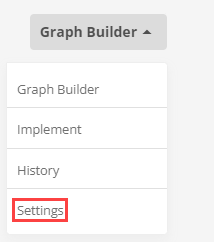
To start, stop, edit and delete a flow via the UI, navigate to Flows.
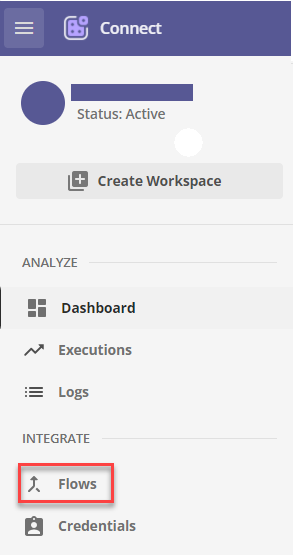
Here you can see all your flows:
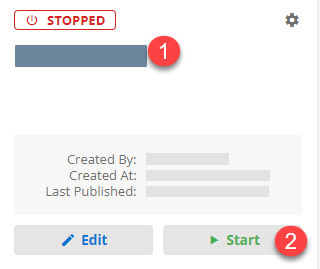
Also, you can stop 1 or start 2 a flow on demand:
Edit the flow by clicking the Edit flow button.

Select Delete to delete flow:

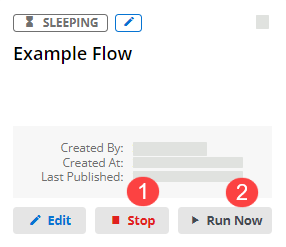
Alternatively, you can navigate to the flow itself by clicking on its name:
Then click the corresponding buttons to start 1, edit 2 or delete 3 flow.

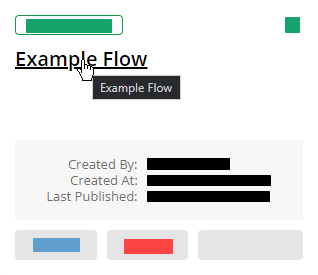
In case you need to stop a running flow, click the Stop button.
| If you stop a flow any unprocessed messages will be lost: |
Start, stop, edit, delete through the API
To start a flow via the API, use the following request:
POST https://api.connect.squiz.cloud/v2/flows/{FLOW_ID}/start
Below are the request parameters:
| URL Parameter | Required | Description |
|---|---|---|
|
yes |
Flow ID |
To stop a flow via the API, use the following request:
POST https://api.connect.squiz.cloud/v2/flows/{FLOW_ID}/stop
Below are the request parameters:
| URL Parameter | Required | Description |
|---|---|---|
|
yes |
Flow ID |
To delete a flow via the API, use the following request:
DELETE https://api.connect.squiz.cloud/v2/flows/{FLOW_ID}
Below are the request parameters:
| URL Parameter | Required | Description |
|---|---|---|
|
yes |
Flow ID |
To edit a flow to some extent via the API, use the following request:
PATCH https://api.connect.squiz.cloud/v2/flows/{FLOW_ID}
Below are request parameters:
| URL Parameter | Required | Description |
|---|---|---|
|
yes |
Flow ID |
| Payload Parameter | Required | Description |
|---|---|---|
|
yes |
Allowed value: |
|
yes |
Flow ID |
|
no |
Flow name |
|
no |
Flow type.
Allowed values: |
|
no |
Flow graph representing component connections |
|
no |
CRON expression representing flow timing |
Copy flow
To copy a flow within the same Workspace, navigate to see your flows. Then click on :
| You should copy a flow if you need a second similar flow. If you need to create a new version of a flow, use the flow Versioning feature described below instead of making a copy. |
Alternatively:
-
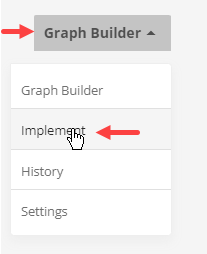
Navigate to the flow itself by clicking on its name.
-
Switch to the Implement screen:
-
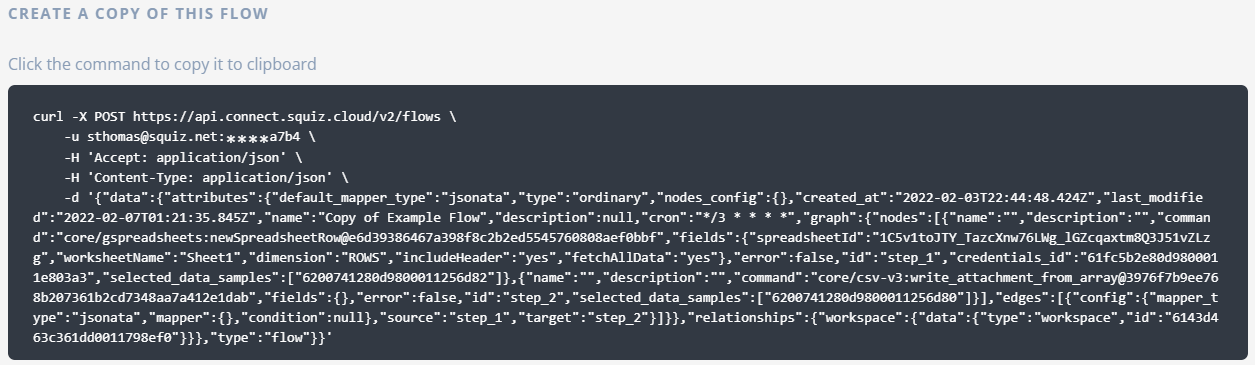
Click anywhere in the command box shown below to copy it to clipboard, and Create a copy of the flow via the API:
Switch flow type
Top level admins may see the option to change the flow type to Real Time. There is a cost associated with real time flows, and in most cases they are not required. If you think you need a real time flow, use the in app chat to reach out to the Customer Success team for assistance.
Subscribe to errors
You configure the platform to send you emails for errors in your flows. Note that for errors that repeat you will not receive an email for every error. Depending on the error type you will receive one email per hour, or one per 24 hours.
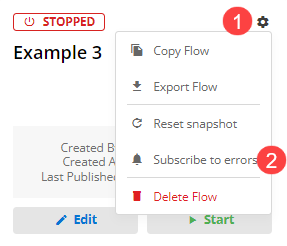
To subscribe to errors, use the settings menu 1 of the corresponding flow and click Subscribe to Errors 2:
Use the same page to unsubscribe.
Scheduling
You can schedule your flow to run using CRON expressions. This can only be done in draft mode.
| You cannot schedule a flow if starts with a webhook component. If you need to schedule a webhook flow, add a simple trigger component at the start. |
-
While editing the flow, switch to the Settings tab.
-
Use CRON expression to schedule the flow 1, then click Save 2:
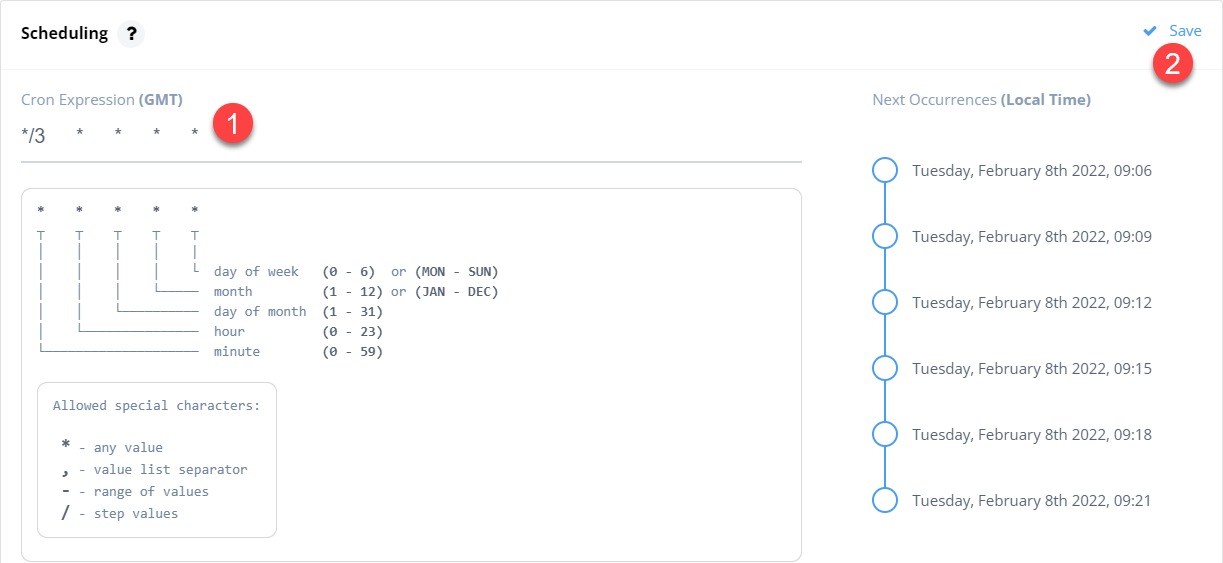
The default CRON expression is */3 * * * *, meaning "every 3 minutes".
The positions in the expression from left to right represent:
-
Minutes (allowed values: from
0to59) -
Hours (allowed values: from
0to23) -
Days of the month (allowed values: from
1to31) -
Months (allowed values: from
1to12or fromJANtoDEC) -
Days of the week (allowed values: from
0to6or fromMONtoSUN)
The month and weekday abbreviations are not case-sensitive. Also, the following special characters are in use:
-
*- wildcard, means any value
* * * * * means every minute of every day of every week, etc.
-
,- value list separator
* * * * MON,WED,FRI means every Monday, Wednesday and Friday.
-
-- defines a range of values
* 2-5 * * * means every hour between 2 and 5 AM.
-
/- specifies repetition steps
* * * */2 * means every two months.
Feel free to use the hint below the CRON expression field for reference. Otherwise, you can always click Run Now or use a POST request to run the flow on demand:
POST https://api.connect.squiz.cloud/v2/flows/{FLOW_ID}/run-now
The Next Occurrences pane will help you judge whether your CRON expression was written correctly:
Flow versioning
The platform allows you to create different versions of a flow and switch between them if required. There are two flow states in the flow editing process: draft mode and published version. Every time you publish a draft, you create a new flow version.
In the draft state you can edit or add steps, verify credentials, retrieve data samples and configure CRON expressions. You can then publish the draft and test-run your flow. A new draft is created when you create a new flow, or edit an existing one. This means that you can safely edit a draft version without impacting an active flow.
To publish a draft, use the Publish Draft button. This button will only be active if all of the required steps are completed.

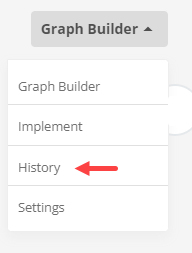
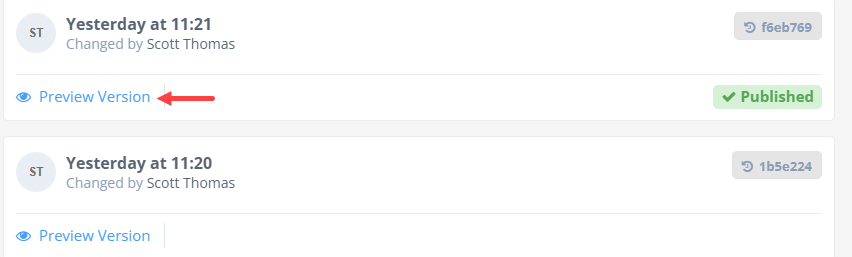
Use the History screen to see a list of all versions of the flow including the published version and all historic versions.
You can revert to an old version by selecting it, creating a draft and publishing it.
You can work on one draft of a given flow at a time. If you try to create another one, the platform will ask you if you want to overwrite the existing one.
When you publish a draft of an active flow, it stops immediately, and restarts as a new version.
Reset snapshot
A snapshot is the data saved by a component during its execution. When the component is run next time, it will read the snapshot to continue the process from the point it finished last time. You can manually reset this snapshot, so the component starts from a default state next time. Note that you can only reset snapshot for a stopped flow. To do this, click the settings button on the flow 1, and select Reset Snapshot 2:
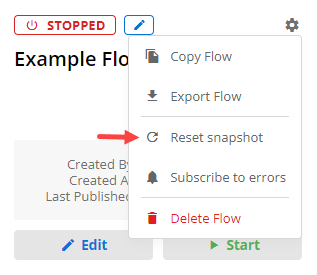
This is the only way to delete an existing snapshot.