Managing your teams and components
When developing integration components for the platform, you need to structure your work into Git repositories. Each repository represents an integration component and is used to push your local code to an Integrations remote server. Every push results in a new deployment of the component.
Access to the component repository is restricted to the team to which the repository belongs. Each member of the team can change, configure and deploy a component. The team itself belongs to a Contract, so only members of the Contract can be invited to the team.
Manage developer teams
A developer team controls access to the component repositories belonging to that team. The team members may collaborate on common integration components in integration projects.
Creating a developer team
| You must have appropriate permissions to create a developer team. |
To create a new developer team:
-
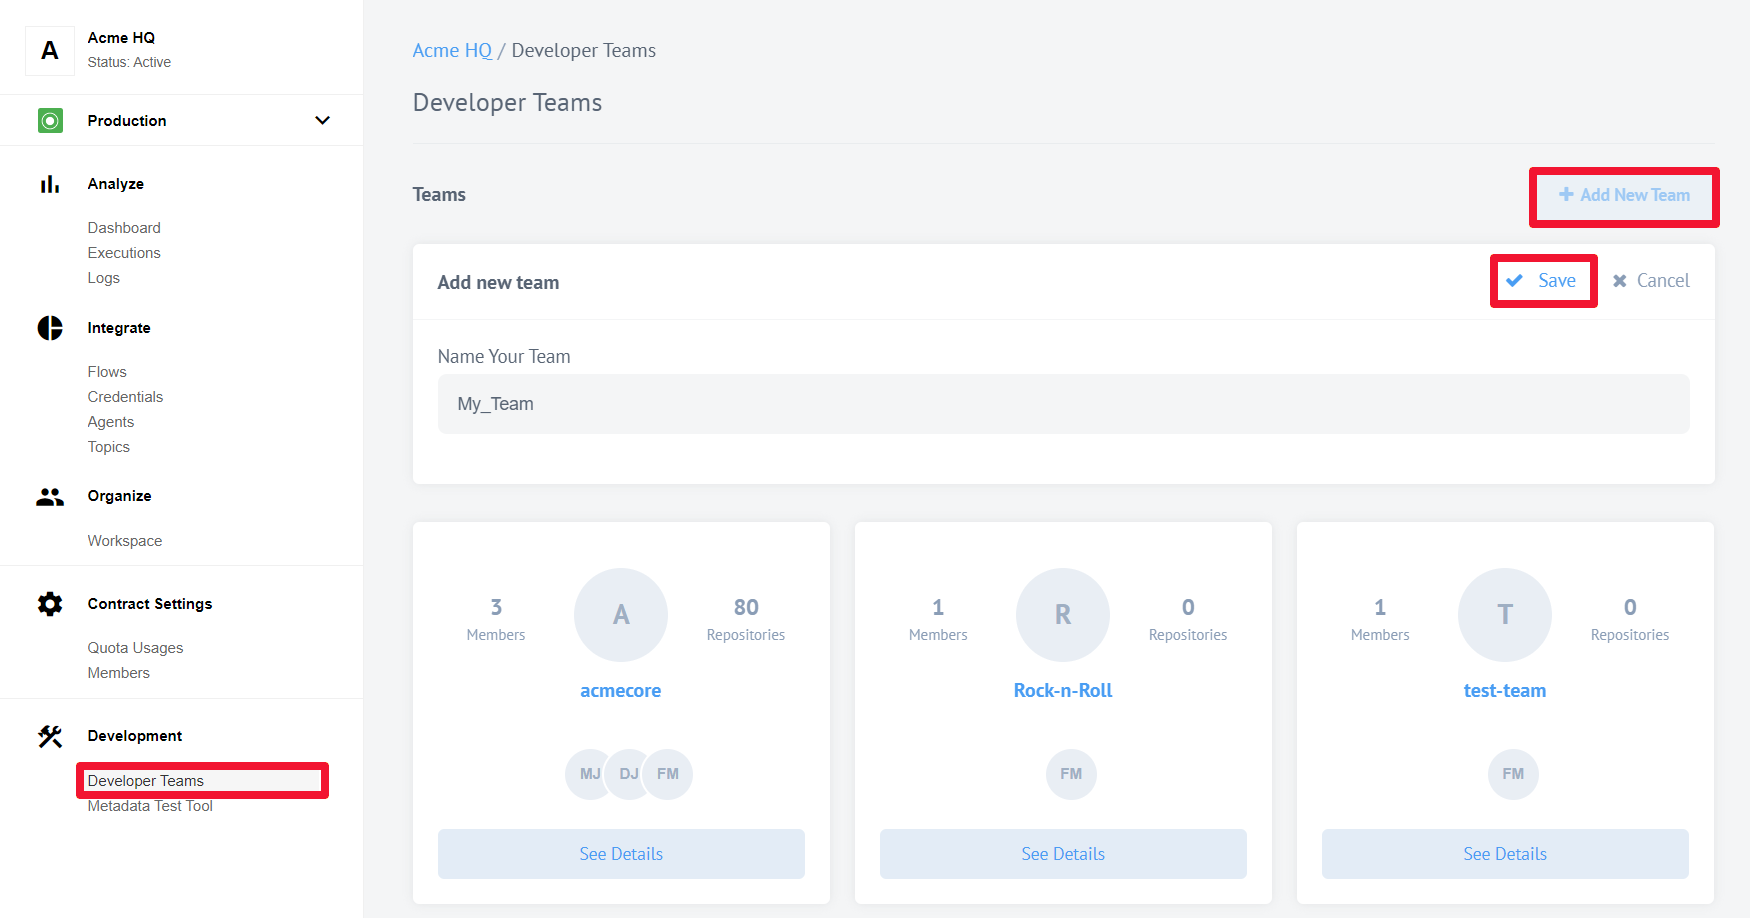
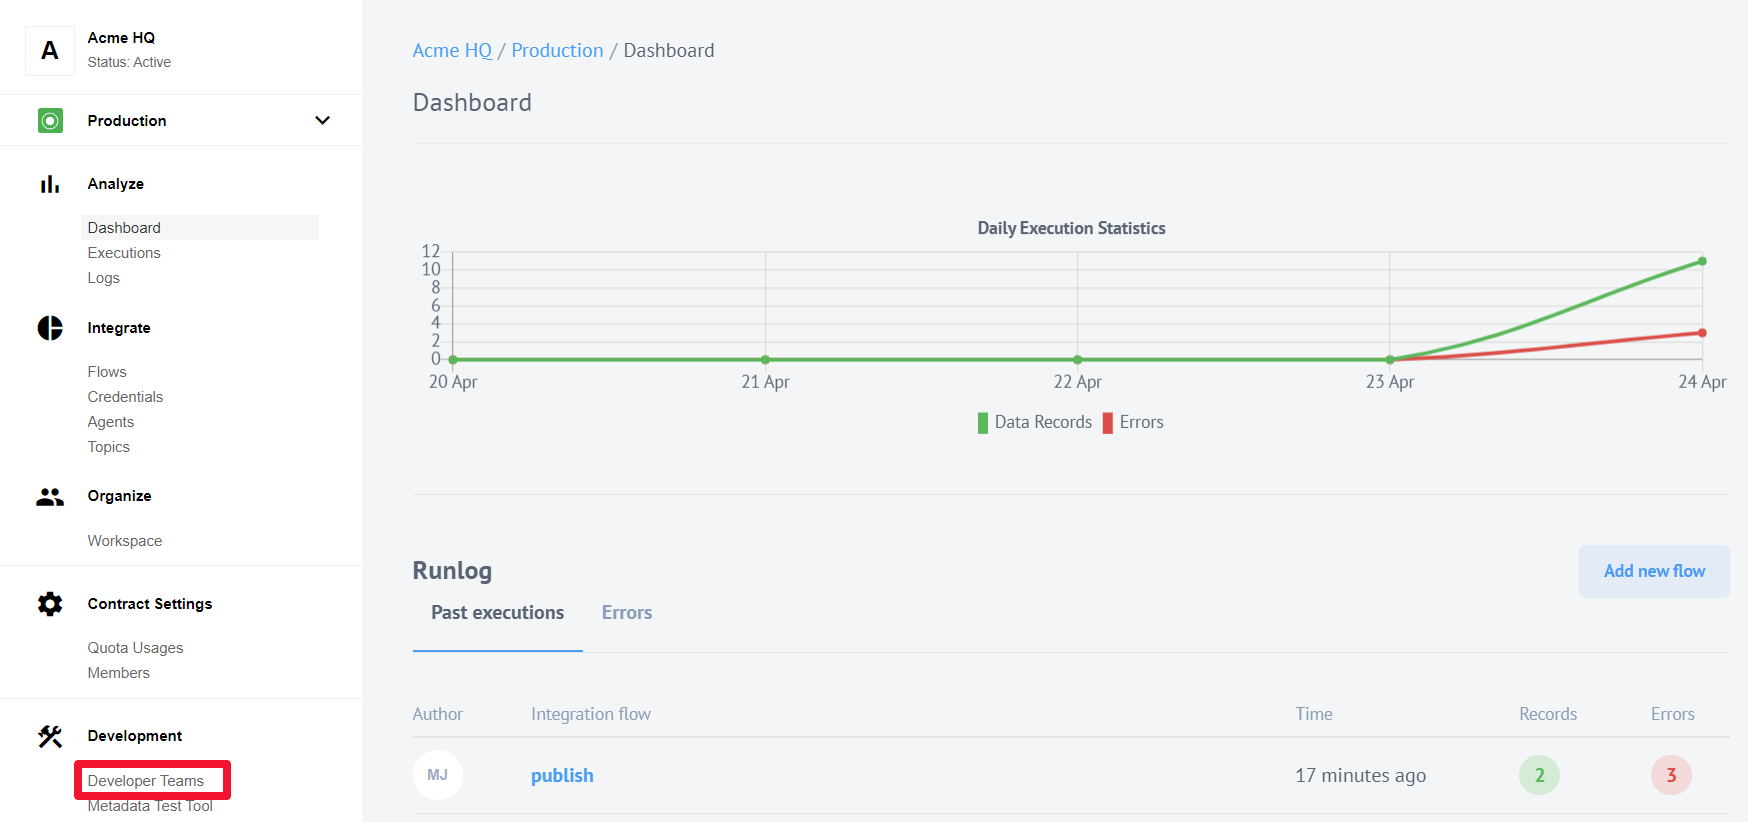
Navigate to Developer Teams.
-
Click the Add New Team button.
-
Give the team a unique name.
You can only use letters, digits, -and_to name your team. -
Click Save.
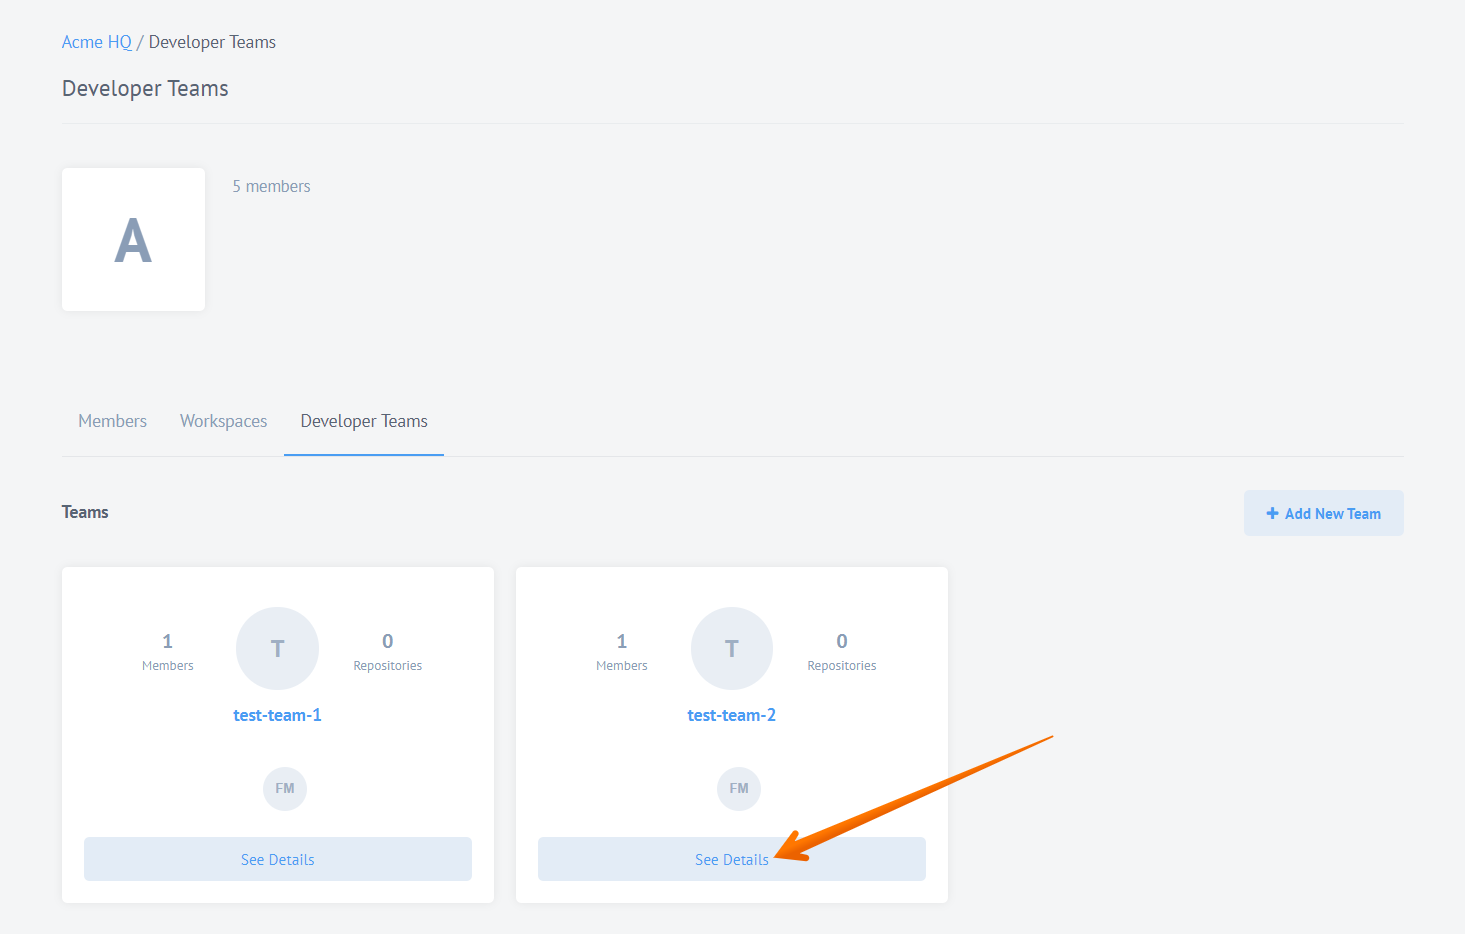
-
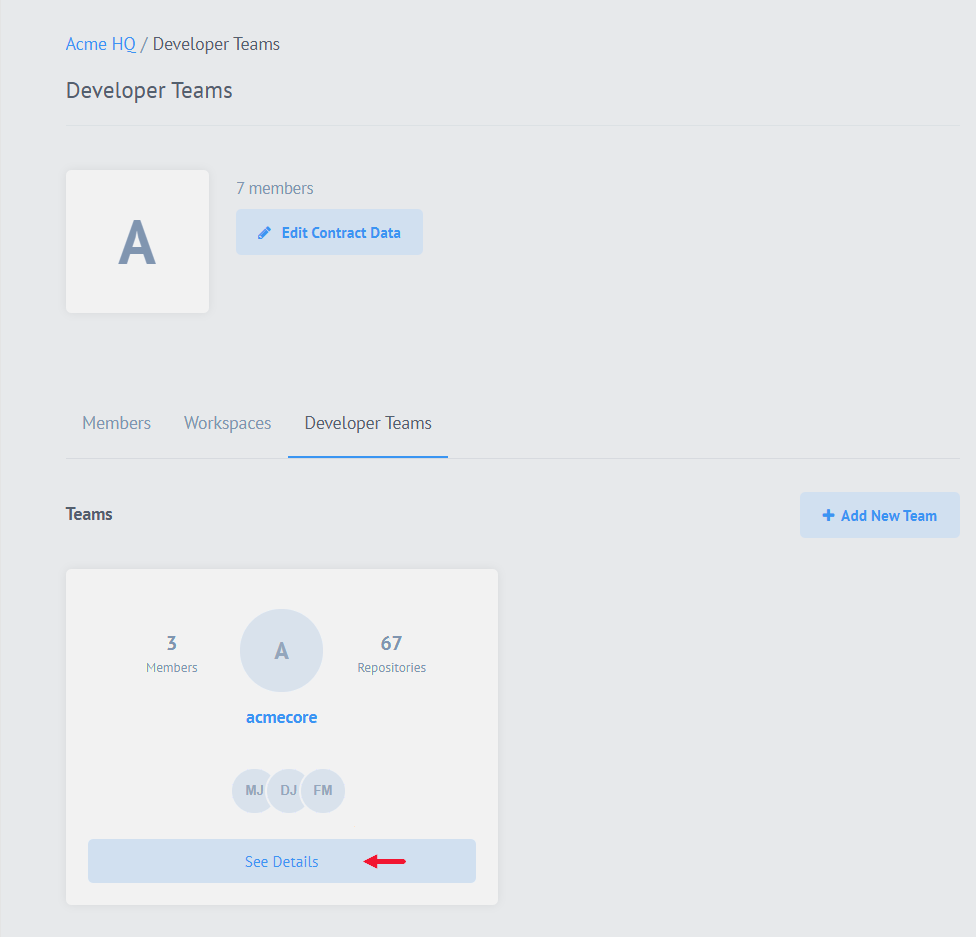
Click the See Details button to access your new team.
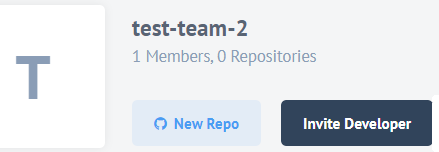
-
Click the Invite Developer button to add more developers to the team.
This shows a list of members from which you can choose. Select the required members and click Send Invites to invite developers.
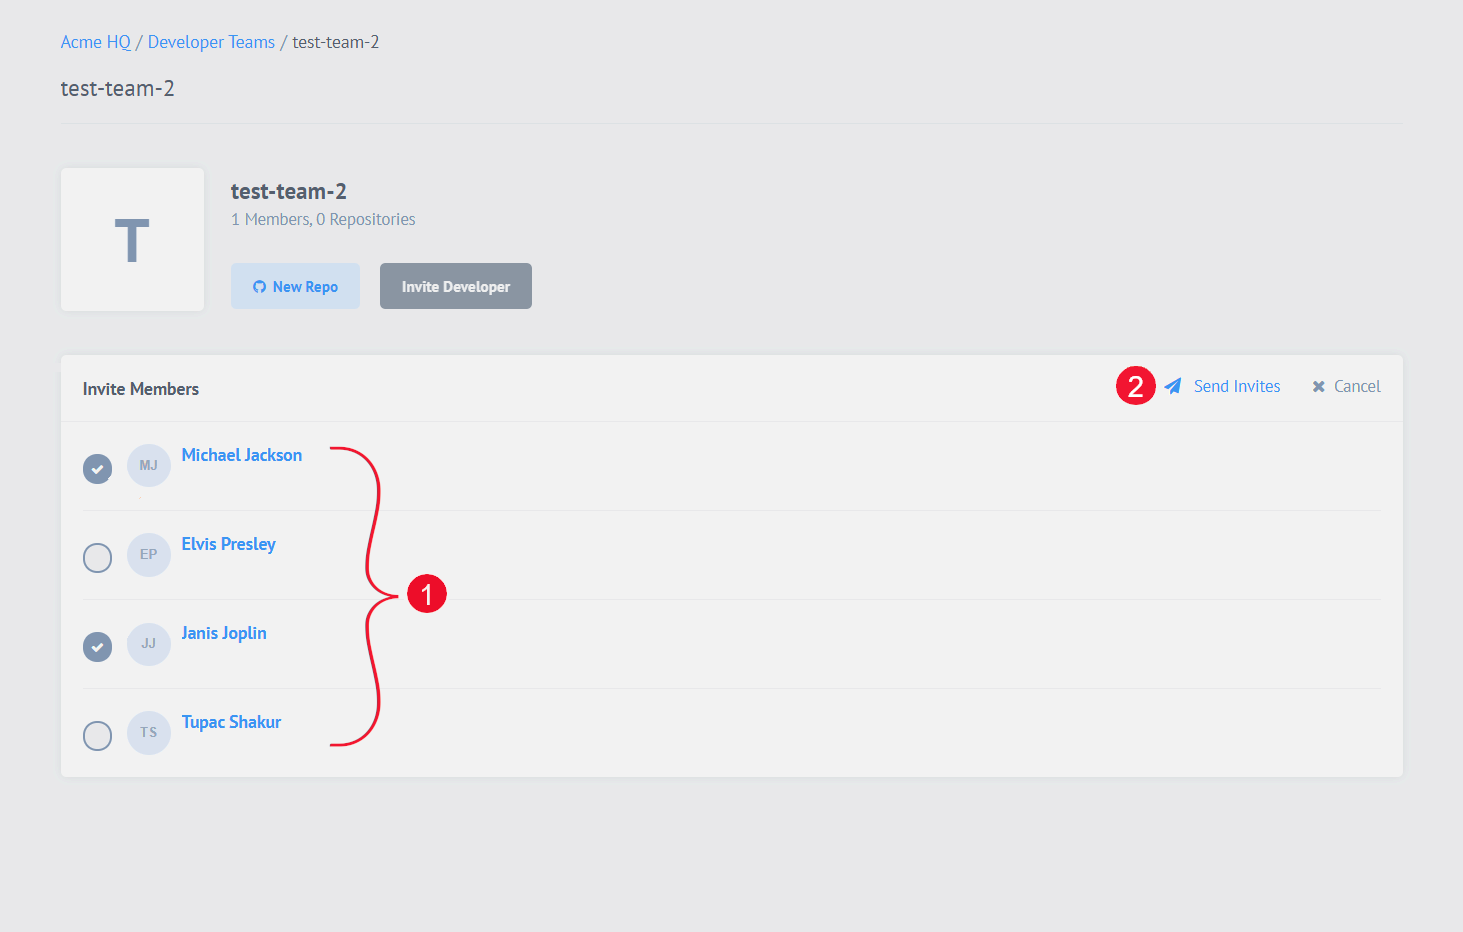
1 Select members to invite.
2 Click Send Invites to invite the chosen members.
The selected users become team members as soon as you click Send Invites.
Only members of the same Contract can be invited into this developer team. The list shows all the possible members that can be invited to this current team.
Delete the developers team
If you need to delete a developer team:
-
You should have the appropriate permissions.
-
The developer team must not contain an integration component.
If the above conditions are true, you can proceed and delete the developer team.
Create a component repository
As mentioned above, each repository represents a component. That is why we use repository and component terms interchangeably here. Every component resides in a particular repository.
| You must have appropriate permissions to create repositories. |
To create a new repository for your custom Components:
-
Click the New Repo button.
-
Enter a repository name.
-
Click Save.

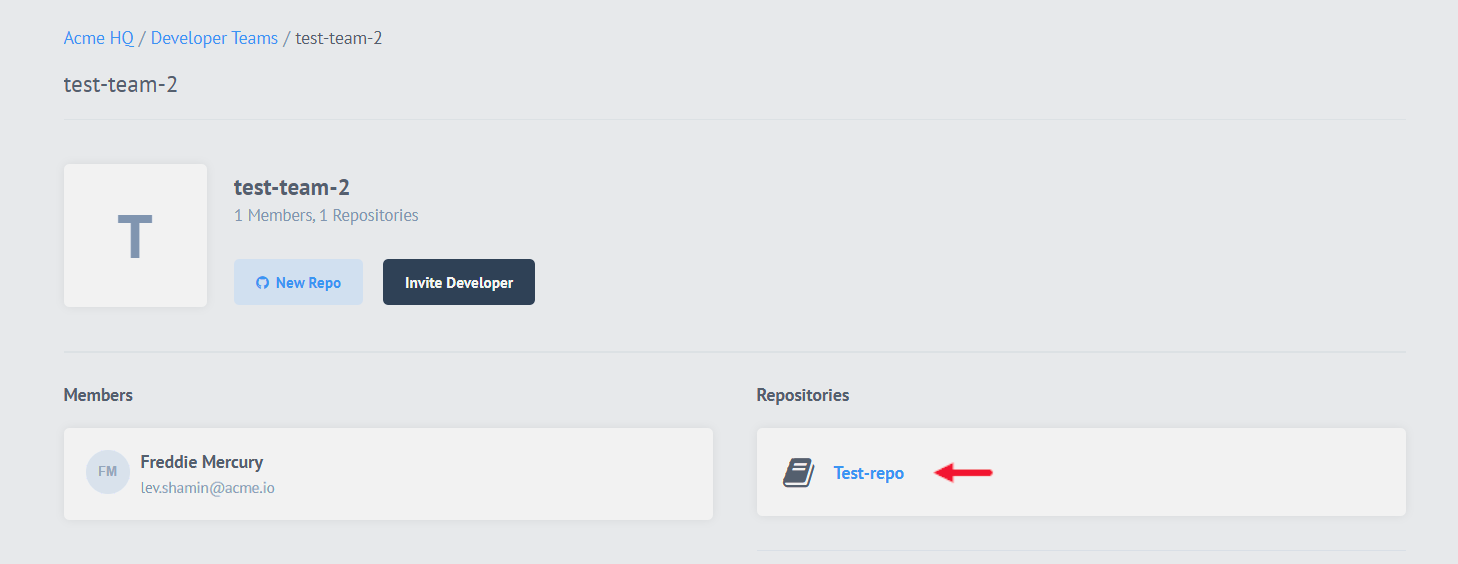
You can now see it in the list of repositories:
As with the naming of the teams, use letters, digits, - and _ to name your repository.
|
Manage the component repository
To manage your repository, click on the name to see more details.
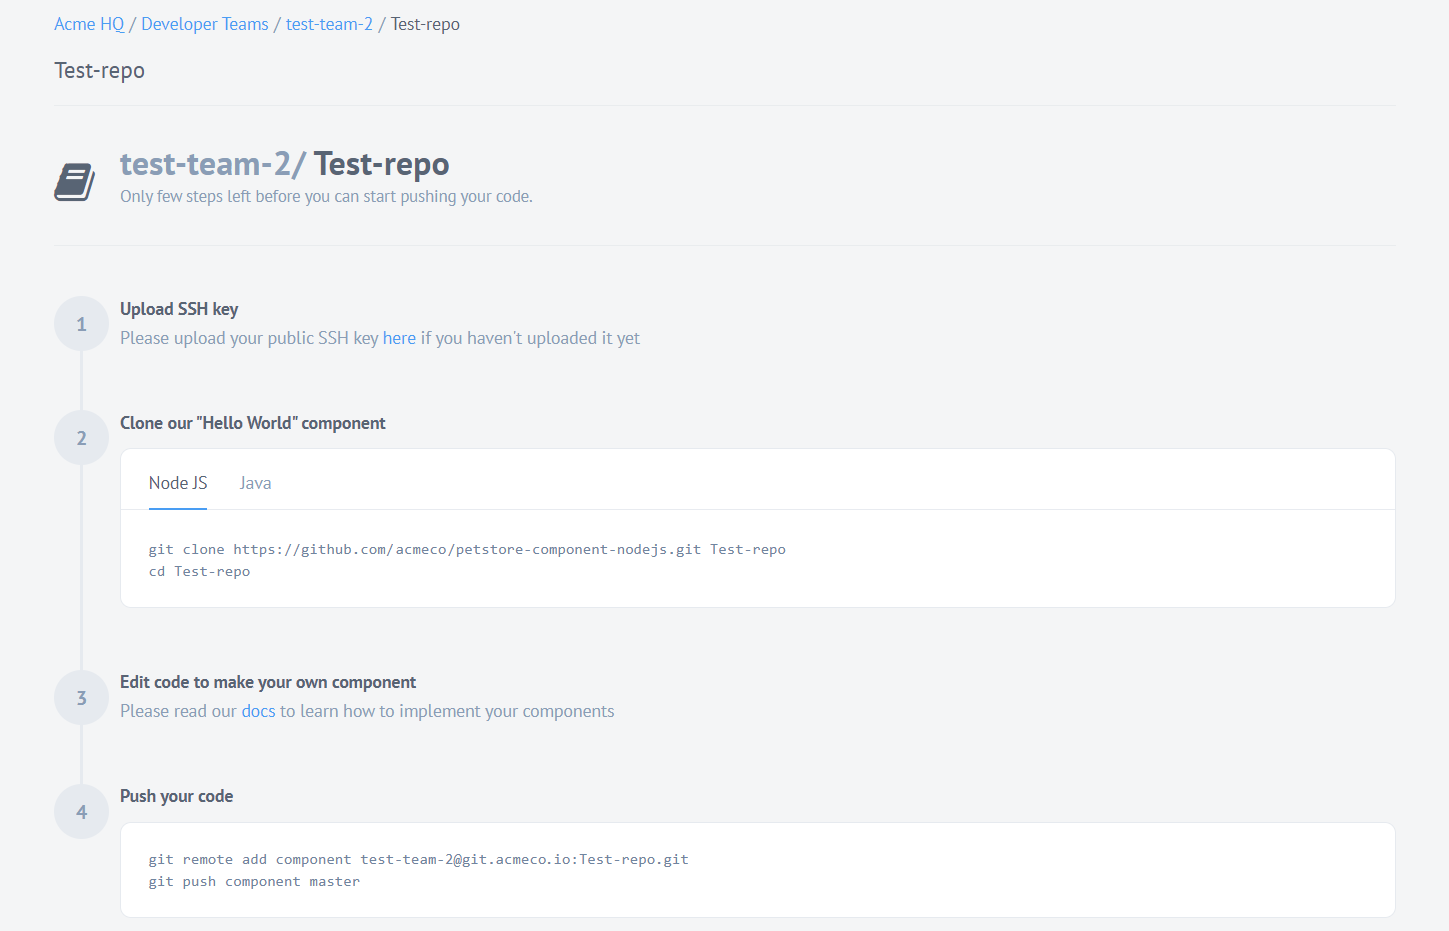
- Repository URL
-
This is the URL where you can push the code for deploying the updates.
Cloning repositories is not supported. To update the code, push it to create a new version. - Environment variables
-
You can set all environment variables for this particular repository by following the link. Managing environment variables is covered later in this documentation.
- Access and visibility
-
This feature gives a possibility to set the component as team, Tenant, and Global:
-
Team means the component is visible and accessible to the current Contract members.
-
Tenant means the component is visible and accessible for the entire Tenant.
-
Global means the component is visible and accessible for all Tenants - can be set only by support.
-
- Build history
-
Here is the deployment history of the repository containing:
-
The date of deployment.
-
The version of the repository deployment and the commit ID.
-
Status of the build. A green mark means success. If the deployment fails, it shows a red cross.
-
State of the build. Showing which build is the default.
-
Log of the deployment. Clicking the View button opens a pop-out window showing the log of that particular deployment.
-
Managing environment variables
To add these values as environment variables to the component repository on the platform:
-
Select Developer teams on the Navigation panel.
-
Click on your team then click on See Details.
-
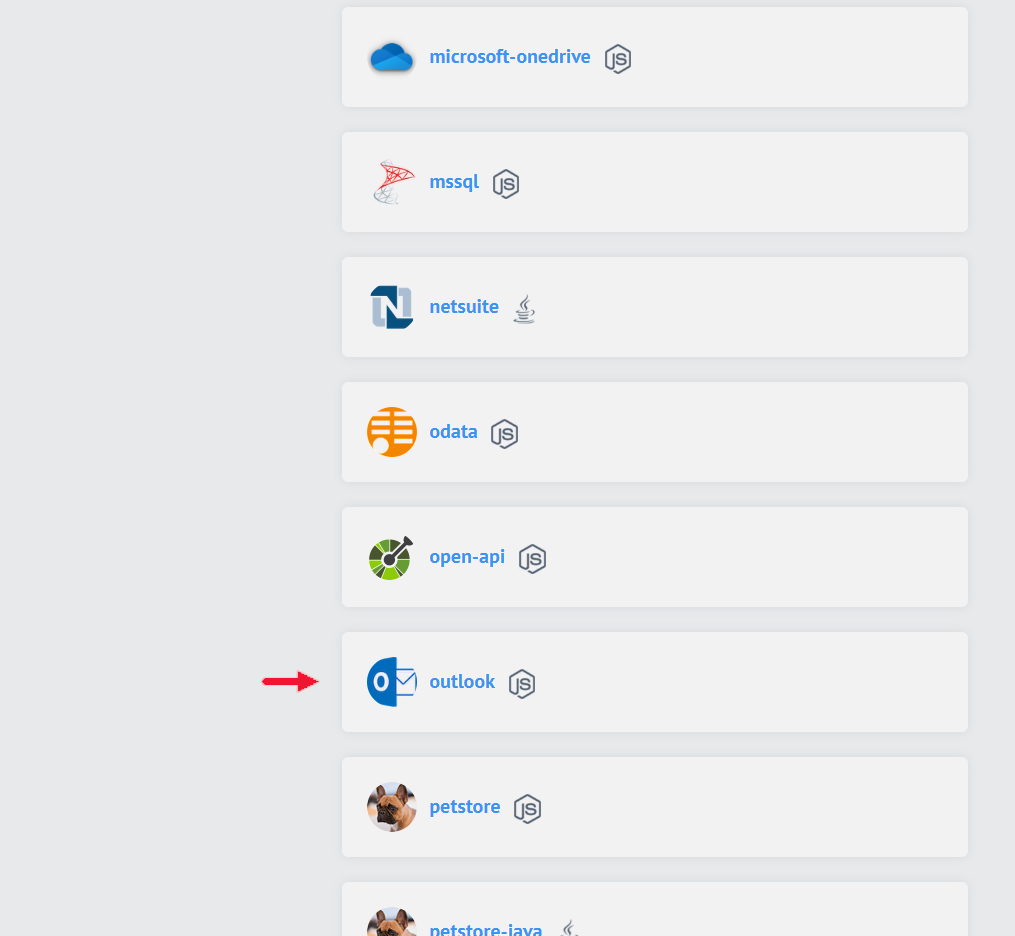
Find component you need.
-
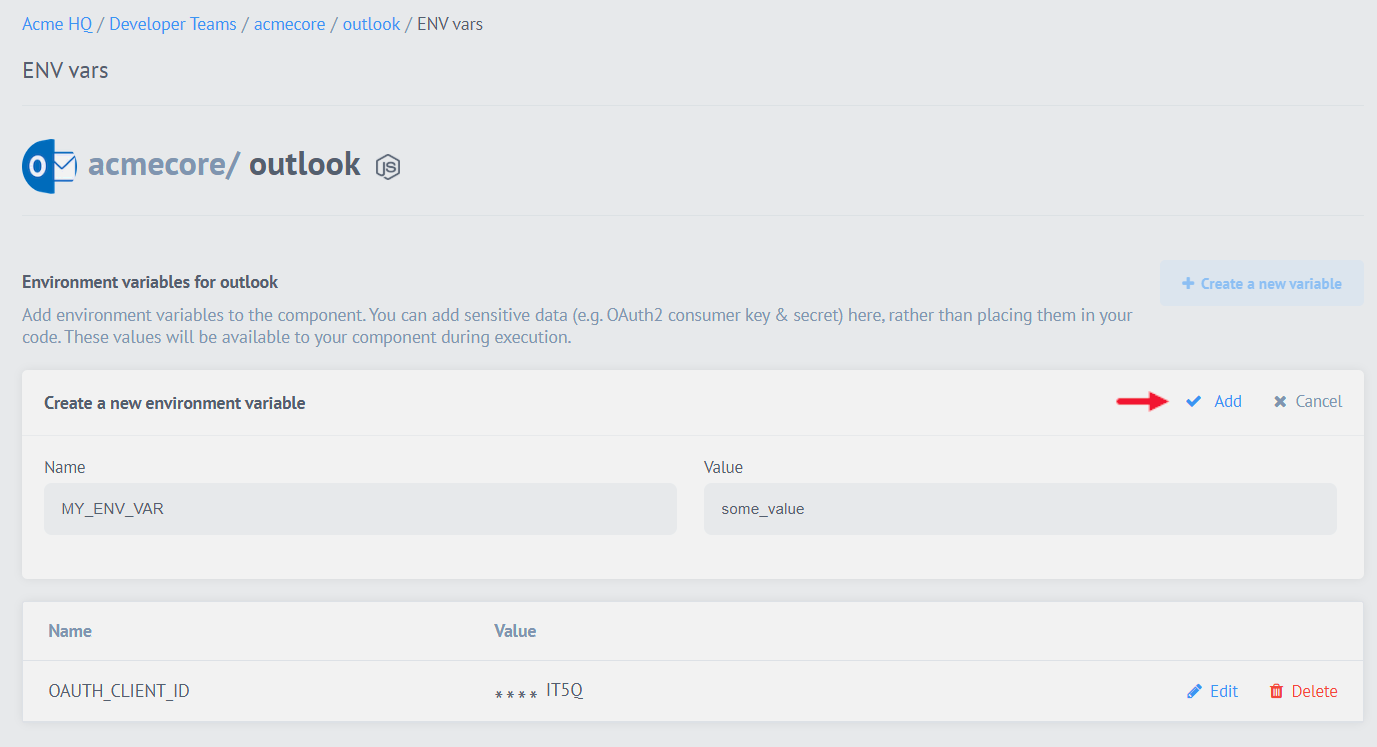
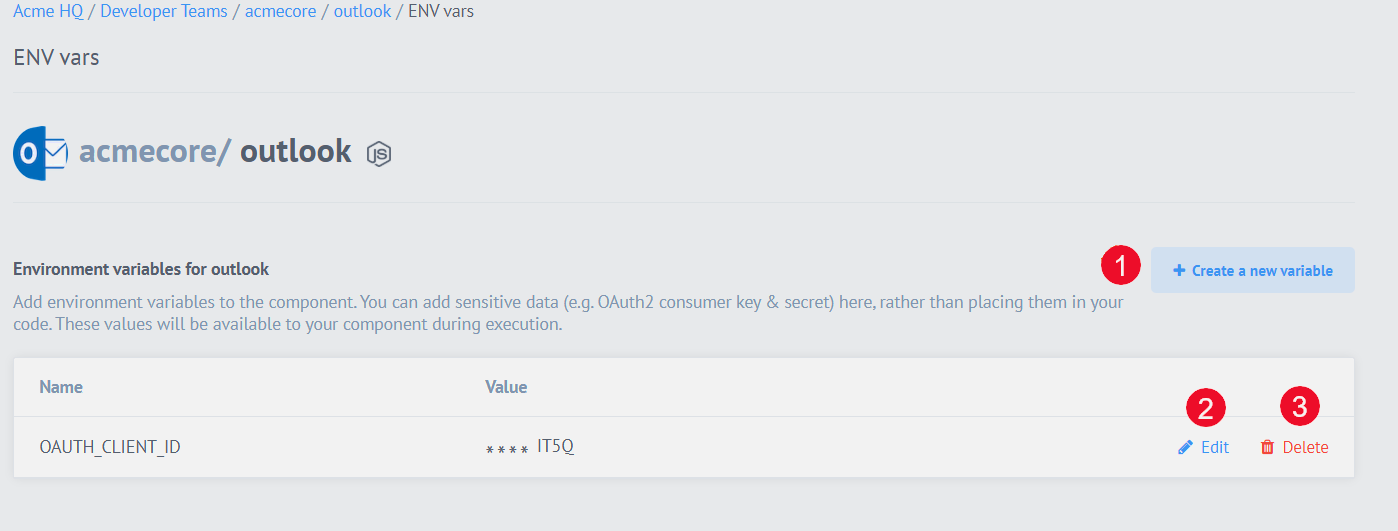
Find the Environment variables field in the component description. Within this field is a link to configure environment variables.

-
Click on Create a new variable, Edit or Delete as needed.
-
Set the name and value for new variables and click Add to save.