Managing component sets
Components must be added to a component set to be available for use on a Squiz Content Management site. This page explains how to create a component set, add components to it, edit component set details, and delete a set from the Component Service.
Create a component set
Component sets are created on the Squiz DXP instance.
To create a component set:
-
Load the Squiz DXP URL — https://dxp.squiz.cloud — in a web browser.
-
Login using the credentials for your DXP instance.
-
Click the Component Service button in the DXP dashboard.
-
Click the Component sets option in the navigation panel.
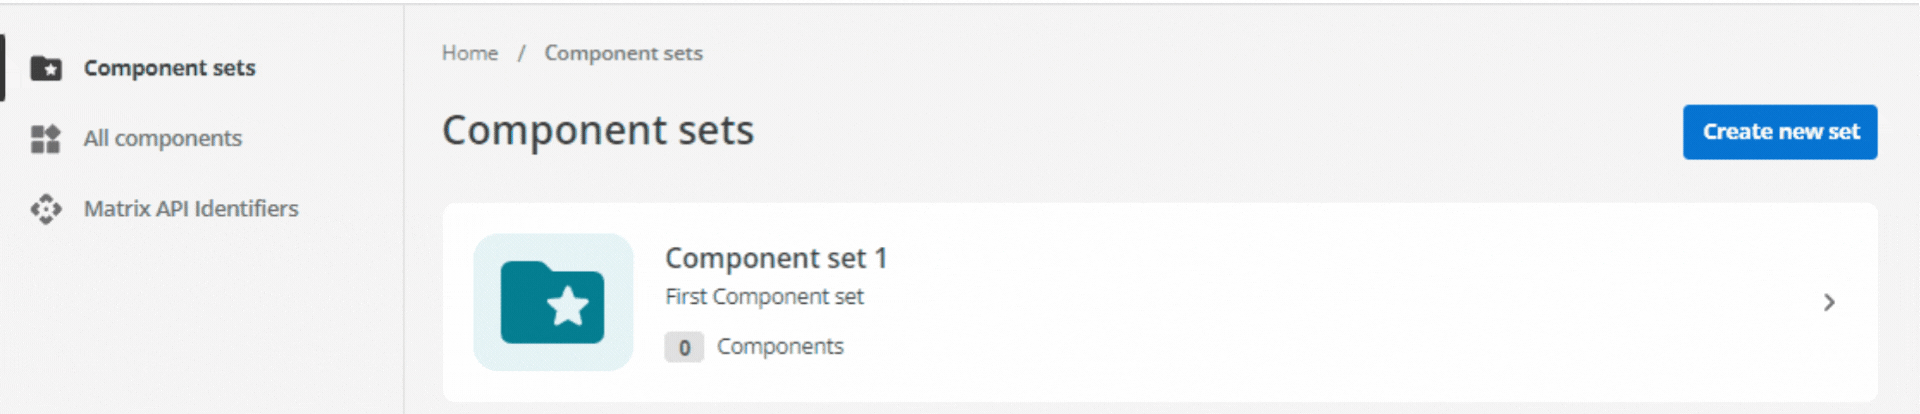 Figure 1. The Component sets page in the Component service
 -
Click the Create new set button.
The Create a new component set dialog loads.
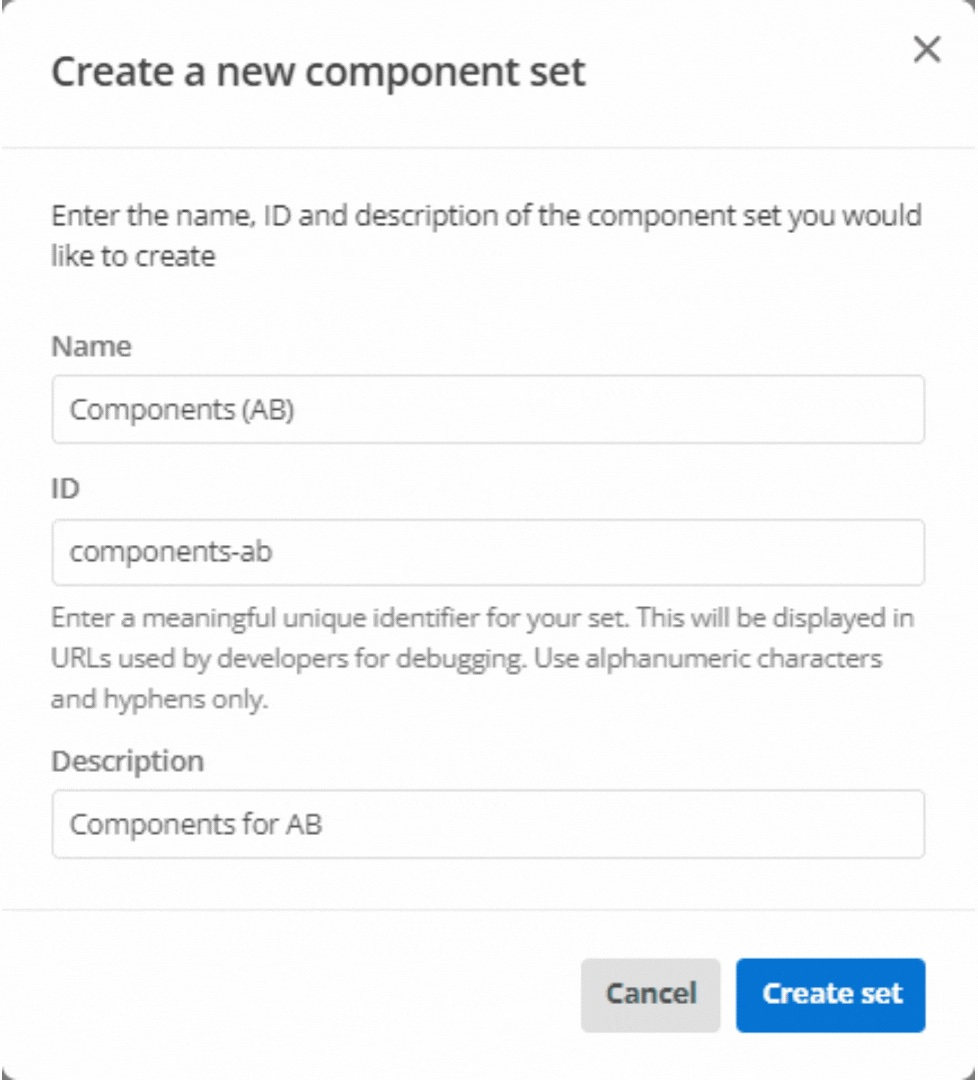 Figure 2. The Create a new component set dialog
 -
Enter appropriate details in the Create a new component set dialog.
- Name
-
the name of the component set.
For this tutorial component, replace the initials, AB, with your own initials.
- ID
-
the component set’s unique identifier.
The component set ID can only consist of alphanumeric characters and hyphens.
- Description
-
One to two sentences describing the purpose and utility of the component set.
-
Click the Create set button.
The new component set is added to the list on the Component set page.
-
Click the Component set name to load the set.
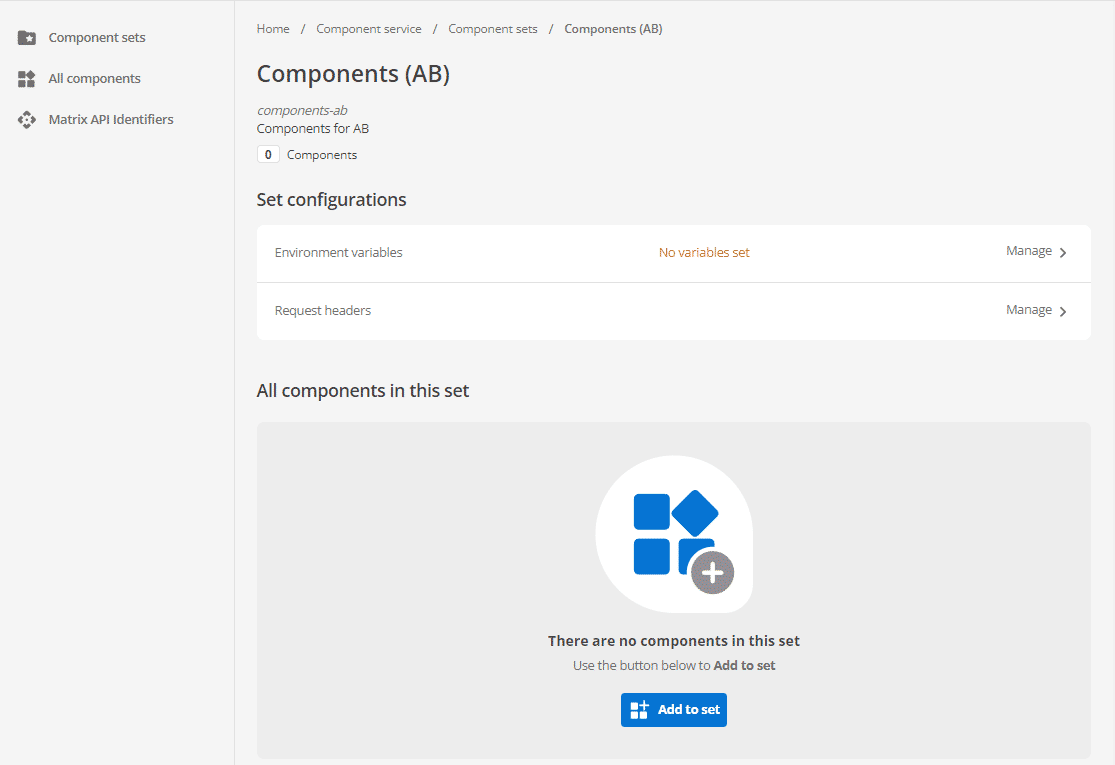 Figure 3. The ‘Components (AB)’ component set page
Note the newly-created component sets contain no components.
Add a component to a component set
To add a component to a component set:
-
Load the Squiz DXP URL — https://dxp.squiz.cloud — in a web browser.
-
Login using the credentials for your DXP instance.
-
Click the Component Service button in the DXP dashboard.
-
Click the Component sets option in the navigation panel.
Figure 4. The Component sets page in the Component service -
Click the Add to set button.
The initial Add to set dialog loads.
-
Select the component to add from the presented component list.
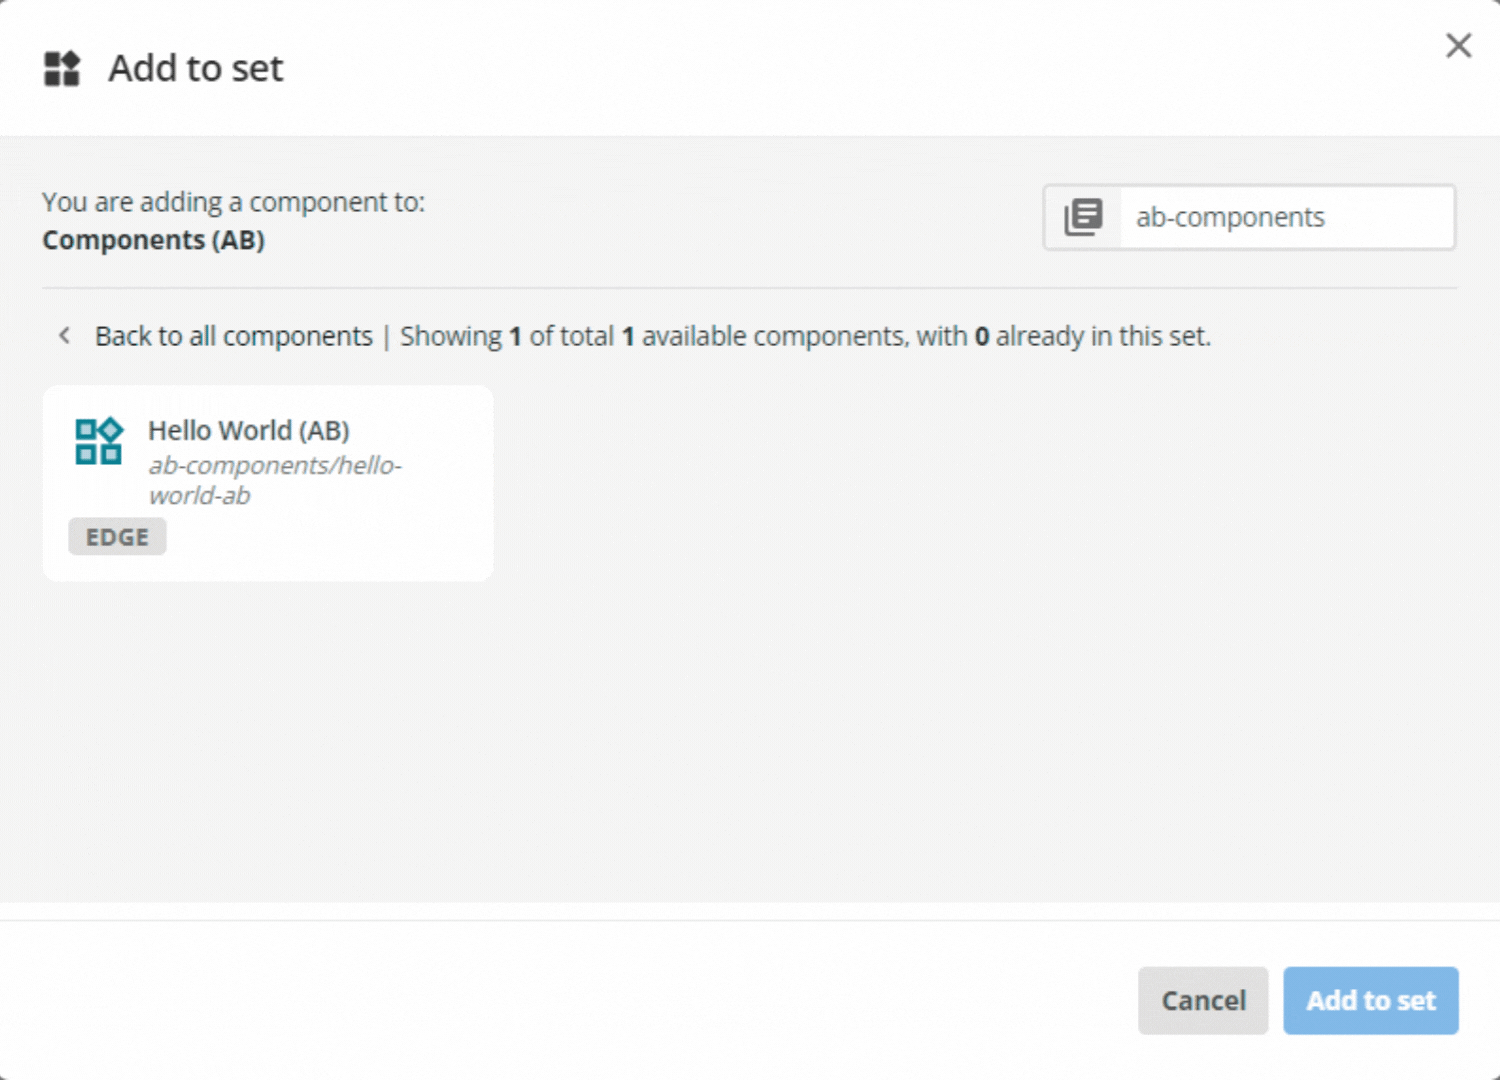 Figure 5. The initial Add to set dialog.
The top-right of the dialog allows for filtering the list of available components in the search field.
-
Click the Add to set button.
A second Add to set dialog loads.
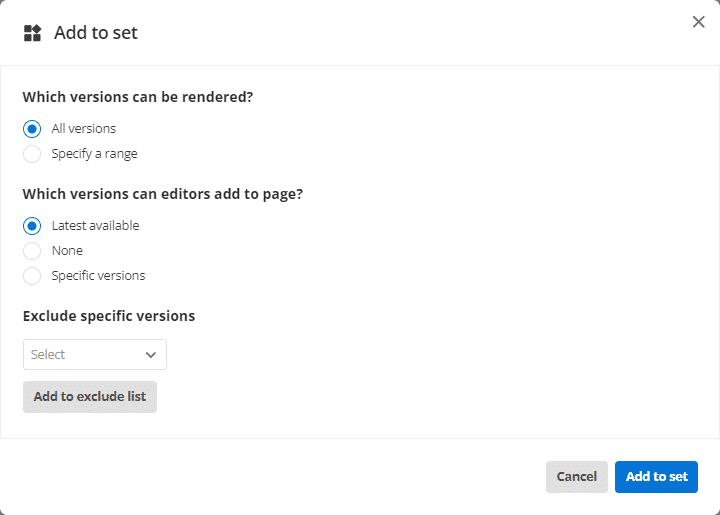 Figure 6. The second Add to set dialog.
 -
Configure the component.
-
Set Which versions can be rendered? to All versions.
-
Set Which versions can editors add to page? to Latest available.
-
Leave Exclude specific versions as is.
-
-
Click the Add to set button.
The component is added to the component set.
 Figure 7. A Component set showing the just-added component as in the set.
Edit a component set
You can change the display name and description of a component set after it has been created.
To edit a component set:
-
Load the Squiz DXP URL — https://dxp.squiz.cloud — in a web browser.
-
Login using the credentials for your DXP instance.
-
Click the Component Service button in the DXP dashboard.
-
Click the Component sets option in the navigation panel.
-
Click the component set name to open the set detail page.
-
Click the more actions menu (⋯) in the set header, then select Edit.
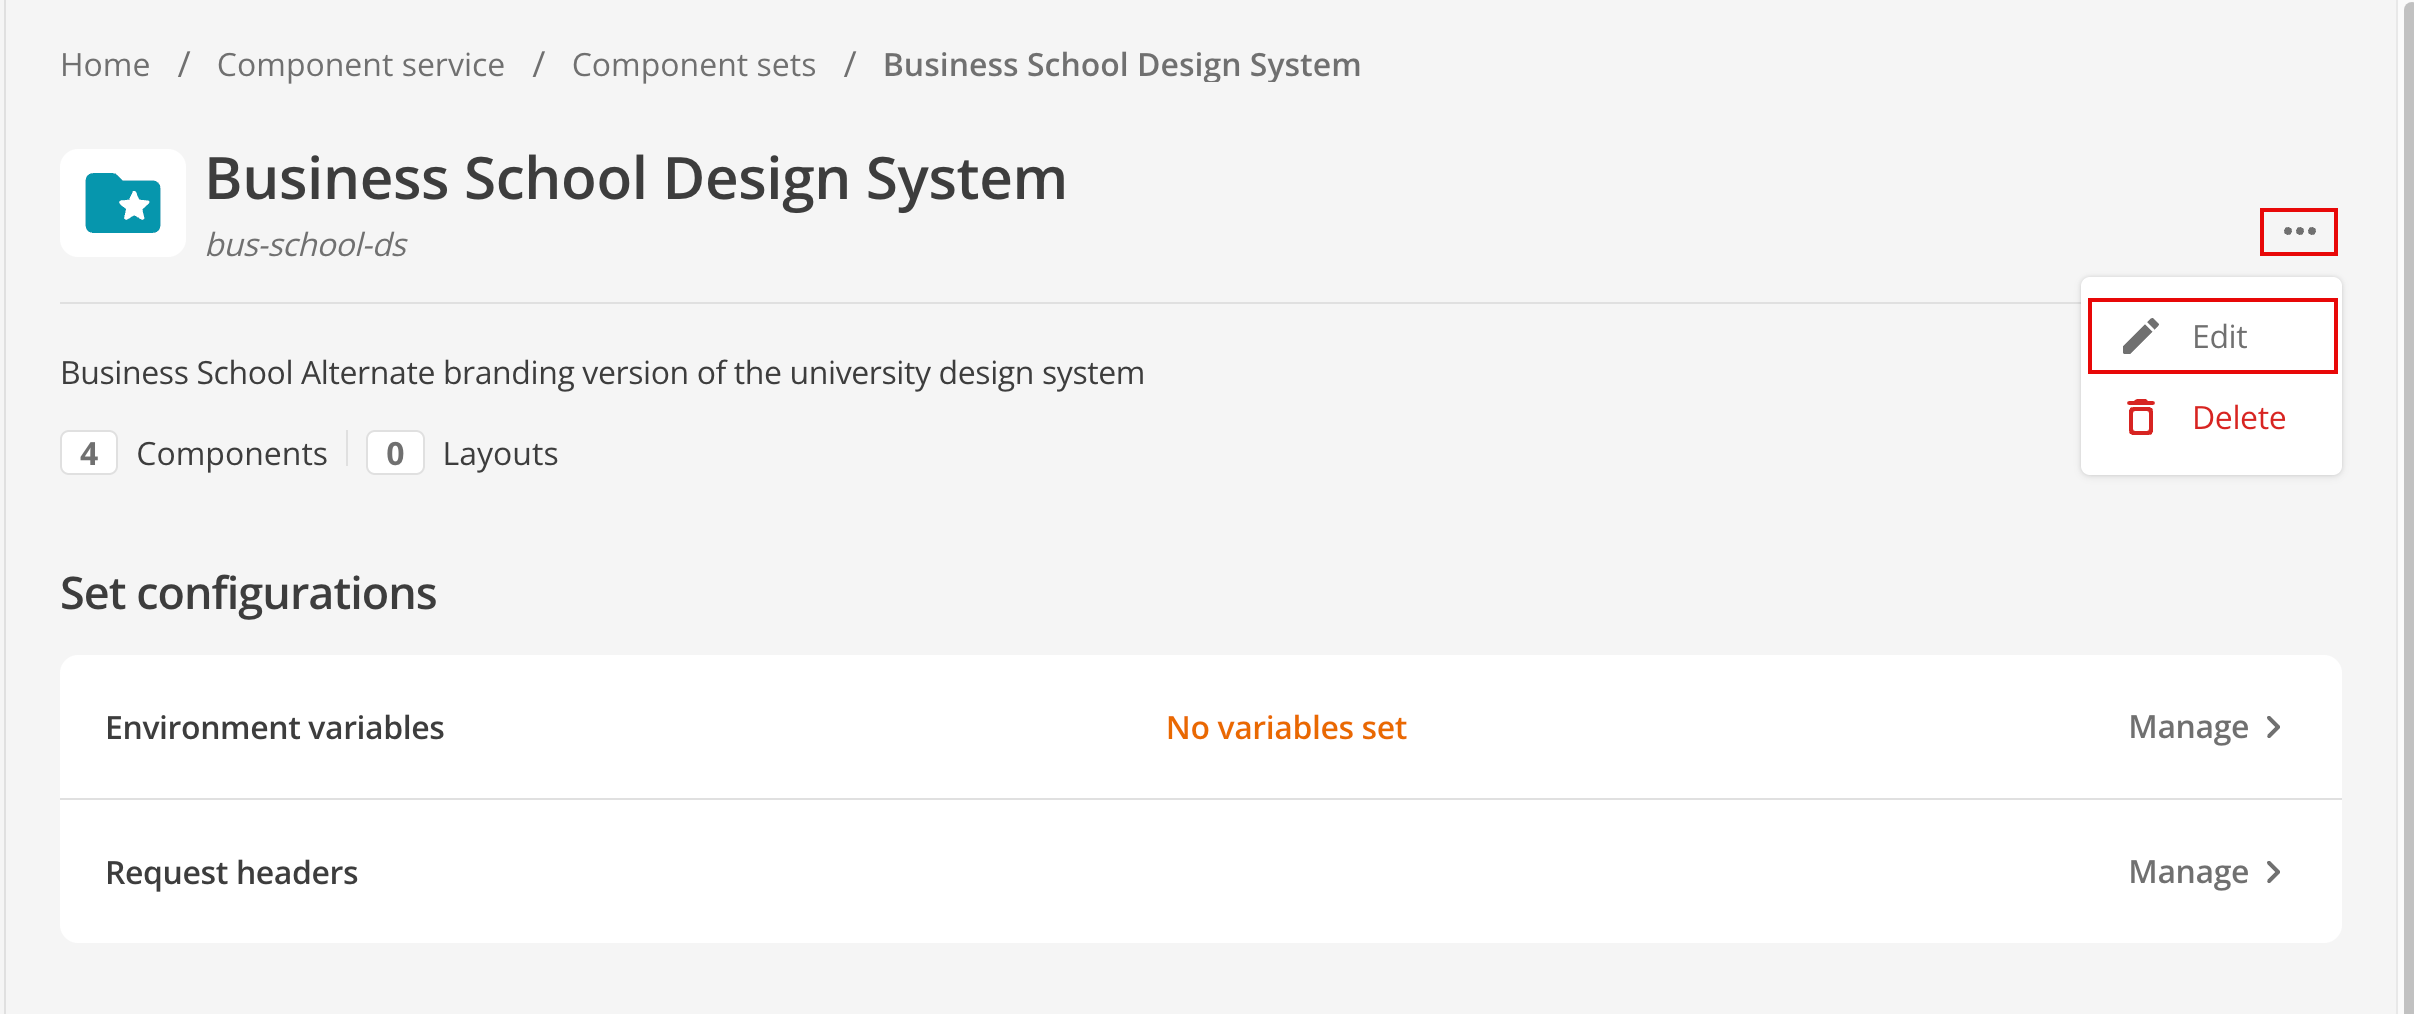 Figure 8. The more actions menu (⋯) on the component set detail page, with Edit highlighted.
The Edit set dialog loads.
-
Update the Name and Description fields as required, then click Save.
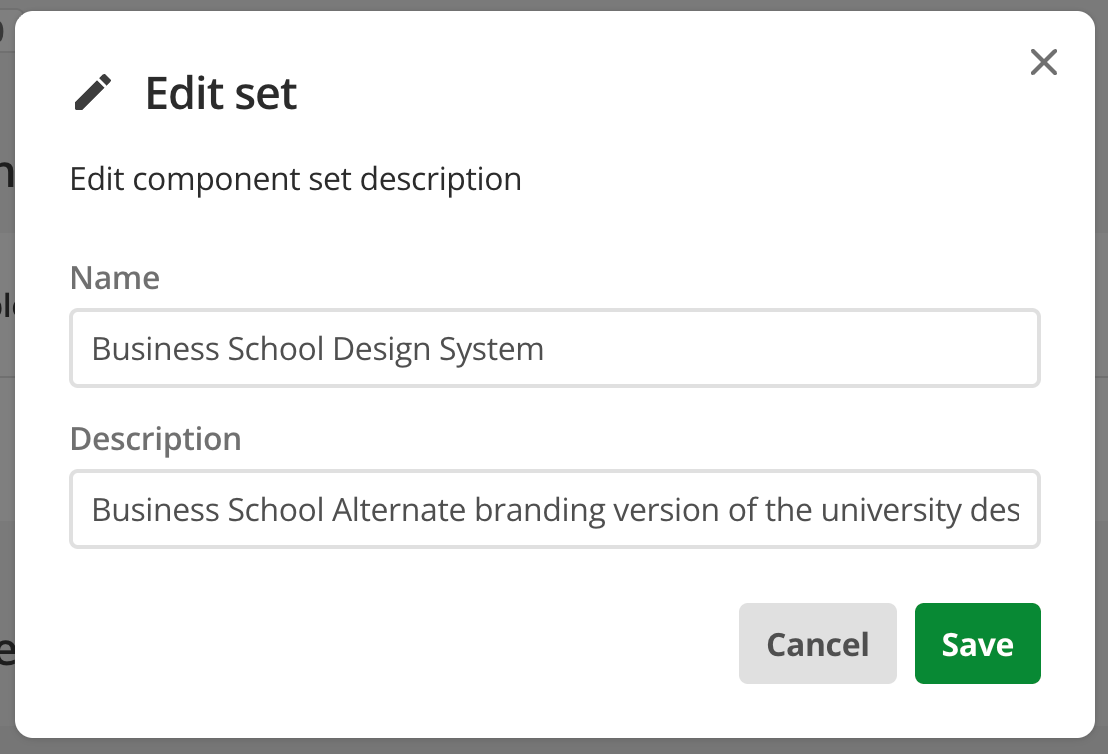 Figure 9. The Edit set dialog with Name and Description fields.
A Changes saved confirmation appears when the update is successful.
|
The ID shown under the set title on the detail page is not editable. The component set ID is permanent and cannot be changed from the DXP Console. |
Delete a component set
You can remove a component set you no longer need from the Component Service.
To delete a component set:
-
Load the Squiz DXP URL — https://dxp.squiz.cloud — in a web browser.
-
Login using the credentials for your DXP instance.
-
Click the Component Service button in the DXP dashboard.
-
Click the Component sets option in the navigation panel.
-
Click the component set name to open the set detail page.
-
Click the more actions menu (⋯) in the set header, then select Delete.
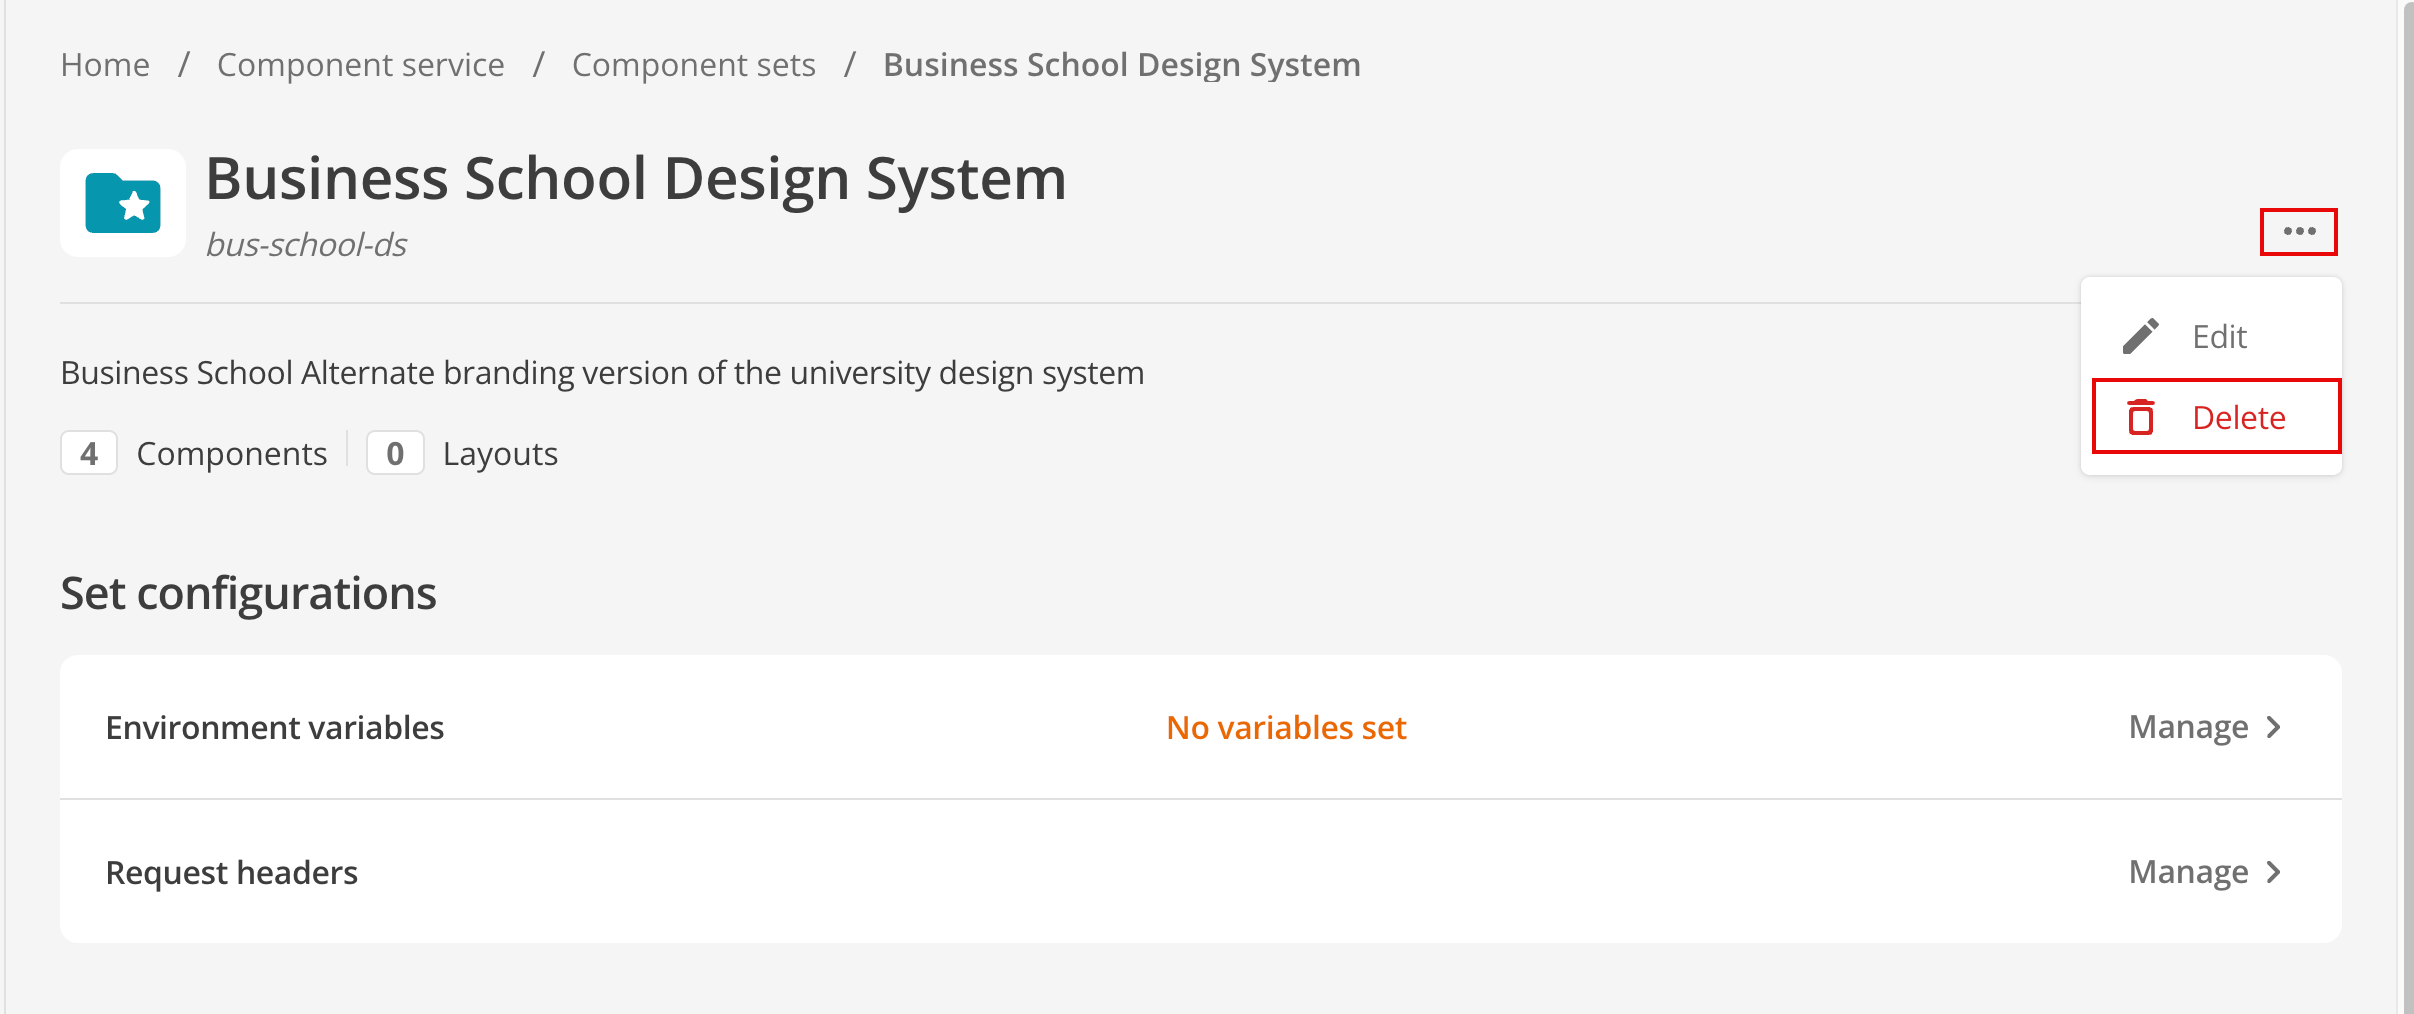 Figure 10. The more actions menu (⋯) on the component set detail page, with Delete highlighted.
The Delete set dialog loads with the following message:
Deleting a set will mean all its components and layouts will no longer be available to be added to any sites using this set. Components and layouts already in use will remain as is. Are you sure you want to delete this set?
-
To confirm, click Delete.
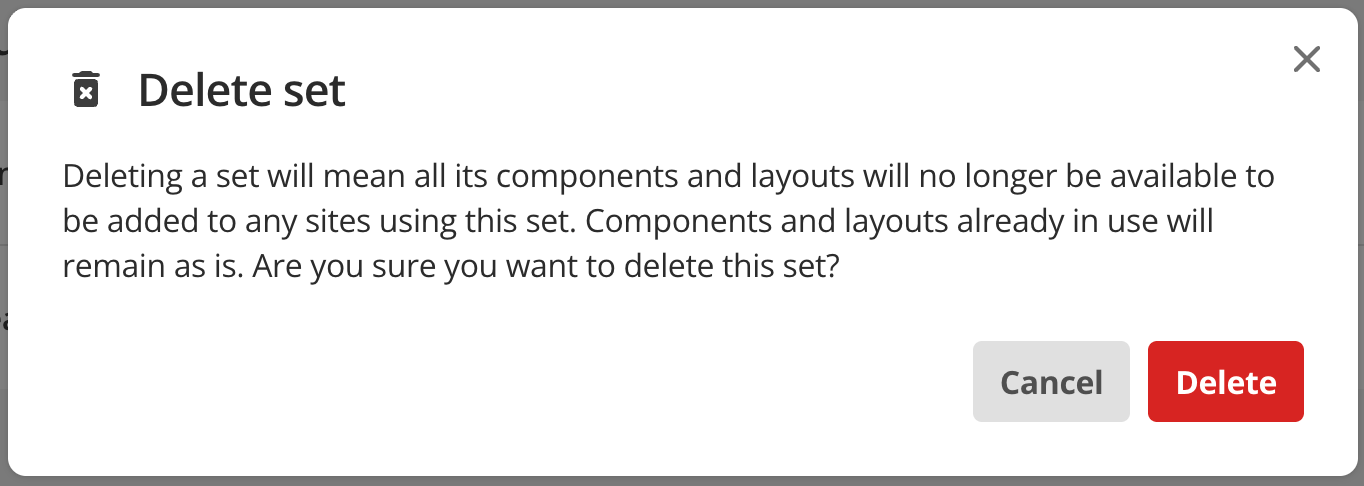 Figure 11. The Delete set confirmation dialog.
 -
To cancel, click Cancel or close the dialog.
What happens when you delete a set
When you delete a component set:
-
The set no longer appears in the Component sets list in the Component Service.
-
Components and layouts from that set that are already in use on Content Management pages continue to work.
-
Components and layouts from that set can no longer be added to sites through that set.
-
If you create a new component set using the same ID as a deleted set, the system may append an integer to the ID because the previous set still exists internally.
|
Deleting a set does not remove its components or layouts from pages that already use them. To stop using a component or layout on new pages, remove it from the relevant component sets first, or delete the component or layout separately. |