Deploying layouts to the DXP
To use a layout in Page Builder, deploy the layout to the Component Service in the DXP. Add it to a component set.
Deploy command
Use the dxp-next page layouts deploy command to deploy to the DXP.
The following shows the usage and available parameters:
$  dxp-next page layouts deploy --help
Usage: dxp-next page layouts deploy [options]

Options:
  --config <string>         File path to the page layout config file
  --dxp-base-url <baseURL>  DXP Console URL (env: DXP_BASE_URL)
  -t, --tenant <string>     Tenant ID to deploy to. If not provided will use configured tenant from login (env: SQUIZ_DXP_TENANT_ID)
  --dry-run                 Run all pre-deployment processes without deploying (default: false)
  -h, --help                display help for command
The following options are available:
--config <string>-
Specifies the layout configuration file path.
If you use the default filename of
manifest.jsonin the current directory, you can omit this option. --tenant <string>or-t-
Specifies the tenant ID to deploy to.
Only needed if you have access to more than one tenant (Squiz DXP instance).
If you have access to more than one tenant and do not provide this option, you are prompted to choose from a list.
--dxp-base-url <baseURL>-
Specifies the DXP Console URL.
Only required if your Squiz DXP instance is not available at the default URL of
https://dxp.squiz.cloud/.Runs all pre-deployment processes without deploying. This is useful for validating the layout before actual deployment.
Deploying your layout
To deploy your layout to the DXP:
-
Sign in to the Squiz DXP from the CLI.
The tenant ID is an alphanumeric identifier found in your DXP instance URL:
https://dxp.squiz.cloud/organization/TENANT-ID/For example, in
https://dxp.squiz.cloud/organization/sample-company-12345/, the tenant ID issample-company-12345. -
Enter the following command, replacing
YOUR-TENANT-IDwith your tenant ID:dxp-next auth login --tenant=YOUR-TENANT-IDSign in to the Squiz DXP in the browser window that opens automatically.
If your Squiz DXP instance uses Single Sign-On (SSO), follow your normal process. Otherwise, enter your username and password when prompted.
-
Deploy the layout from your layout folder (the folder containing your
manifest.jsonfile).$ dxp-next page layouts deployThe following shows an example deploy command output:
$ dxp-next page layouts deploy 2026-01-09T00:46:44.645Z info: Loading layout data from the file manifest.json 2026-01-09T00:46:48.076Z info: Layout "three-columns" version 1767919608015 deployed successfully. 2026-01-09T00:46:48.076Z info: Deployed layout URL: https://dxp.squiz.cloud//sample-company-12345/component-service/all-layouts/three-columns -
Verify the deployment by accessing Components & Layouts in the DXP.
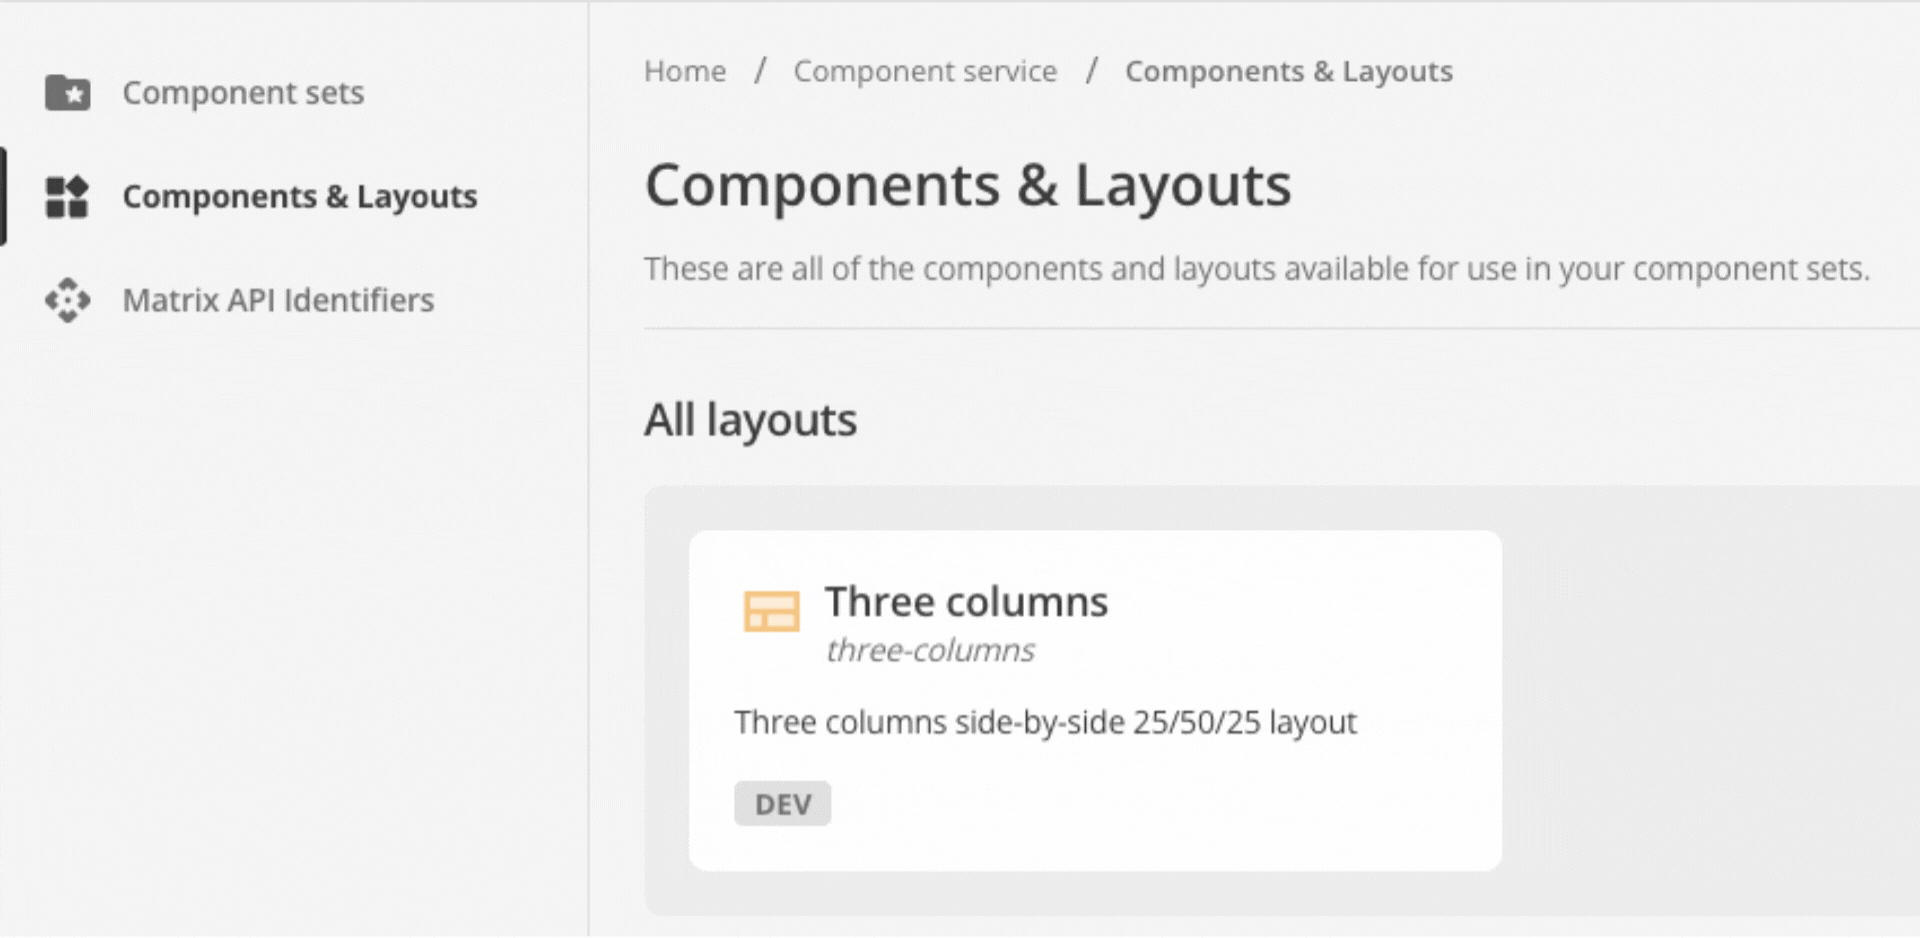 Figure 1. The Squiz DXP Component Service Component and layouts section.
-
In a web browser, access the DXP (
https://dxp.squiz.cloud/) and sign in. -
Access the Component Service capability.
-
Select Components & Layouts.
-
Locate the new layout in the list of layout cards in the All layouts section.
-
| During the layout’s deployment to the Squiz DXP, the configuration file is validated for syntax or format errors, but the template file is not validated. |