Configure translation support for content pages
This article describes the end-to-end process of configuring a secondary language in the page and then linking this language as a Context available to content page assets.
The workflow is described in the following sections:
Pre-requisites
To configure translation support, the following end-user pre-requisites must be met.
-
Your organization has activated the languages menu so it appears in content pages.
-
Your Squiz DXP user account has site builder, system administrator, system owner or developer permissions.
-
You have access to a Squiz Content Management instance within your DXP organization with system administrator or root user permissions.
-
You are familiar with the concepts described in Content Management Contexts.
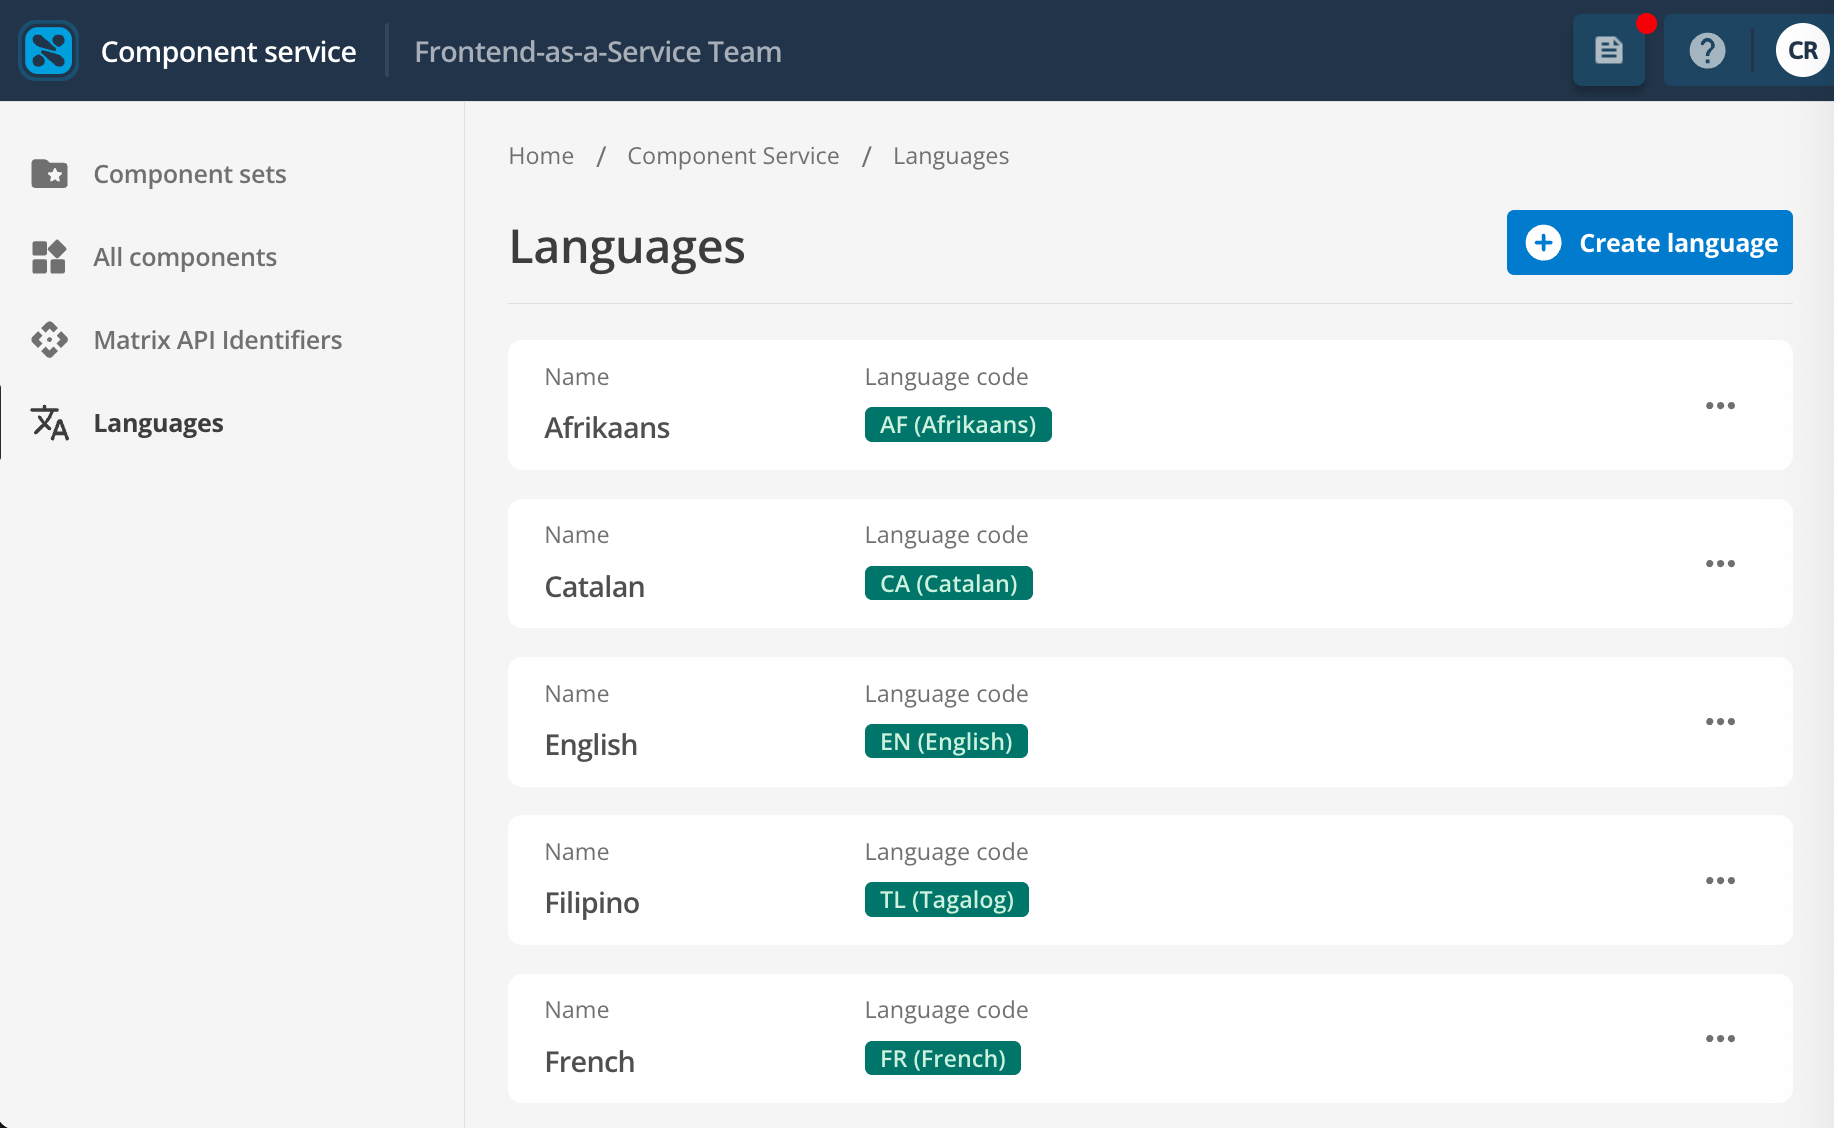
Set up supported languages in the Component Service
The translations feature relies on a set of approved languages to be configured in the DXP.
| At least two languages must be set for the Component Service to offer Translations on Content Page components. |
Steps
-
Sign in to your Squiz DXP Organization.
-
Select to load the Languages configuration page.
-
Click Create language to load the Create language dialog box.
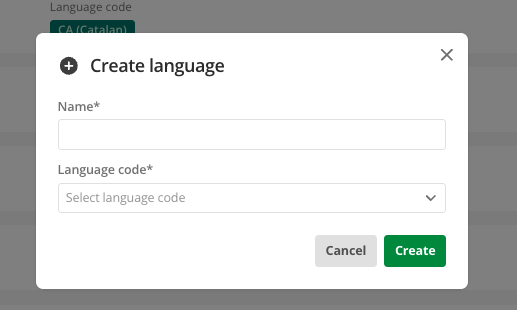
- Name
-
Specify a name for this language that content editors would understand.
- Language code
-
Select the language from the list of supported ISO language codes.
-
Click Save to add the language as an available translation target.
| Be careful when choosing your language code for languages. In order to ensure data integrity, after a language is created, it cannot be deleted, and it cannot have its language code updated. |
-
Repeat the above process until your language list represents the list of languages you want to be made available to your editors.
Pair a language to a context in Squiz Content Management
Now that the target language is added at the Component Service level, you need to allow Squiz Content Management to access this language through the Alternative contexts feature.
| If content page translations are being used, Squiz highly recommends that all contexts are mapped to a DXP language as described in this process. |
Steps
-
Sign in to your Squiz Content Management instance.
-
Click
 and then select Contexts to load the Contexts screen.
 -
Click Edit.
-
Create a context:
-
Select the checkbox.
-
Give the context a name that matches the name of the language you set in Component Service.
-
Click Save to add the context into the Alternative contexts section.
-
-
Use the Edit button to load the Edit selected context screen.
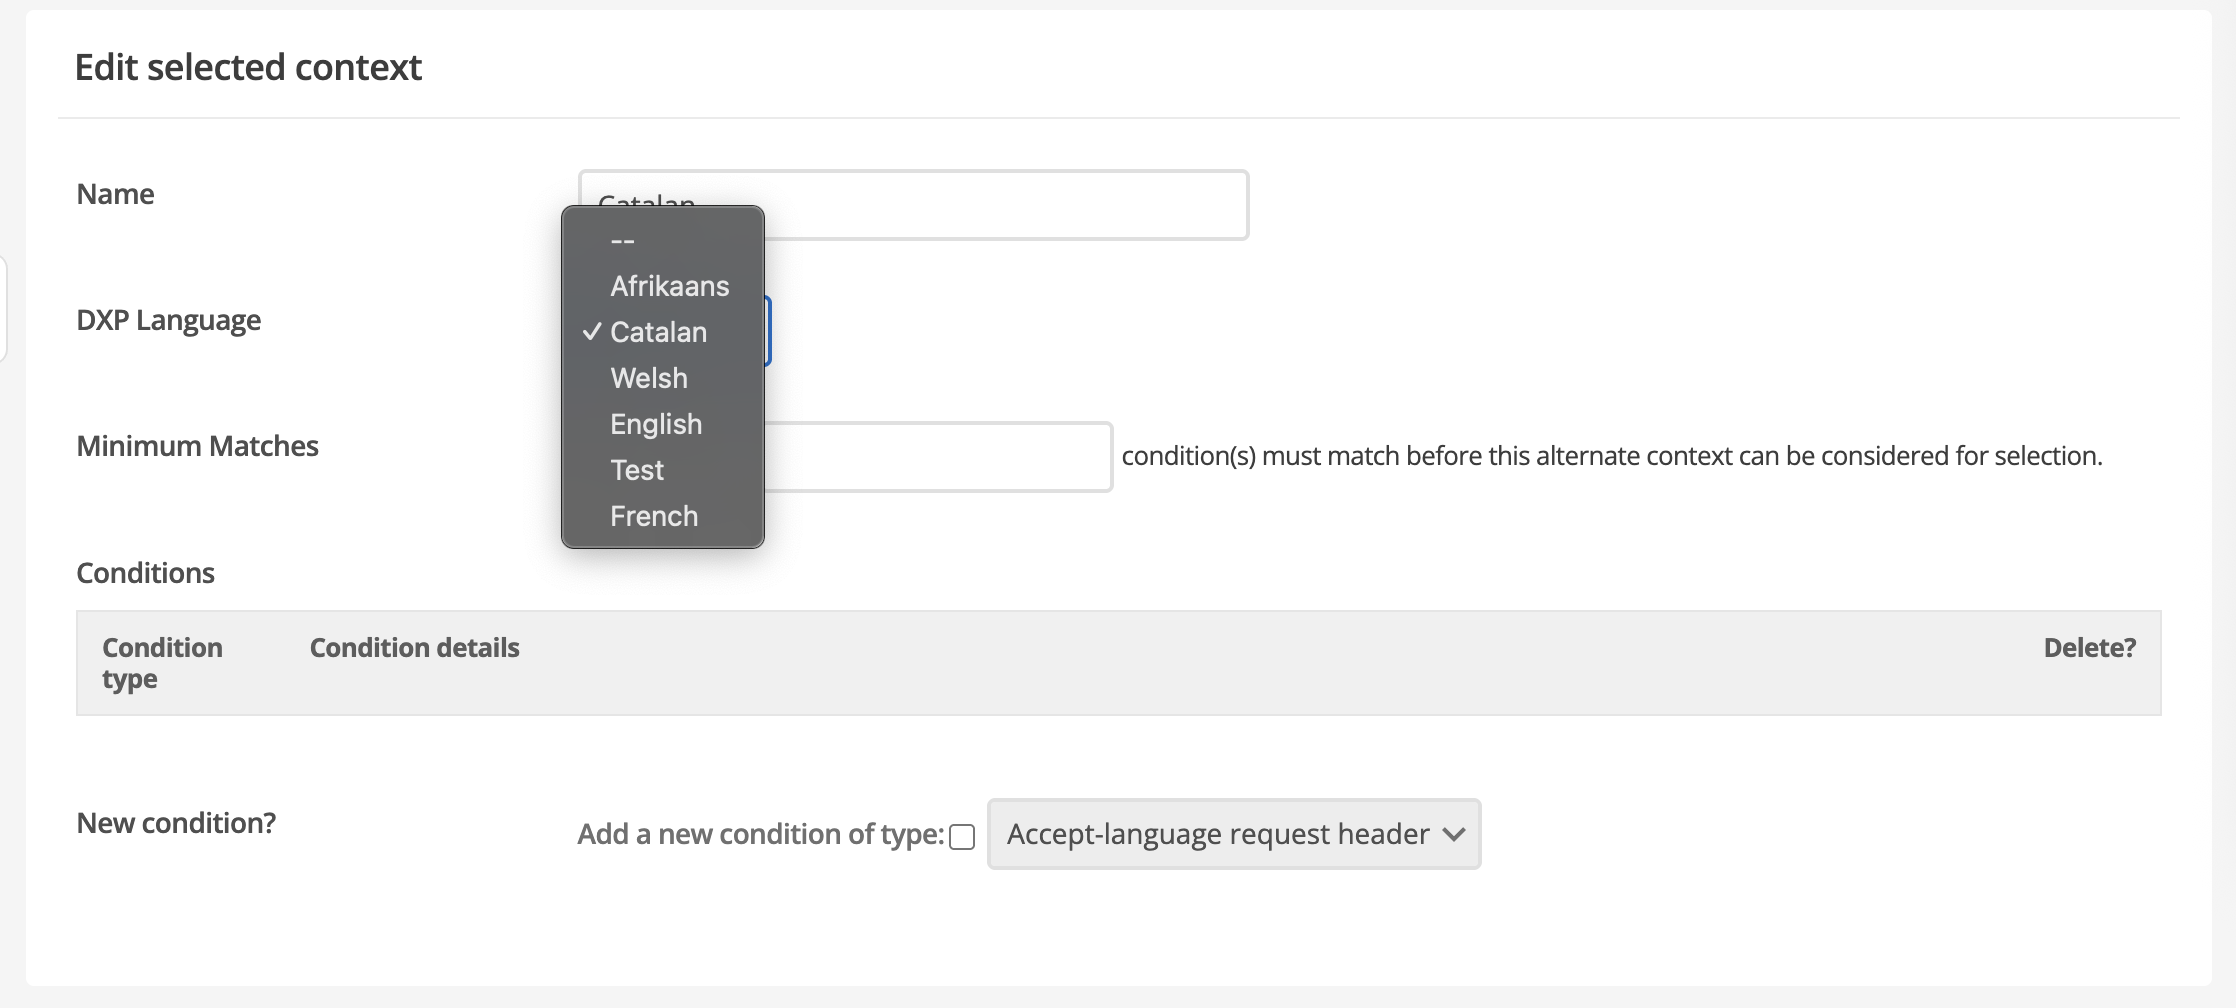
- Name
-
Use the same name as the language you set in the Component Service configuration as a best practice recommendation.
- DXP Language
-
Select the language you created in Set up supported languages in the Component Service.
-
Configure the Minimum matches and Conditions sections as per the instructions at Content Management Contexts.
-
Click Save on the Contexts screen to make the edited context available to all content page assets.
-
Follow steps 5-7 for the Default context, to pair the Default DXP language and appropriately rename this context to reflect the default language it now represents.