Booking
The Booking field lets you take live bookings and schedule appointments within your forms.
Add a booking field to your form
-
Create a form or edit an existing form to add your booking field.
-
From the field menu on the left-hand side, drag a Booking field to the place on your form where you want the booking fields to appear.
-
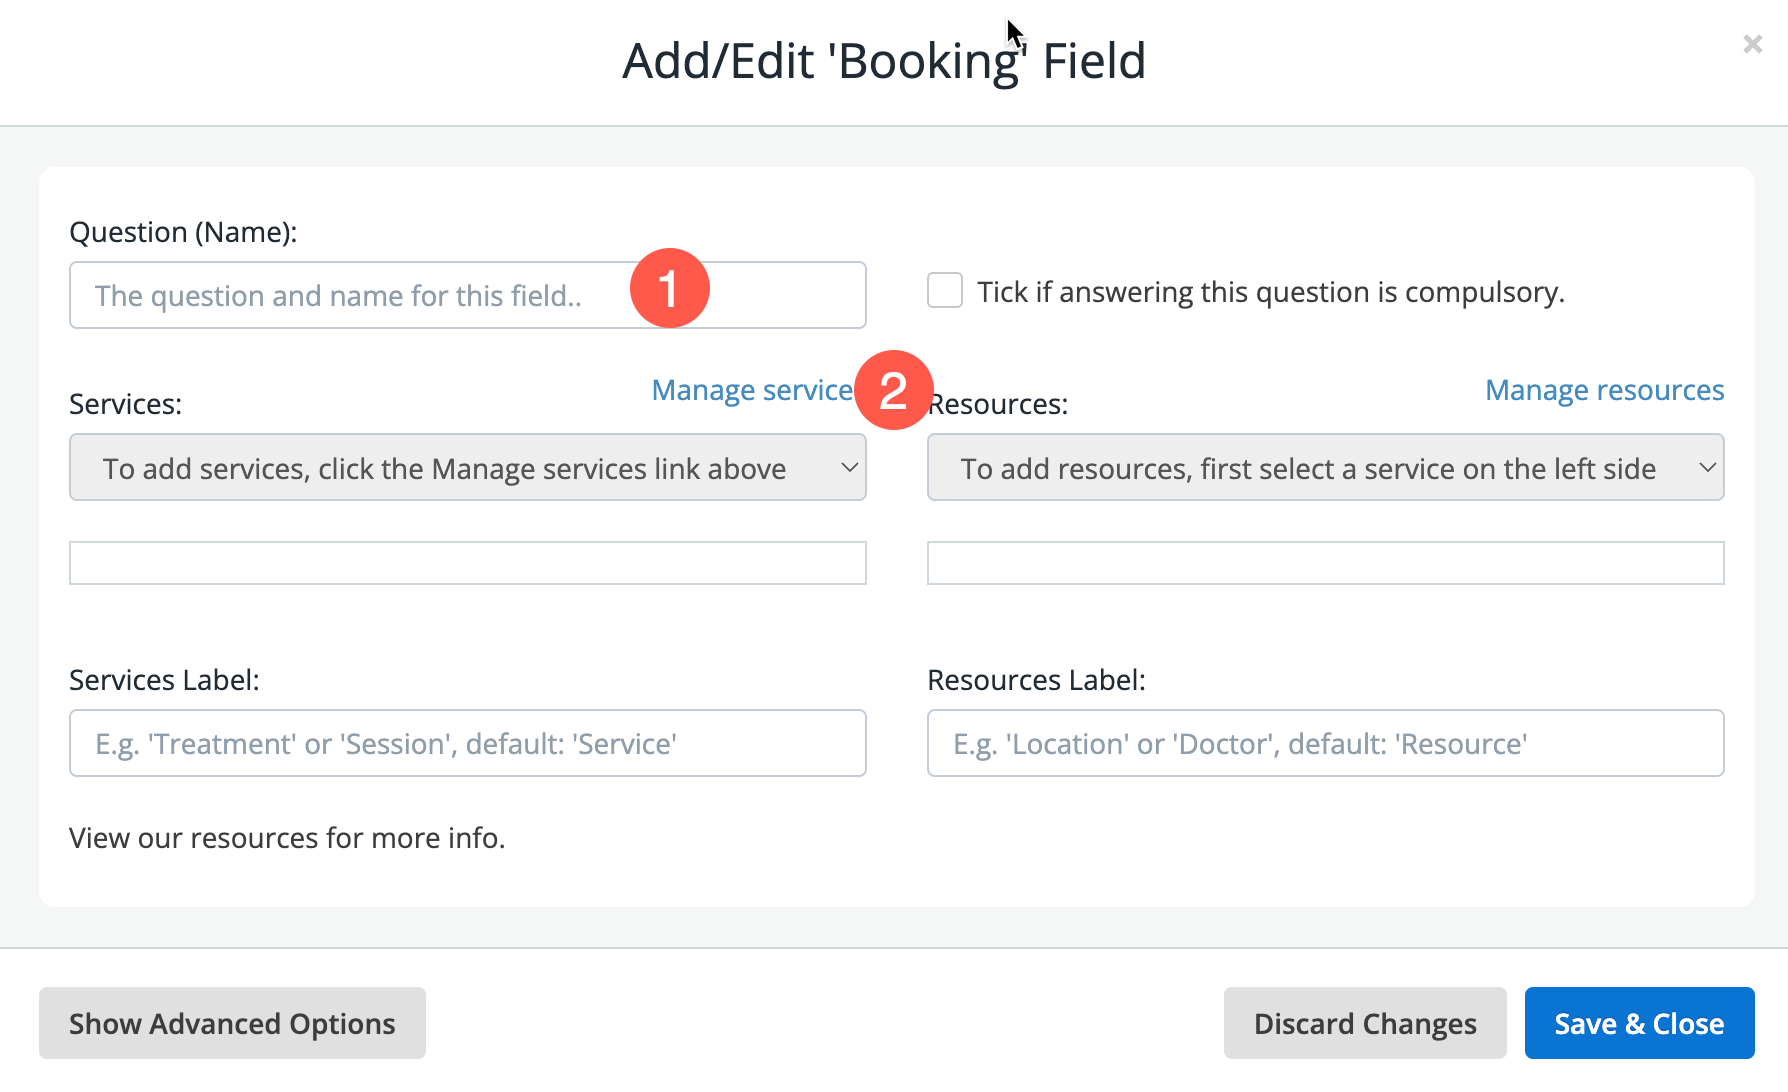
From the booking field settings, enter the booking question/name. For example Book your service now.
-
If this is your first time setting up a booking field, there will be no Services or Resources to use with this Booking field. Click Manage Services to set these up.
-
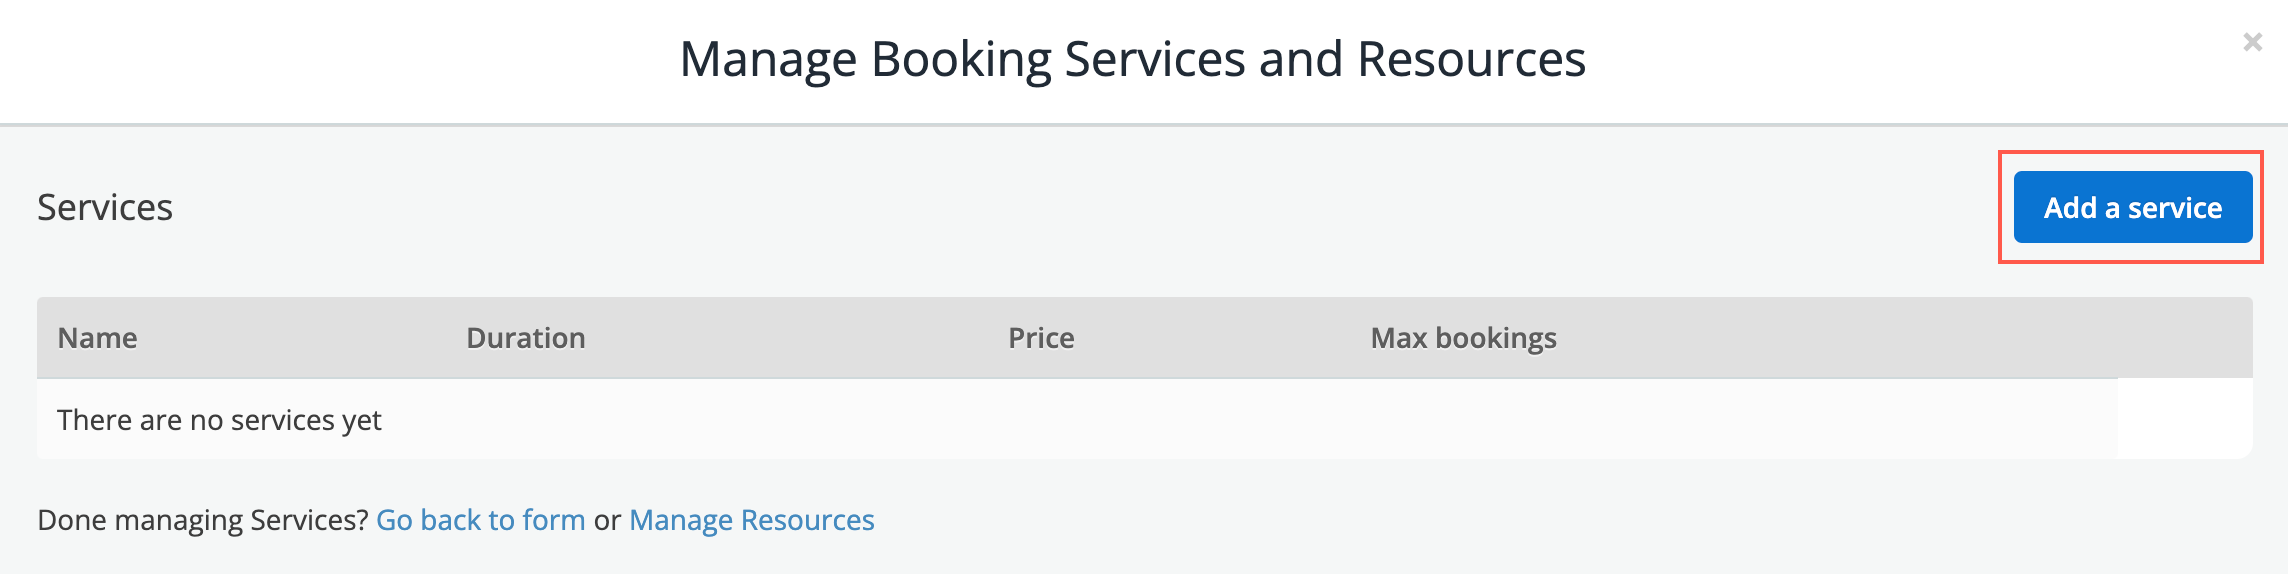
A popup will appear showing all your existing services and resources in your account. Click Add a service to proceed.
-
Fill in your service details as follows:
- Name
-
The service name will appear in your booking choices.
- Duration
-
The duration of the service.
- Price (optional)
-
The price of the service (if applicable)
- Description (optional)
-
A short description or message for the service chosen.
- Enable cancellation
-
Whether or not you want to allow customers to cancel their appointments.
- Minimum hours in advance for cancellation
-
If you have enabled cancellation, the minimum number of hours notice required for cancellation.
- Specify maximum bookings
-
- Maximum number of bookings
-
Put a limit on the number of bookings; Per day, week, or in total.
- Specify lead times
-
- Prevent bookings before minimum hours
-
The minimum number of hours notice required for bookings.
- Prevent bookings after maximum days
-
How far in advance users can choose booking dates.
-
Click Save.
-
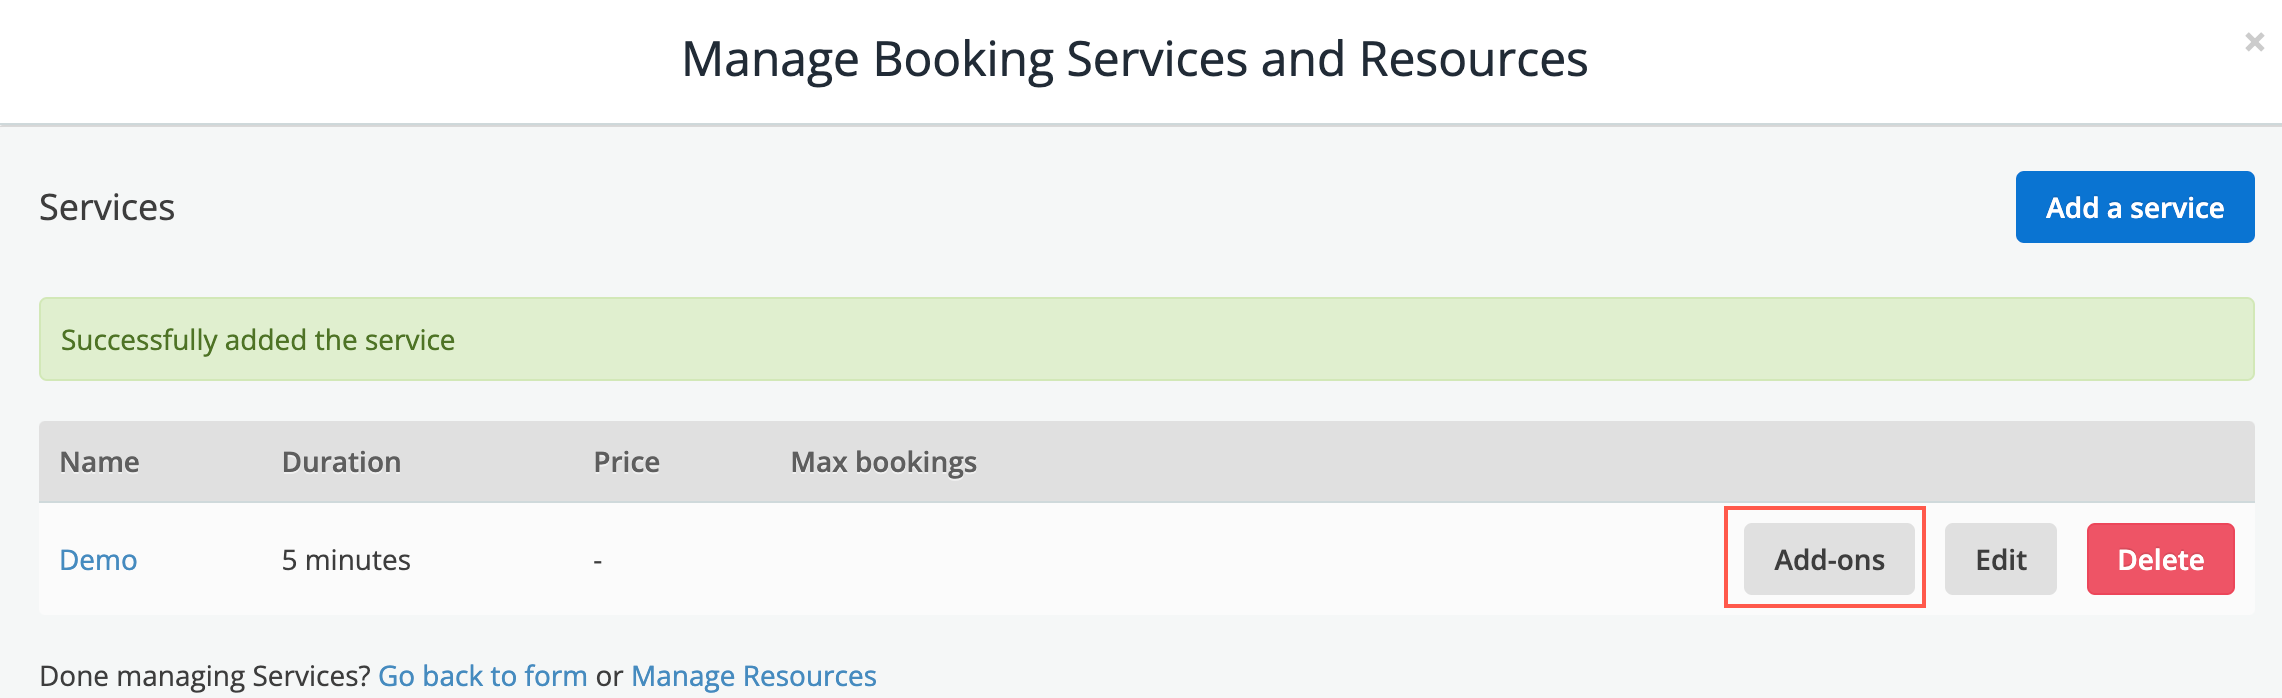
Your service should now appear in the list. Repeat this process to add the rest of your services.
-
If your service has add-ons, click Add-ons next to any service to add these, then fill in the form that appears.
- Name
-
Give your add-on a name that will appear in the booking choices.
- Price (optional)
-
Give your add-on an extra cost if applicable.
- Added duration (optional)
-
If your add-on should add time to the appointment, specify this here.
-
Click Save.
-
When you have finished adding Services, close the dialog or click Go back to form. Your services should now appear and be selectable in your booking field configuration.
-
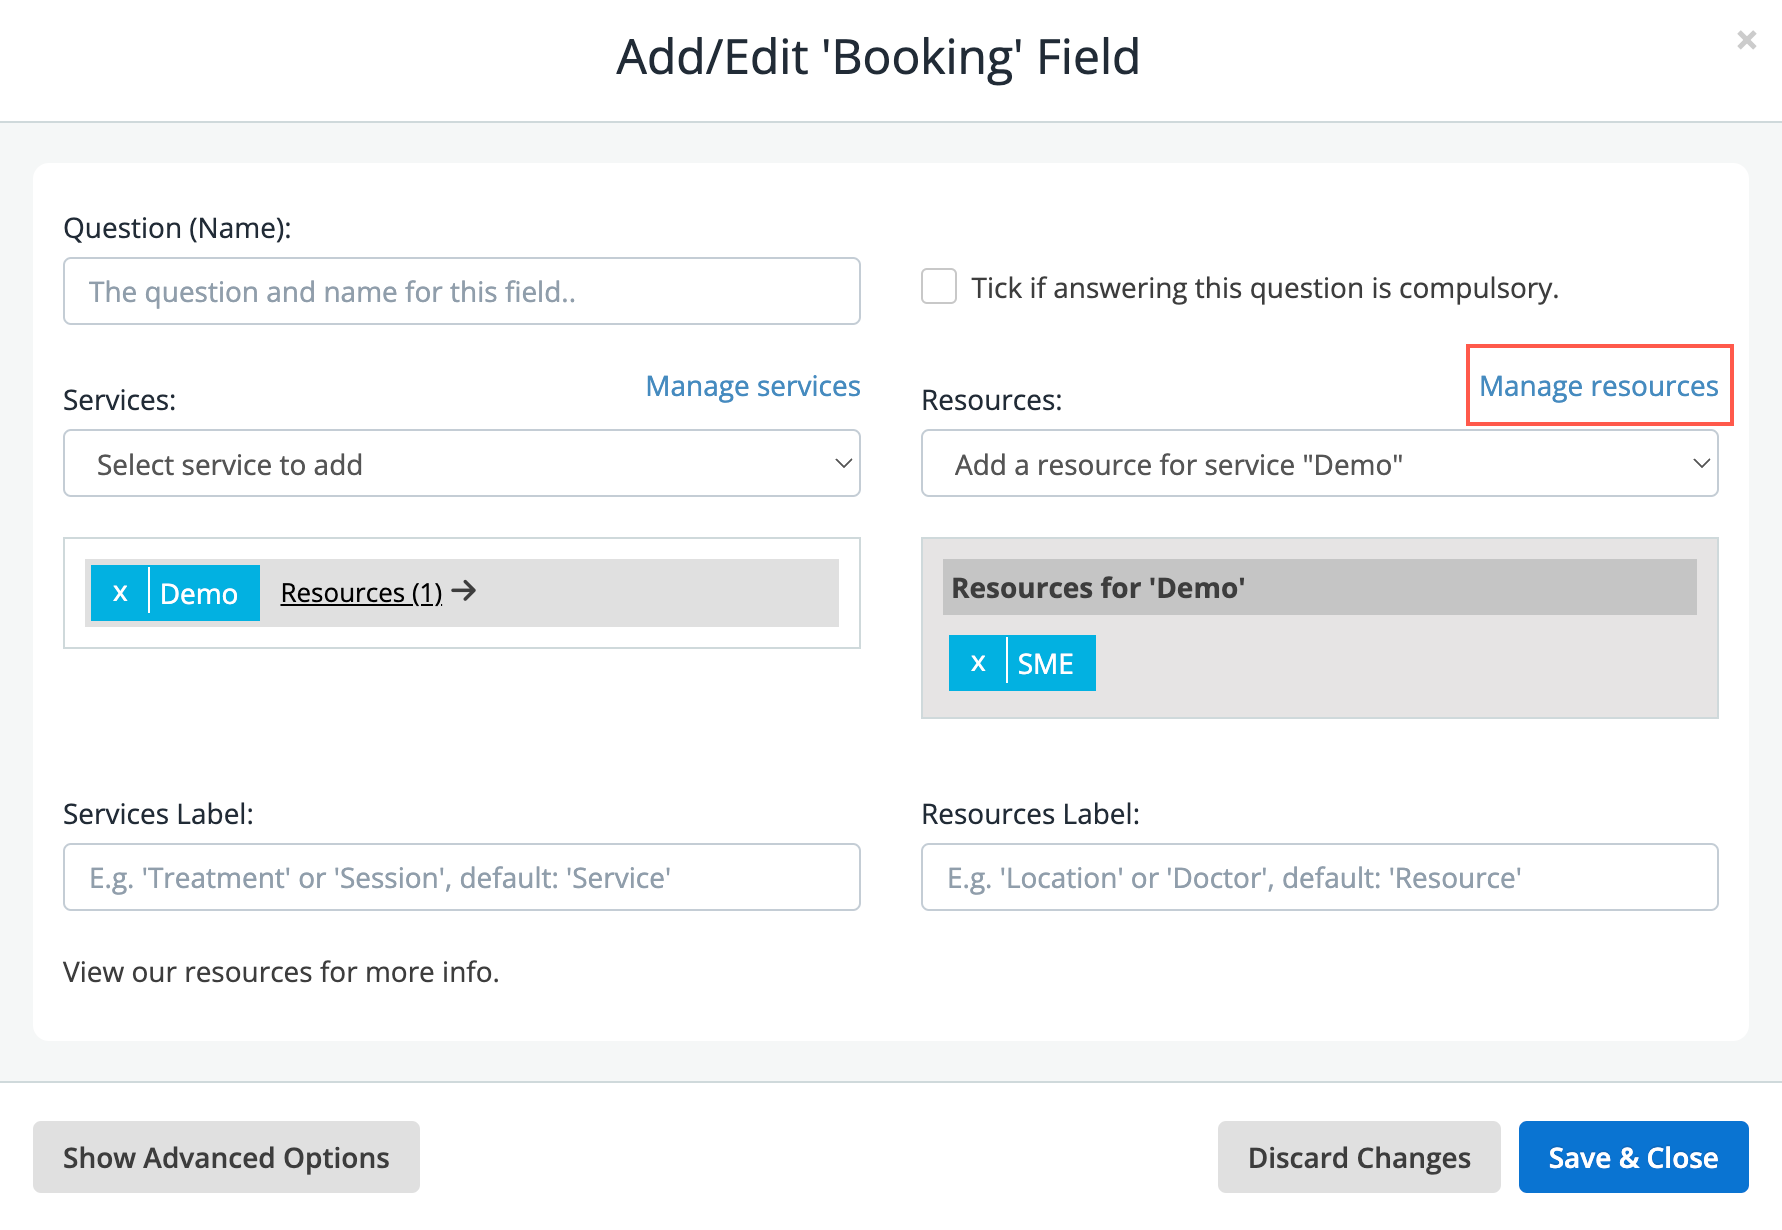
Set up some Resources. Click Manage resources.
-
A list of all your resources in the system will appear. Click Add a resource.
-
From the resource form that appears, fill in the details to configure your resource, as shown.
- Name
-
the name of your resource that will appear in the booking choices.
- Description (optional)
-
A short description of the resource.
- Maximum bookings per time slot
-
How many bookings can be handled at the same time at this resource.
- Availability
-
Follow the instructions in the Availability section to configure the availability of this resource. You can set up both regular and specific availability days.
-
Repeat the process until you have added all your resources, then close the dialog or Go back to form.
-
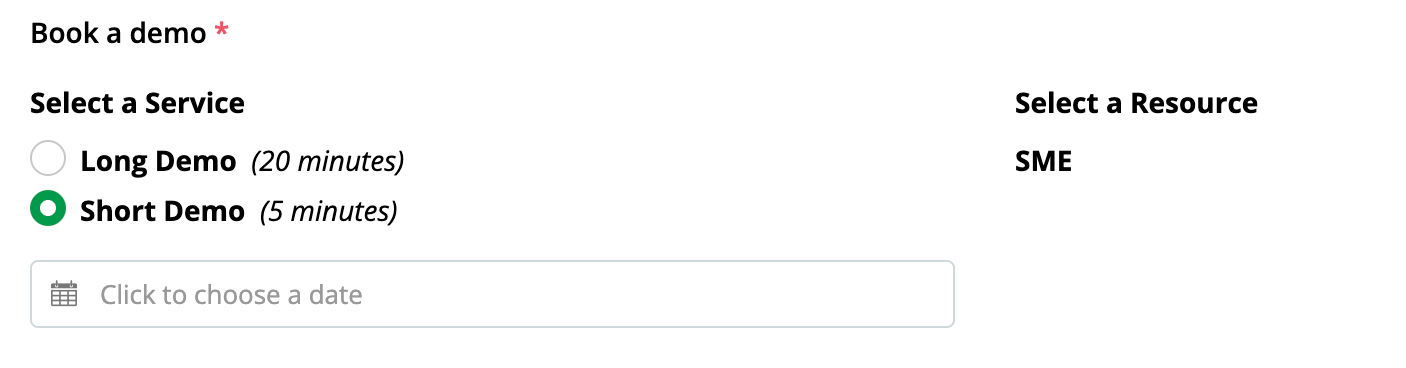
Select a Service from the service drop-down menu to add the service to the booking field on this form.
-
The service will be added.
-
Click the service to select it.
-
Add the resources on which the service can operate.
-
-
Repeat the process for each service that should be available in this booking field. You need to add the relevant resources for each service by selecting it, then using the resource list on the right.
-
You can optionally provide a label for Services and Resources based on your specific use case. This will only affect the terminology used in the booking choices.
For example, instead of calling them Resources, you might want to call them a Location, a Doctor, a Clinician, a Store or something else.
-
When done, click Save & Close to save the booking field settings.
-
Your booking field should now appear on your form. Click Save to save the form.
Set up Booking Emails
You may wish to set up notification emails to your staff when a booking comes through or confirmation emails that go to your users after they make a booking.
You can follow these guides to set these up in your form settings.
View bookings in the response table or calendar
After your form has received some bookings (or after you have submitted some test bookings on your form), you may wish to view the bookings in your Advanced Forms dashboard. To do this:
-
Go to your Forms list.
-
Next to your form, click . A list of your form responses will appear in the table where you can see all the details.
-
Click the Download button above the list to download all bookings in bulk.
-
To view the details of a single booking, click the View / Download button beside that booking.
A popup will appear to show the details of this specific booking. You can print or download a PDF copy here. You can also cancel the booking from this screen.
-
To view your responses in a calendar view instead, click the View calendar link.
When using the calendar view, you can click any of your appointments to open the details for that appointment.
-