Deploy your component to the DXP
To test your component in Squiz Content Management Service, you must deploy your component to the DXP and add it to a component set.
Log in to the DXP
You must sign in to the DXP from the CLI. There are two ways you can sign in and for both of them you will need your tenant ID. The tenant ID is part of the DXP URL:
Find your tenant-ID
-
Sign in to the DXP Console using a browser.
-
Select Component Service.
-
Look at the URL on the browser. It will look like this:
https://dxp.squiz.cloud/organization/YOUR-TENANT-ID/component-service/component-sets
YOUR_TENANT_ID is an alphanumeric identifier specific to your DXP instance.
-
Copy the tenant ID.
-
Use the tenant ID in your DXP
logincommand. Full instructions can be found in the DXP CLI documentation.
In your CLI:
-
Change to your components directory.
-
Enter the following command replacing
hello-worldwith the name of the directory that contains your component files:dxp-next cmp deploy ./hello-world -
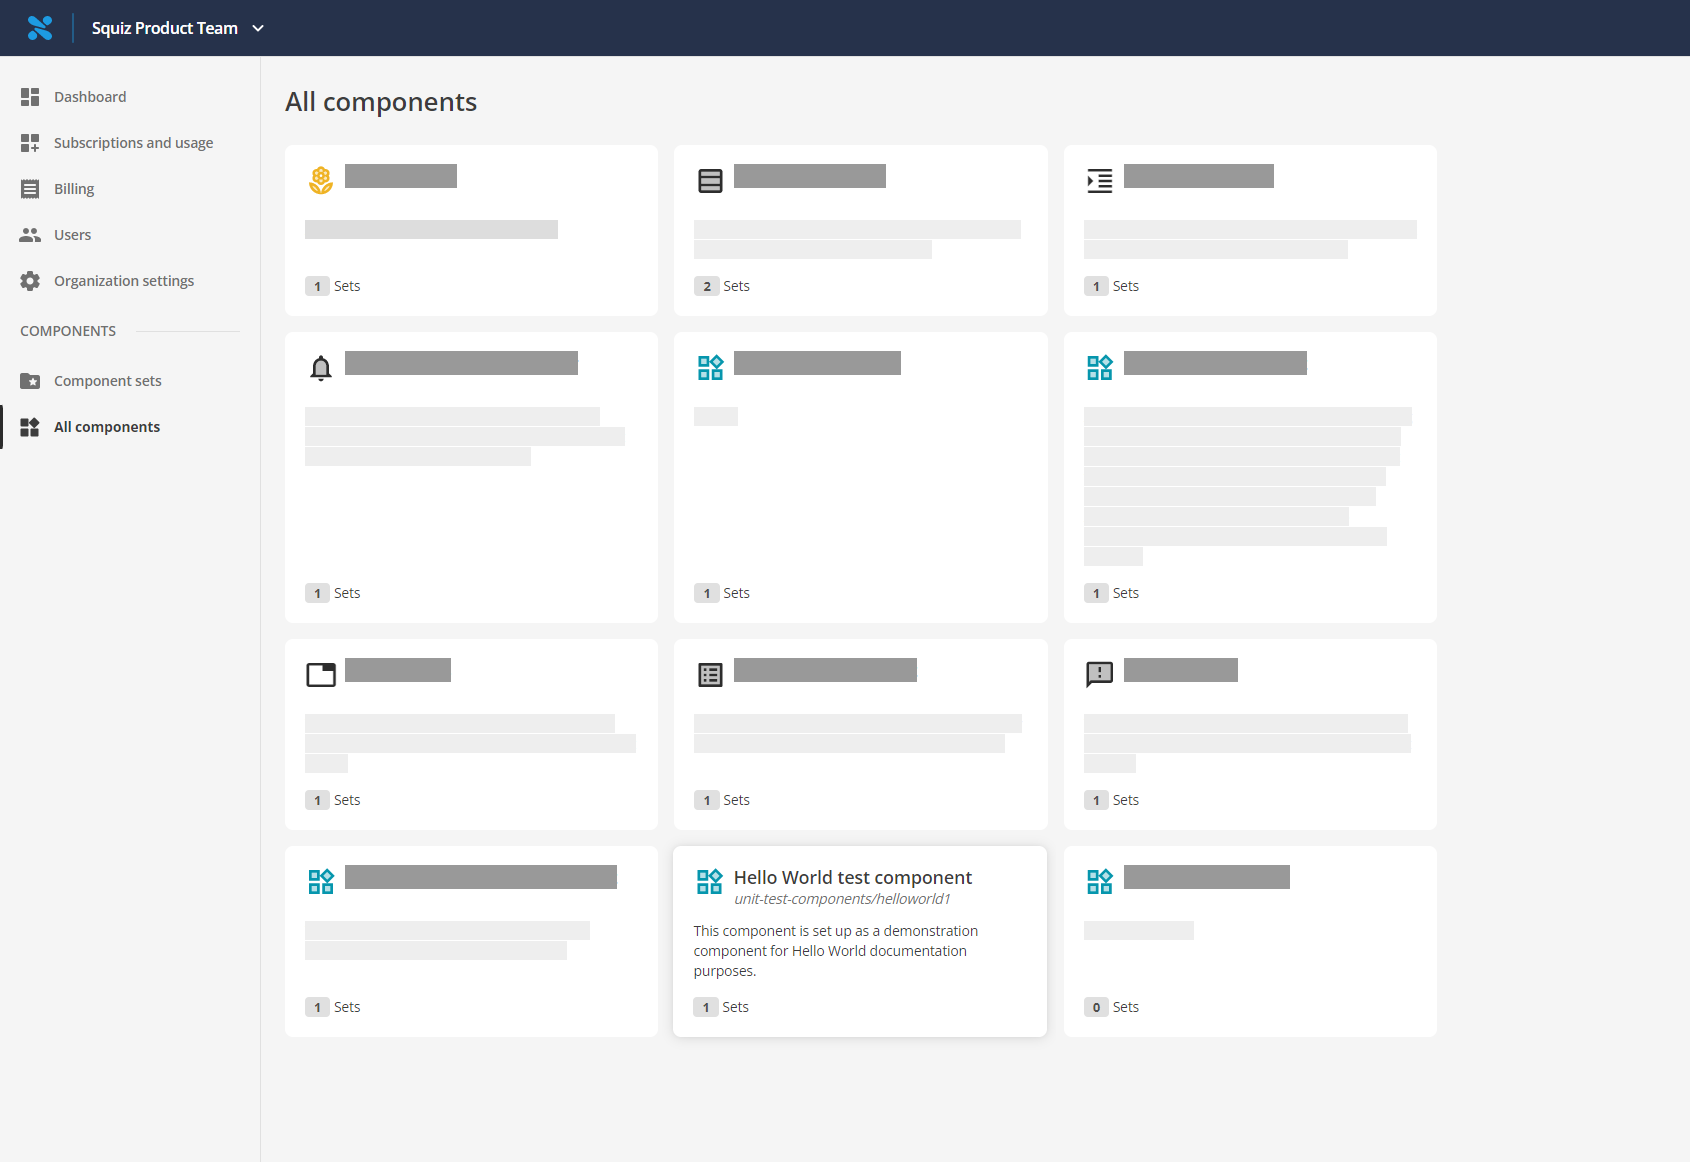
Go to dxp.squiz.cloud and select All components. Your deployed component will be shown in the All components list.
