Create segments for events
You create segments in the Customer Data Platform (CDP) Segmentation page. The segment builder screen lets you define the basic segment details and then specify the data integration or website behavior event types you want to attribute to each segment.
Before you start
For this tutorial, you will create two segments to match each website behavior event type you created in Create an event feed. Repeat the steps in this tutorial as directed to create both segments.
Steps
To create website behavior segments in CDP:
-
Click the Segmentation entry in the main menu.
-
Click the Create a segment button to go to the Segment builder screen.
-
Select Single segment.
The screen provides some information about the differences between Single segments and Mutually exclusive segments. Read the About segmentation types page in the Customer Data Platform documentation for more information about the two types of segments.
-
Based on the events you set up, you want to link those events to similarly-named segments: Customer and Prospect.
-
Complete the settings for Segment details for the Customer segment settings:
Expand
Field Name Customer value Prospect value Notes Name
Customer
Prospect
These IDs are what content authors select when setting personalization on a content block. The best practice is to keep these names short but highly informative.
Segment ID
customer
prospect
This ID will identify this segment in other Squiz DXP services and is used by developers to implement segmentation interfaces in website frontends.
Description
Customer conference segment for the main website.
Prospect conference segment for the main website.
The description appears beneath the Segment name and is very helpful when deciding what each segment does.
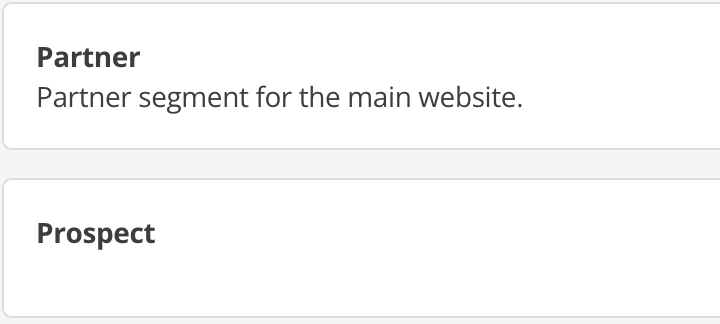
This is how the Prospect segment appears when you do not set a meaningful description, compared with another segment with a simple but informative description.

-
Click Add a rule set and select Website Behavior from the menu.
-
Complete the settings for Segment rules for the Customer segment:
Expand
Field Name Customer value Prospect value Notes Website behavior event feed
Customer
Prospect
If the name you gave your event feed is different to these, select it from the menu in this field.
Rule
Greater than
Greater than
Count
0
0
Time period
1 day
1 day
The period is not editable.
The setting is carried through from the event configuration settings. -
Select Create when you have configured your segment correctly.
-
-
Repeat Step 3 using the settings for the Prospects segment.
-
After both segments are created, move to the next part of the tutorial.