Page view event feed
Page view events capture information about a user’s interaction with a URL.
Create a page view event feed
To set up a page view website behavior event feed:
-
Log in to your Squiz DXP instance.
-
Click the Customer data platform button.
-
From the left-hand navigation select Event feeds.
-
Click the Create Event feed menu button.
If no other Event feeds exist, the button presents near the centre of the Event feeds page.
If other Event feeds are extant, the button presents in the top-right corner of the Event feeds page.
-
Select
The Create website behavior event feed page loads.
Configure the event details
On the Create website behavior event feed page configure the details for the custom event.
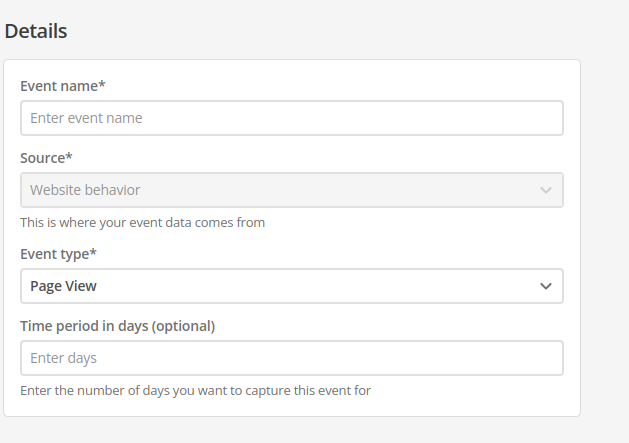
- Name
-
Enter a descriptive, memorable, and unique name for the event.
Generic or general names are not recommended.
- ID
-
The event ID is automatically generated from the Name value.
When the event is saved, this ID value is fixed.
It cannot be changed.
- Source
-
Automatically set to Website behavior.
- Event type
-
choose Page View from the Event type menu.
- Time period in days (optional)
-
Set a rolling time window for event counting.
This field only accepts positive whole numbers.
Expand
- Definition
-
When you set a time period (for example, seven days), the system counts how many times a specific event (like a page view) occurred per user within that rolling window.
If a user visits your homepage five times in seven days, their count for Page View would be five.
- Dynamic event count
-
New events are added to the count.
Events older than the defined period (for example, an event eight days ago on a seven-day window) are automatically excluded.
This helps to track recent engagement and avoid stale data by focusing on activity within your chosen timeframe.
The default is 60 days.
Set the page view event feed attribute filters
Page view event feed attribute filters allow the event feed to trigger against the following attribute types.
-
URL - Domain
-
URL - Path
-
URL - Query string
-
Referrer - Domain
-
Referrer - Path
-
Referrer - Query string
-
Location - City
-
Location - Continent
-
Location - Country
-
Location - Region
-
Location - Region code
-
Interest - Tags
For all attributes except Interest - Tags, the filtering rule is whether the attribute type is or is not the nominated value (that is Equals or Does not Equal the nominated value).
The Interest - Tags attribute filtering rule is whether or not the nominated tag value is set or not set (that is Has tag or Does not have tag).
To track Interest Tags as part of the Page View event in CDP, you must define and apply the squiz:dxp:interest metadata field to your content.
This specific metadata field — squiz:dxp:interest — does not exist by default.
It must be created and added to a page within the CMS. The value from this specific metadata field is used to collect the event.
Setting multiple attribute filters
Multiple filters can be set for a given event feed, and the matching logic across multiple filters can be either AND or OR.
|
The rule matching logic applies across all attribute filters set for a given feed. That is, the matching logic allows for two different rule matching states.
|
Create the event feed
-
Click the Create event feed button.
A Changes saved alert presents towards the top-right of the screen, and the Event feeds page reloads with the new event listed.
-
Alternatively, click the Cancel button to return to the Event feeds page without saving any of the entered details (and, if applicable, without saving any of the Attribute filters).