Connect an A/B test to your page
When you are in page builder you can connect an A/B test to content blocks on your page.
|
A test can only run on a single content page. Tests and Content pages have one-to-one relationships with each other. |
Add A/B testing to a content block
-
Ensure that your content page is in edit mode.
-
Locate the page builder content block on which you want to perform A/B testing.
-
Click the A/B testing button in the Actions toolbar.

-
A dialog will open with options for connecting an A/B test to the content block.
The options in the dialog will vary depending on whether you have connected an A/B test to any other content block within the same content page asset.
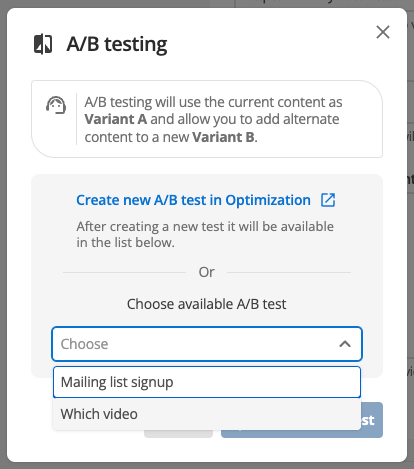
If you have not connected any tests, the dialog window provides options to choose an available A/B test or create a new one.
To choose an available test-
Locate the Choose available A/B test heading.
-
Choose an available A/B test from the select list.
The select list will only show available A/B tests, as each test can only be used with a single content page asset.
To create a new A/B test-
Click the Create new A/B test in Optimization link to set up a new A/B test.
The A/B test builder will open in a new browser tab, allowing you to create your A/B test.
-
Enter a name for the new test and save it by clicking Create at the bottom of the page.
-
Switch back to your page builder tab and select your new test from the Choose available A/B test list (no refresh is required).
-
-
Click the Apply A/B test button.
-
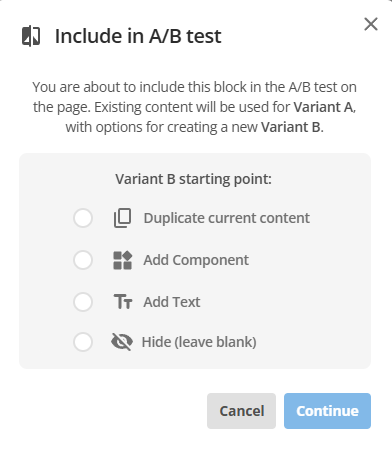
The current state of your content block is automatically set as Variant A. You can continue to edit the contents of this block to finish defining your A variant.
-
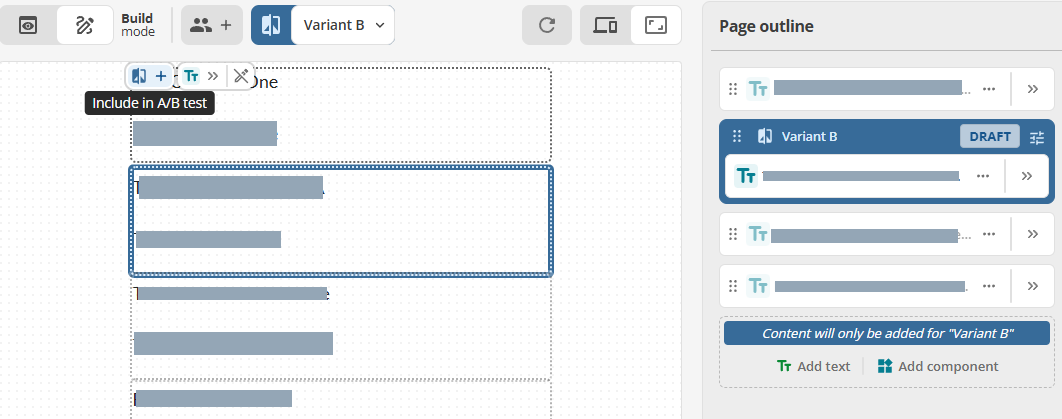
To set the B variant, select Variant B from the drop-down displayed in the Actions toolbar (currently showing Variant A).
-
Select the Include in A/B Test option from the content block capusle. The content block will present additional A/B testing options, such as Duplicate current content and Hide
-
After switching to Variant B, the block will show a blue border.
-
Click the Save button to save your content page, then click the URLs tab.
-
Copy the page URL which is needed to finish connecting the A/B test.
-
In the Page Outline column, click the icon on a Variant B (blue bordered) block (as shown in the previous screenshot). This button grants access to the block-level settings:
-
A summary of the content in both variants.
-
A button to disconnect the test from the selected content block.
-
A link to the page-level A/B test settings.
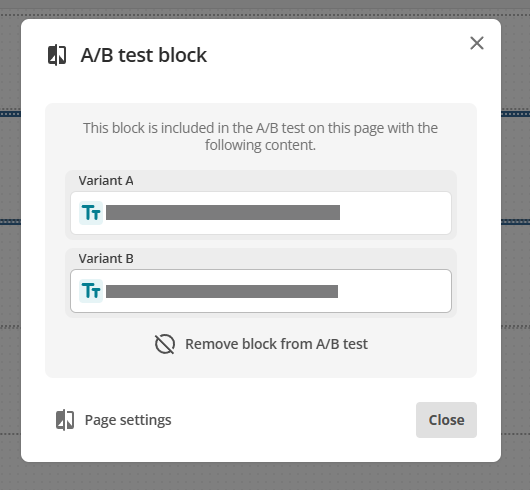 Figure 1. Block-level settings
-
-
Click the Configure in Optimization on the page-level settings to finish connecting your A/B test.
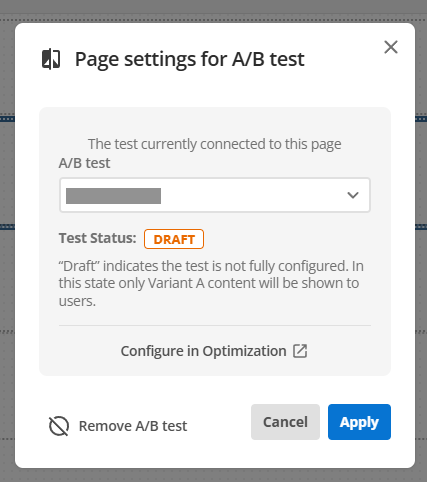 Figure 2. Page-level settings
 -
Scroll down to the Test page section and paste the URL obtained in a previous step into the Website domain field.
-
Click Save to save your A/B test. The message at the top of the page and the Content page asset status should now be updated to show that the A/B test is connected.
You do not need to edit your URL, when you save the test - the domain will be extracted from the URL as pasted.
Now that the A/B test is connected finish configuring the A/B test.
You will need to supply the test with the URL that indicates a successful test (if you are using the page view metric), or you will need to update your page code to include the Javascript snippet to track the clicks if you use the clicks metric.
Read the documentation on how to configure an A/B test for more information.