Event listing
Use the event listing component to provide an event listing on your web page.
| The event listing will only show future events, and a maximum of 20 recurring events. |
Add the component to your page
When you are editing your page using page-builder:
-
Add a component to your page by clicking the Add component button or by adding a content block (by clicking the button) then clicking the add component button.
-
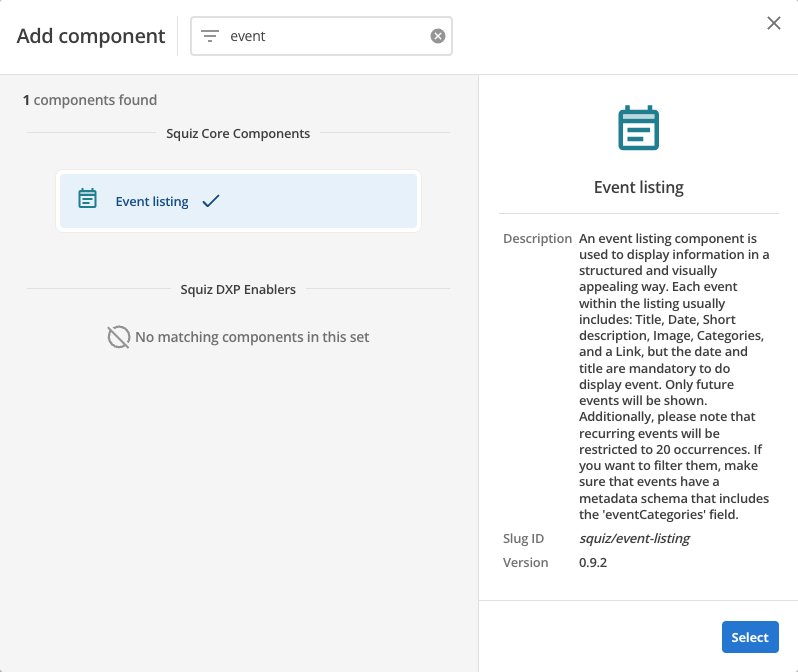
Locate the event listing Squiz core component within the component browser and then click the select button.
-
This will add the event listing component to your page.
Configure the event listing component
-
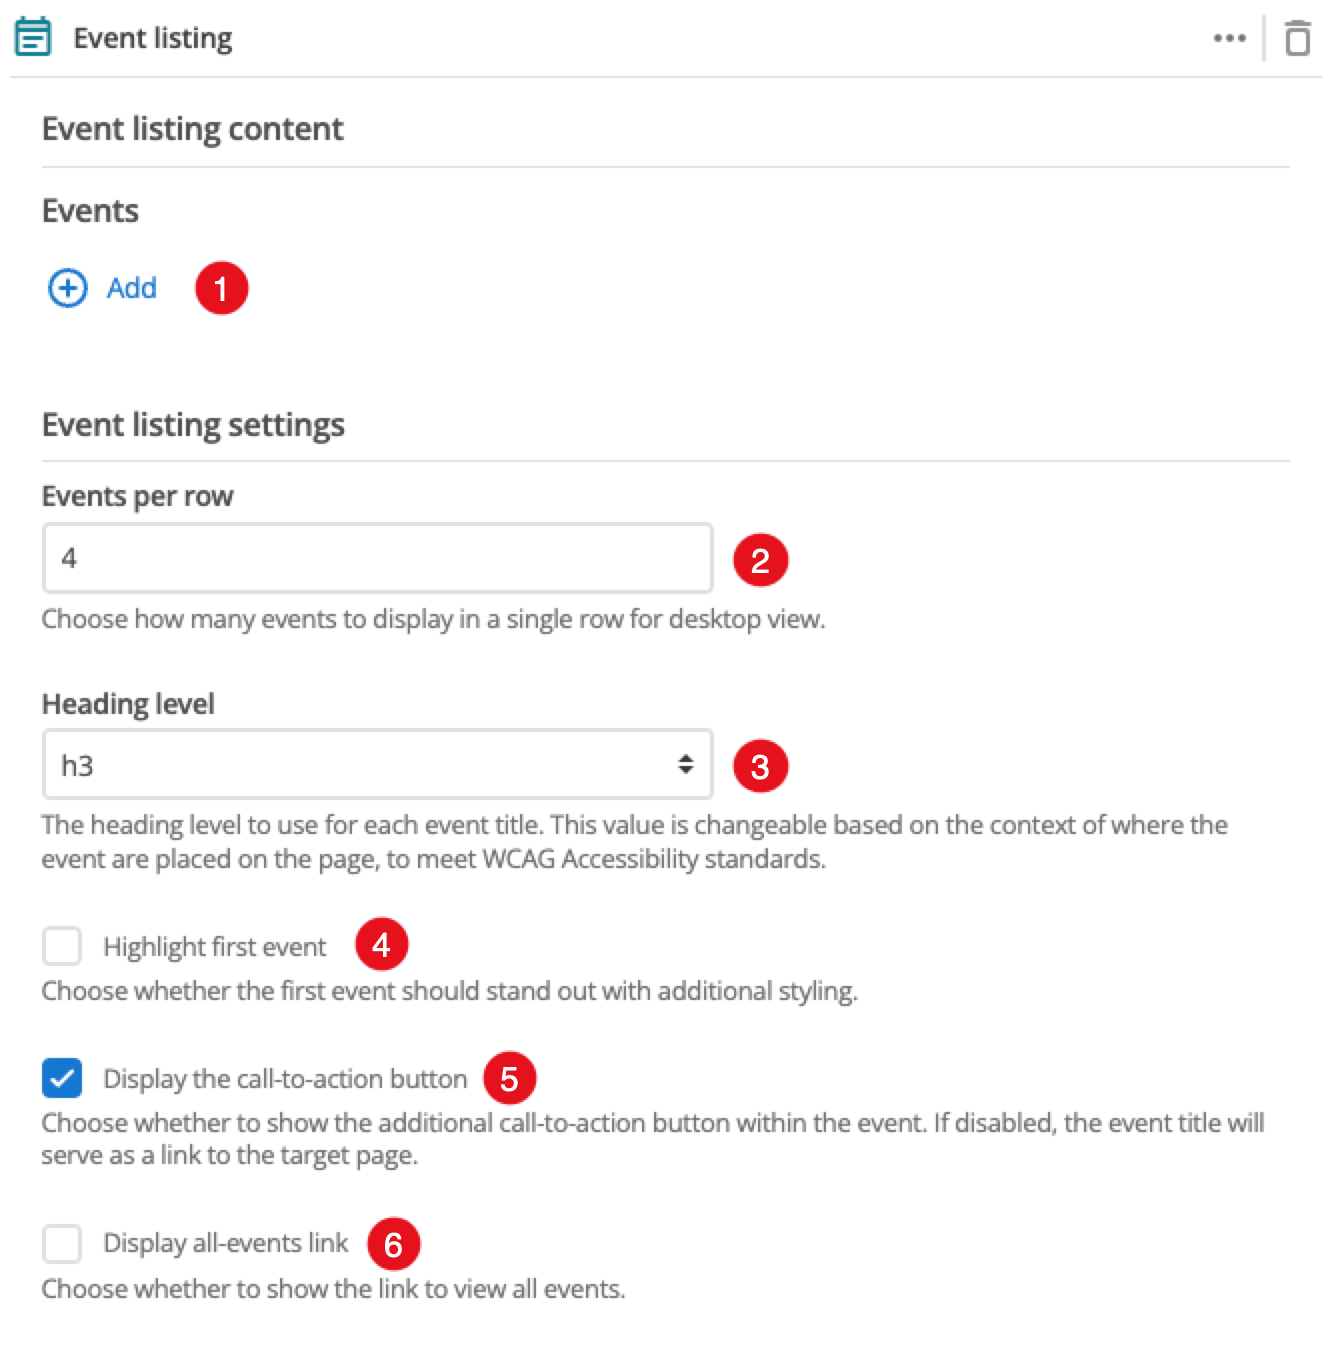
Add: The Add button allows you to add additional events. When the component loads you will have an unpopulated event card that you can fill in (see Events configuration)
-
Events per row: This setting defines the maximum number of events that will be displayed in a row when viewing your page in a desktop browser.
-
Heading level: This allows you to choose the heading level for the event title.
-
Highlight first event: This applies a highlighting style to the first event.
-
Display the call-to-action button: This controls whether your cards display a call-to-action button.
-
Display all-events link: Controls if there is a link displayed allowing the user to see all events.
Events configuration
| This only applies to events that you have manually added. |
The following options configure each card:
-
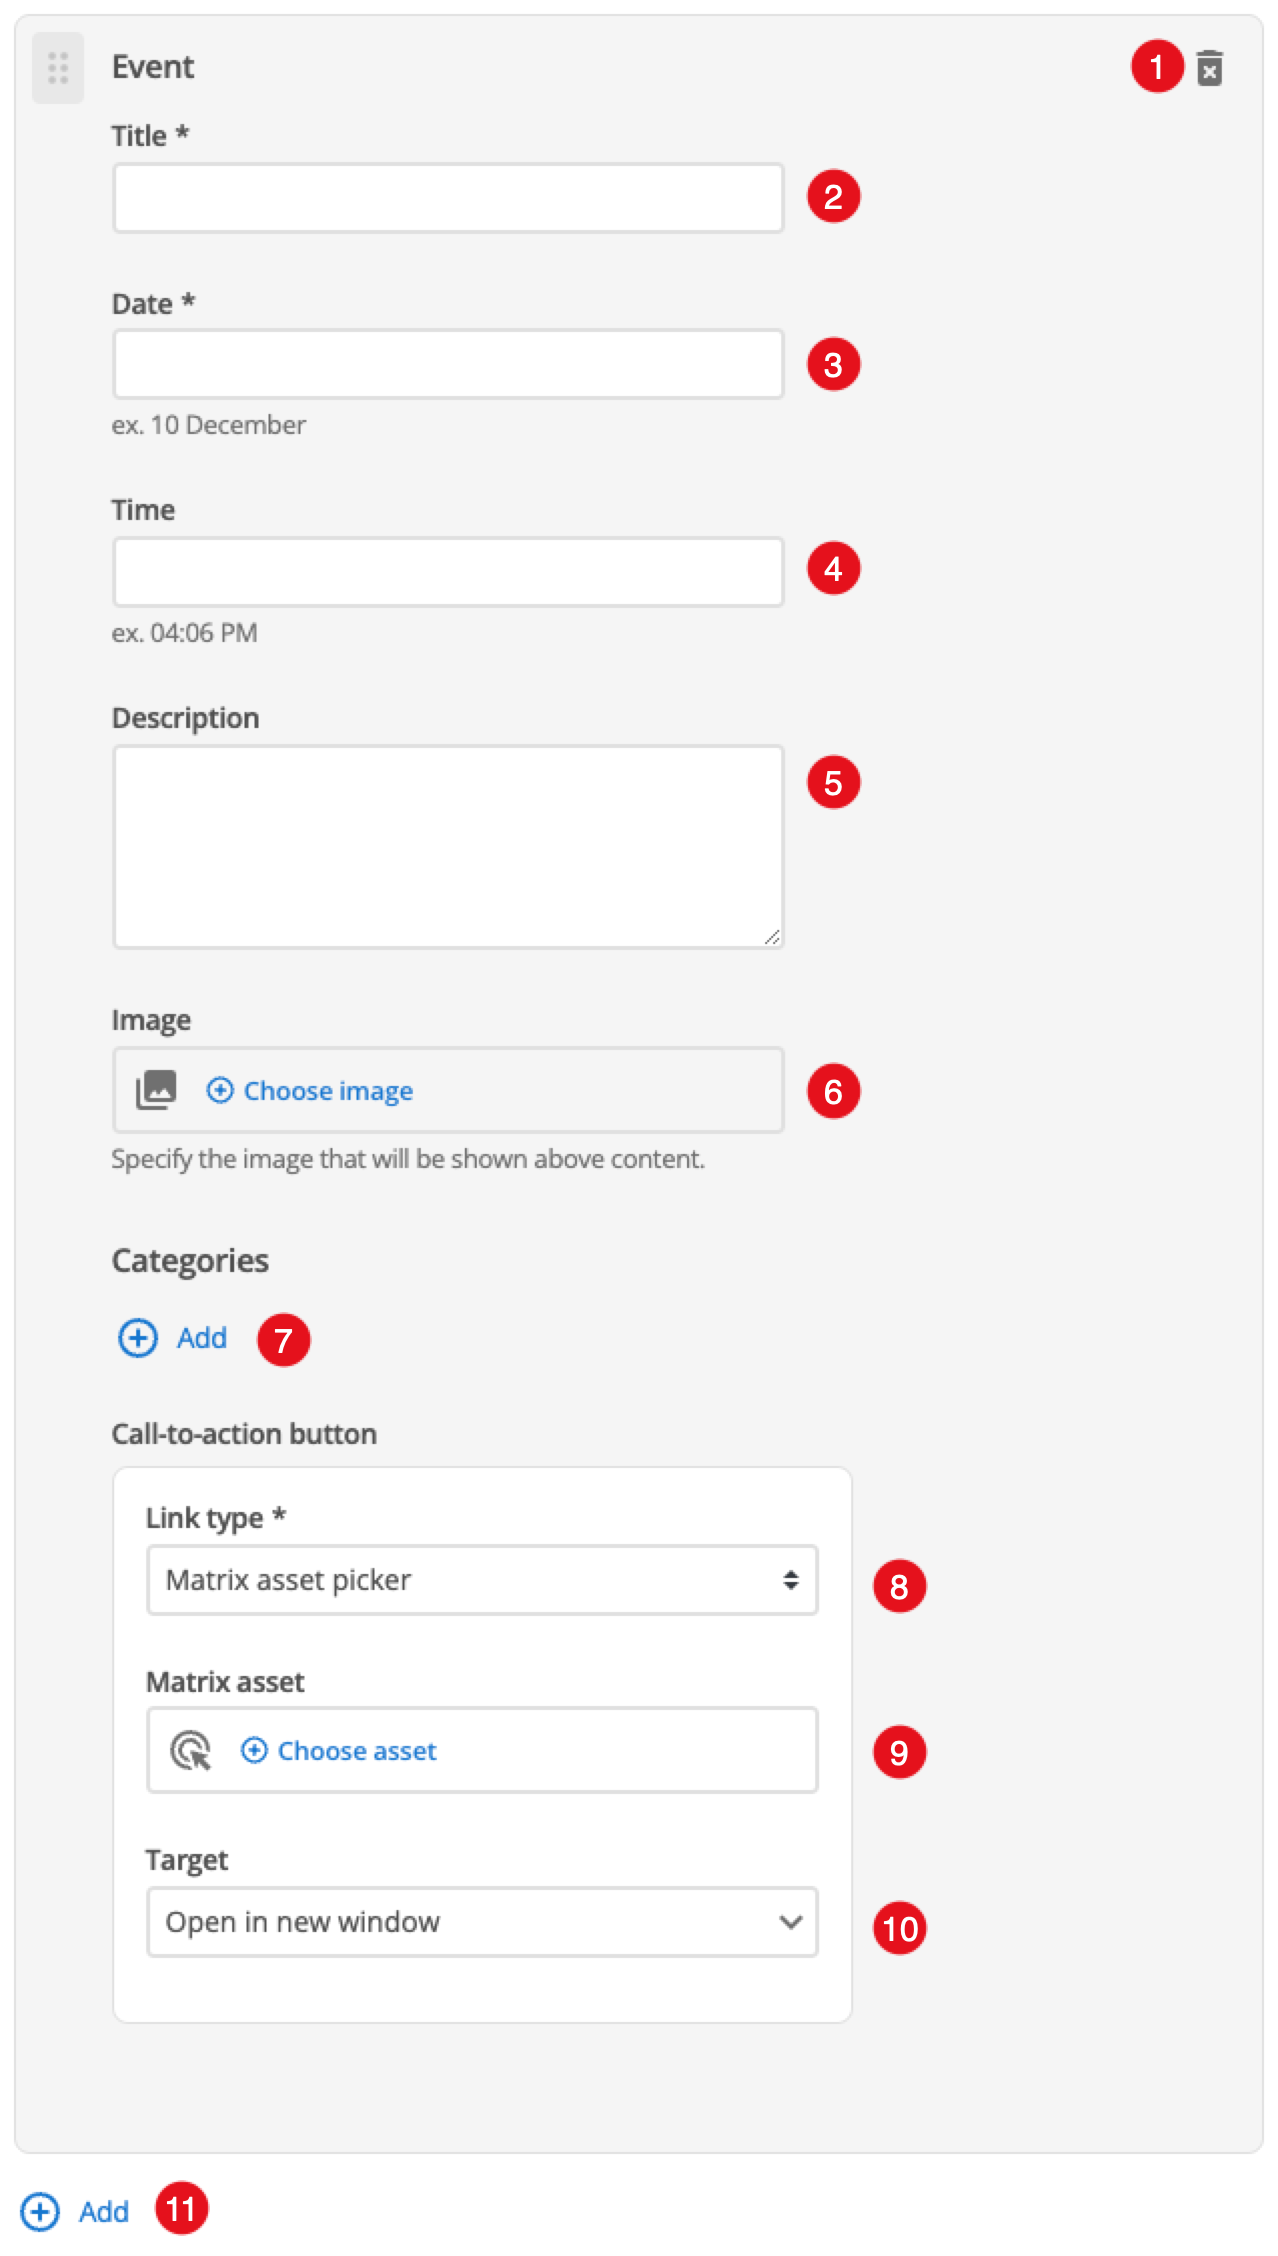
: The delete button will remove the event from.
-
Title: Enter a title for the event.
-
Date: Enter the date when the event is taking place
-
Time: (Optional) Enter the time when the event is taking place
-
Description: (Optional) This field allows you to provide some descriptive text/links/images for your event.
-
Image: (Optional) Choose an image that you have already uploaded to the CMS to display as the event thumbnail.
-
Categories: (optional) Allows you to add categories for your event by clicking the button. You will get a field that you can type a category label. You can also add additional categories and reorder the category list.
-
Call-to-action button - Link type: This specifies if you are linking to another page in the CMS or an external, user-specified link.
-
Call-to-action button - Link: Depending on what link type you select you will see one or two fields to specify your link.
-
Call-to-action button - Matrix asset: This is displayed for Matrix asset picker links and allows you to choose the CMS page that your card links to.
-
Call-to-action button - Text: This is displayed for user-specified links and defines the link text.
-
Call-to-action button - URL: This is displayed for user-specified links and defines the link URL.
-
-
Call-to-action button - Target: This controls how the link is opened when you click on the link. (e.g. open in a new page)
-
Add: The Add button allows you to add additional events.