About the editing experience
The content page asset offers a new editing experience that gives you full control over page creation and how a page behaves for your website users.
You first Add a content page asset and then start the page-building experience through the Content tab of the asset.
Content column block colors
You may notice that some blocks show a particular color. You can learn more about this in Personalization (Pink Blocks) and A/B Testing (Blue Blocks).
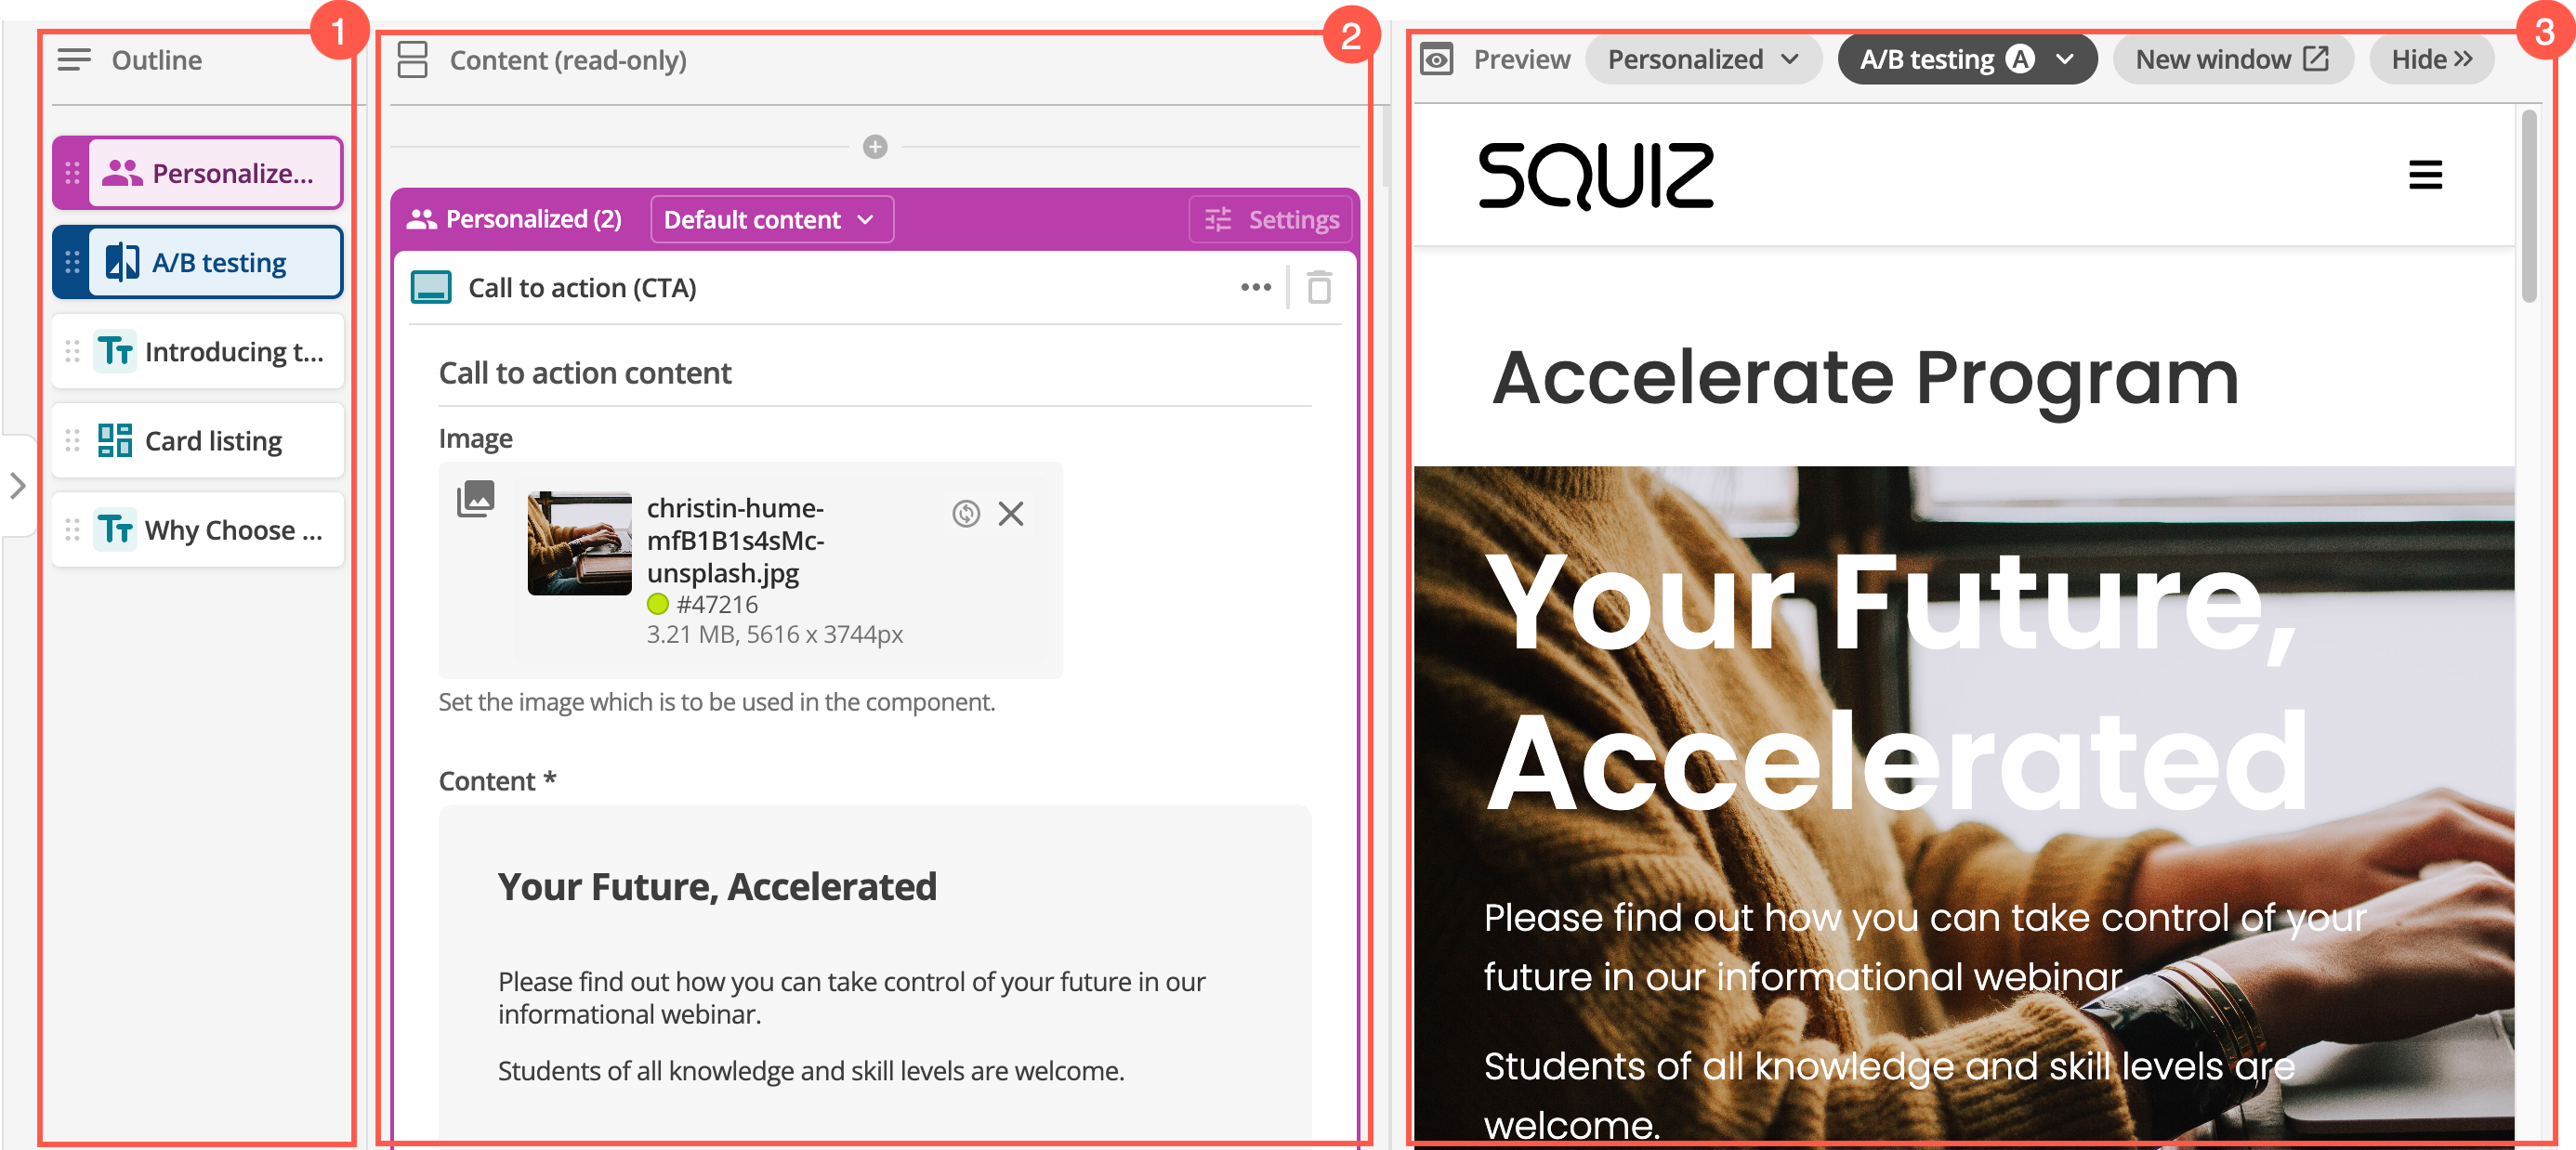
Outline column
The Outline column shows all of your page’s content blocks.
You can click these blocks to navigate between blocks in the content column.
You can reorder blocks in the outline column using your mouse or through Keyboard shortcuts.
Content column
In the Content column, you add and configure page content blocks, then apply Personalization (Pink Blocks) and A/B Testing (Blue Blocks) to cater to different audience segments and A/B testing goals.
Use + to insert a content block.
You can then start by selecting from one of the following tasks:
Preview column
In the Preview column, you can preview the page you’ve created.
Responsive preview column size
The Preview column is expanded to show how your page will look on the frontend after it is published.
| Select Save to refresh the page preview with any changes you made in the Content column. |
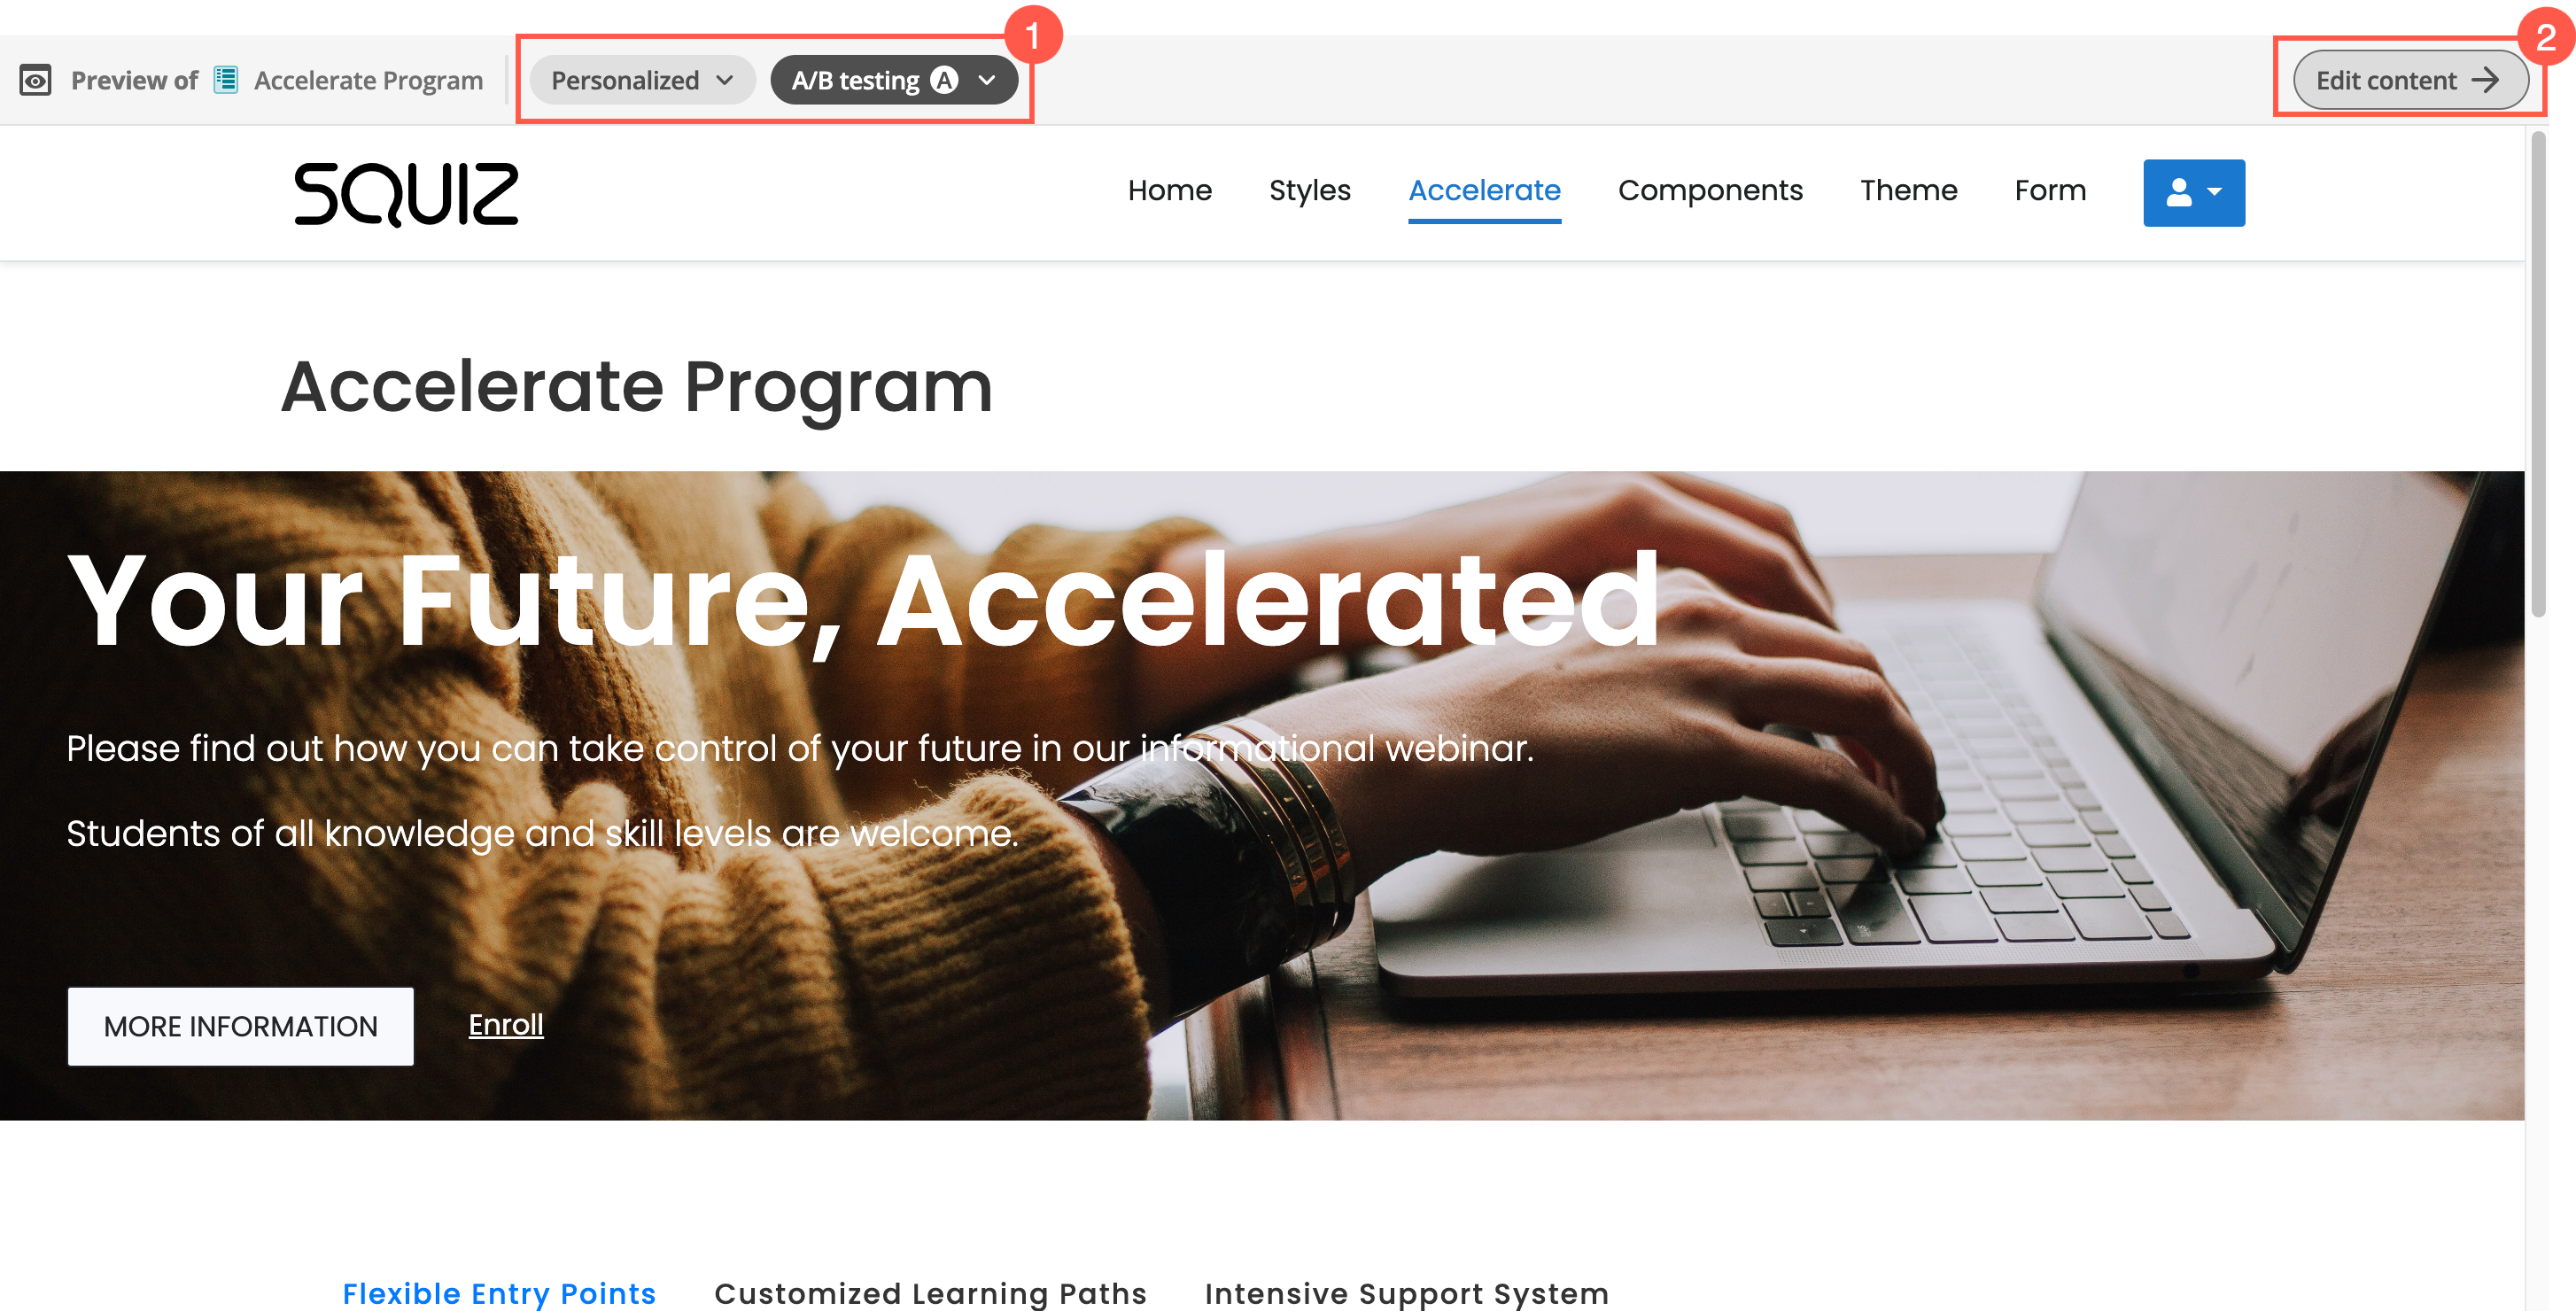
Depending on the size of your computer’s monitor the Preview column may show content using mobile or tablet views. While this can be useful, you may want to see what your page looks like in full desktop mode.
In this case you can use the New window option to open the preview in a full-width window. You can also use the browser zoom functionality to resize the Preview column view if you prefer.
Hide the preview to increase editing space
Select Hide to collapse the preview column so you can focus on building your page content in the Content column.

View your preview in a full-width page
Select New window to pen the preview in another window. This viewing option keeps your main content editing view collapsed while viewing the updated preview in a separate browser window.
The asset name you are viewing is shown in the window title to help you keep track of what window applies to which content page asset you are previewing.
-
You have full access to Personalized and A/B testing controls in this view. Read more about these controls in the Personalized option section.
-
You can select Edit content to open a new window and continue editing your content.
The preview will not load if the preview originates from a different origin to where /_admin is being accessed.Use the button in the Preview window to switch to the correct domain. |
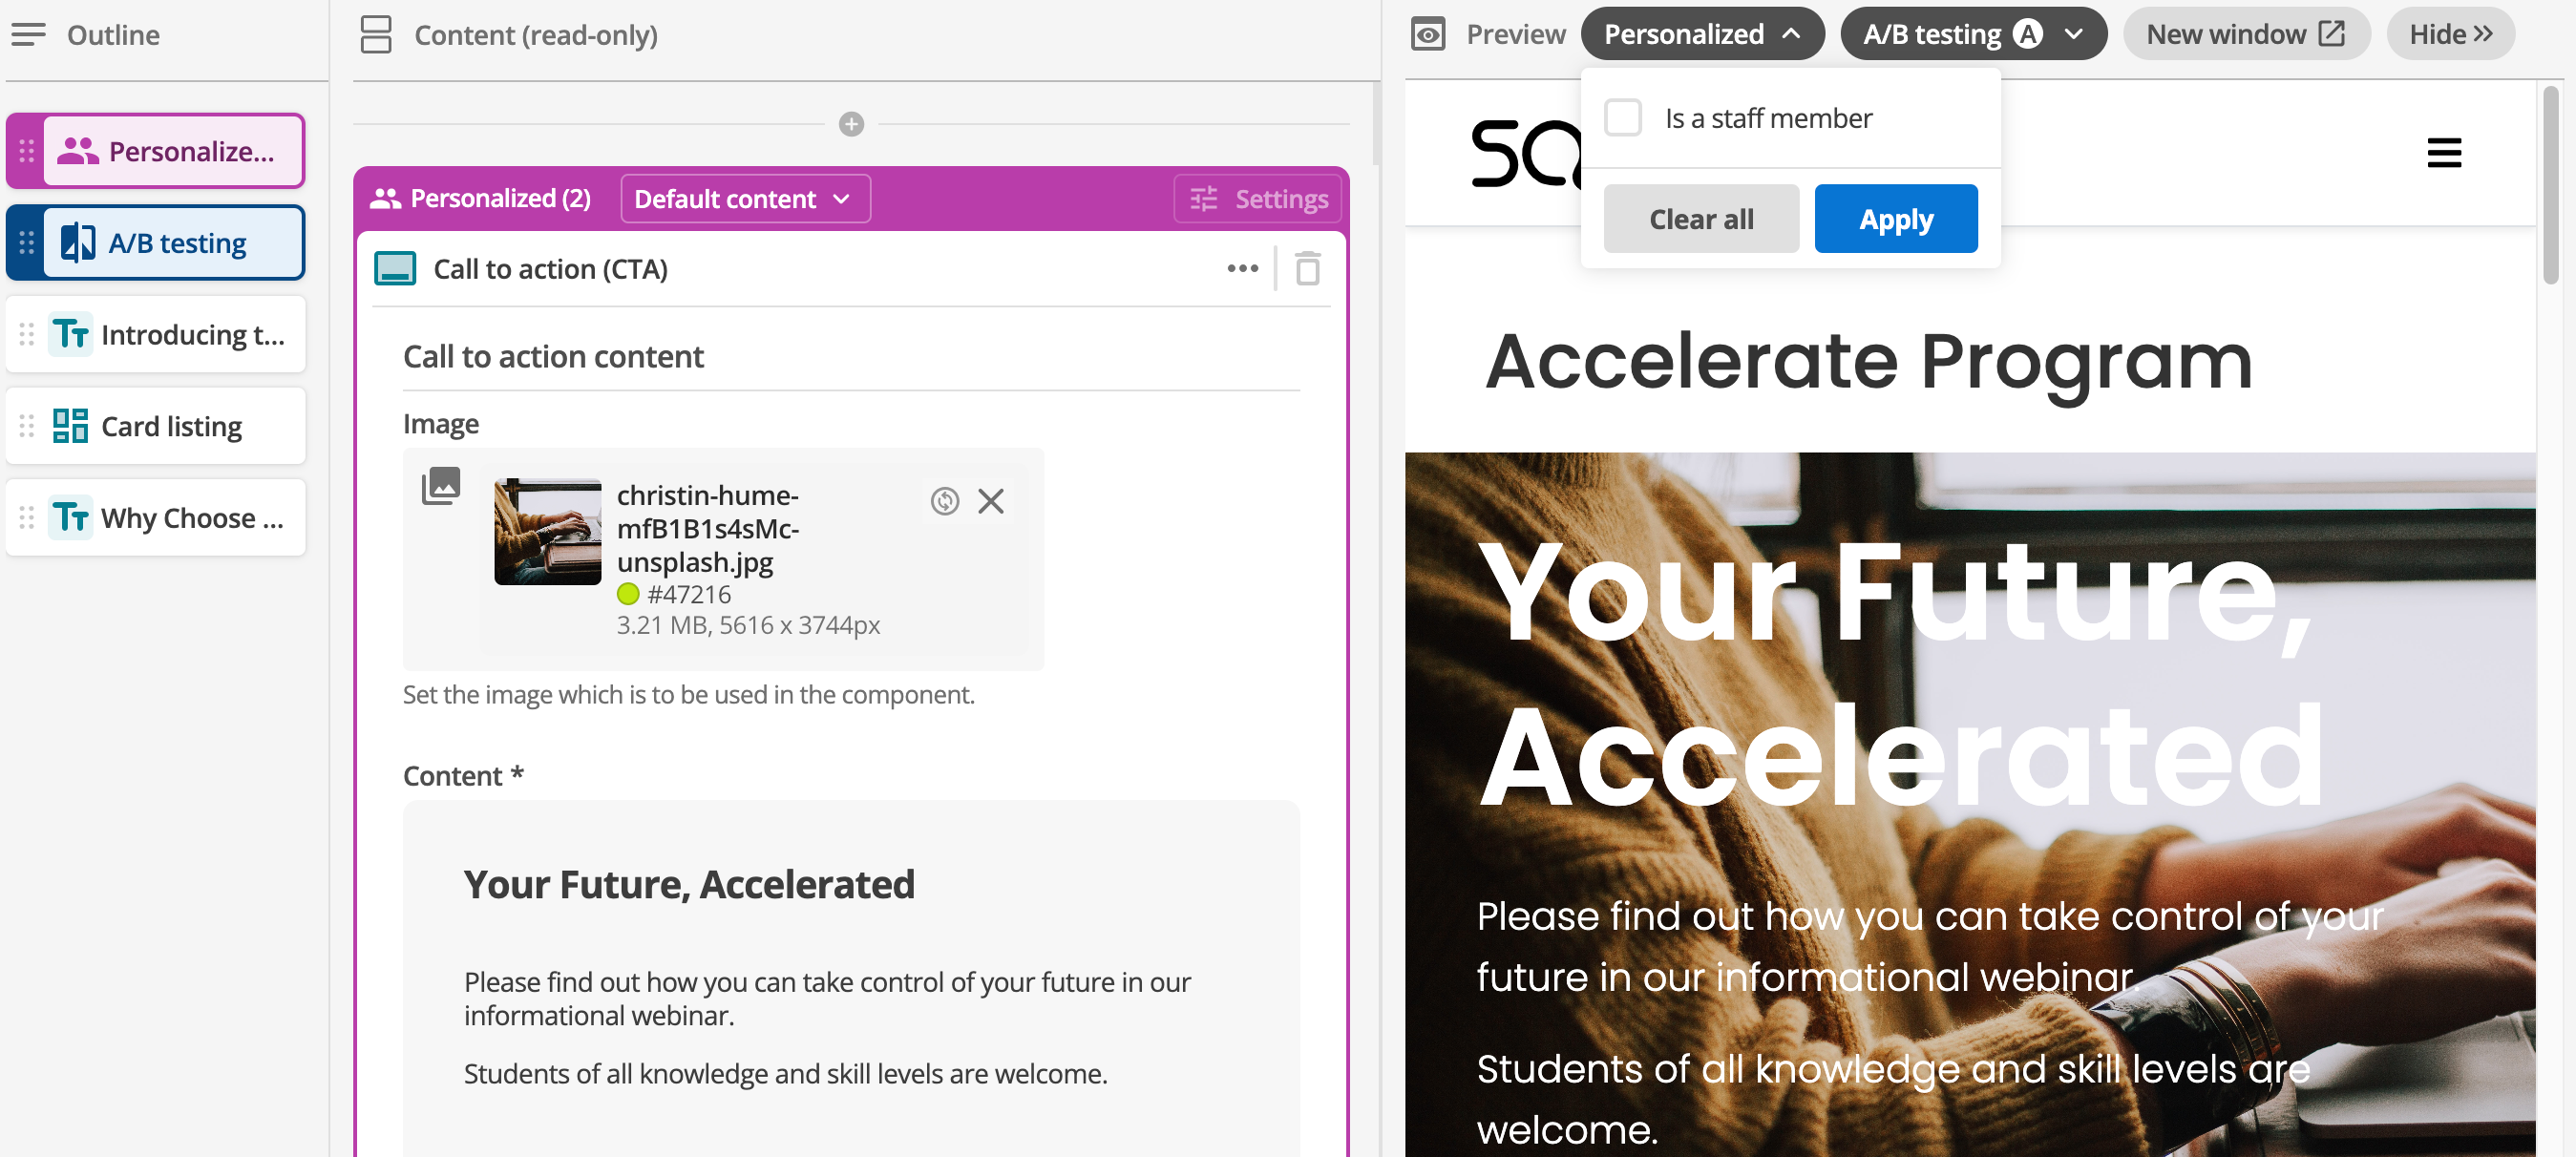
Personalization and A/B testing options
The Preview panel lets you experience what website users will see when your changes are published through the Personalized and A/B Testing controls.
These controls appear if you have applied Personalization (Pink Blocks) or A/B Testing (Blue Blocks) to your content blocks and select Save. Once your changes are saved, you can use these preview features to experiment with how different changes affect what your target personas will see on the frontend.
Personalized option
Experiment with different personas in different segments and see what the results are immediately:
-
Expand the Personalized control to show a list of all the segments configured on your page.
-
Select one or more segments you want to preview.
Read About personalization segments to understand how content variation order affects what segment is shown to website users. -
Select Apply to update the preview.
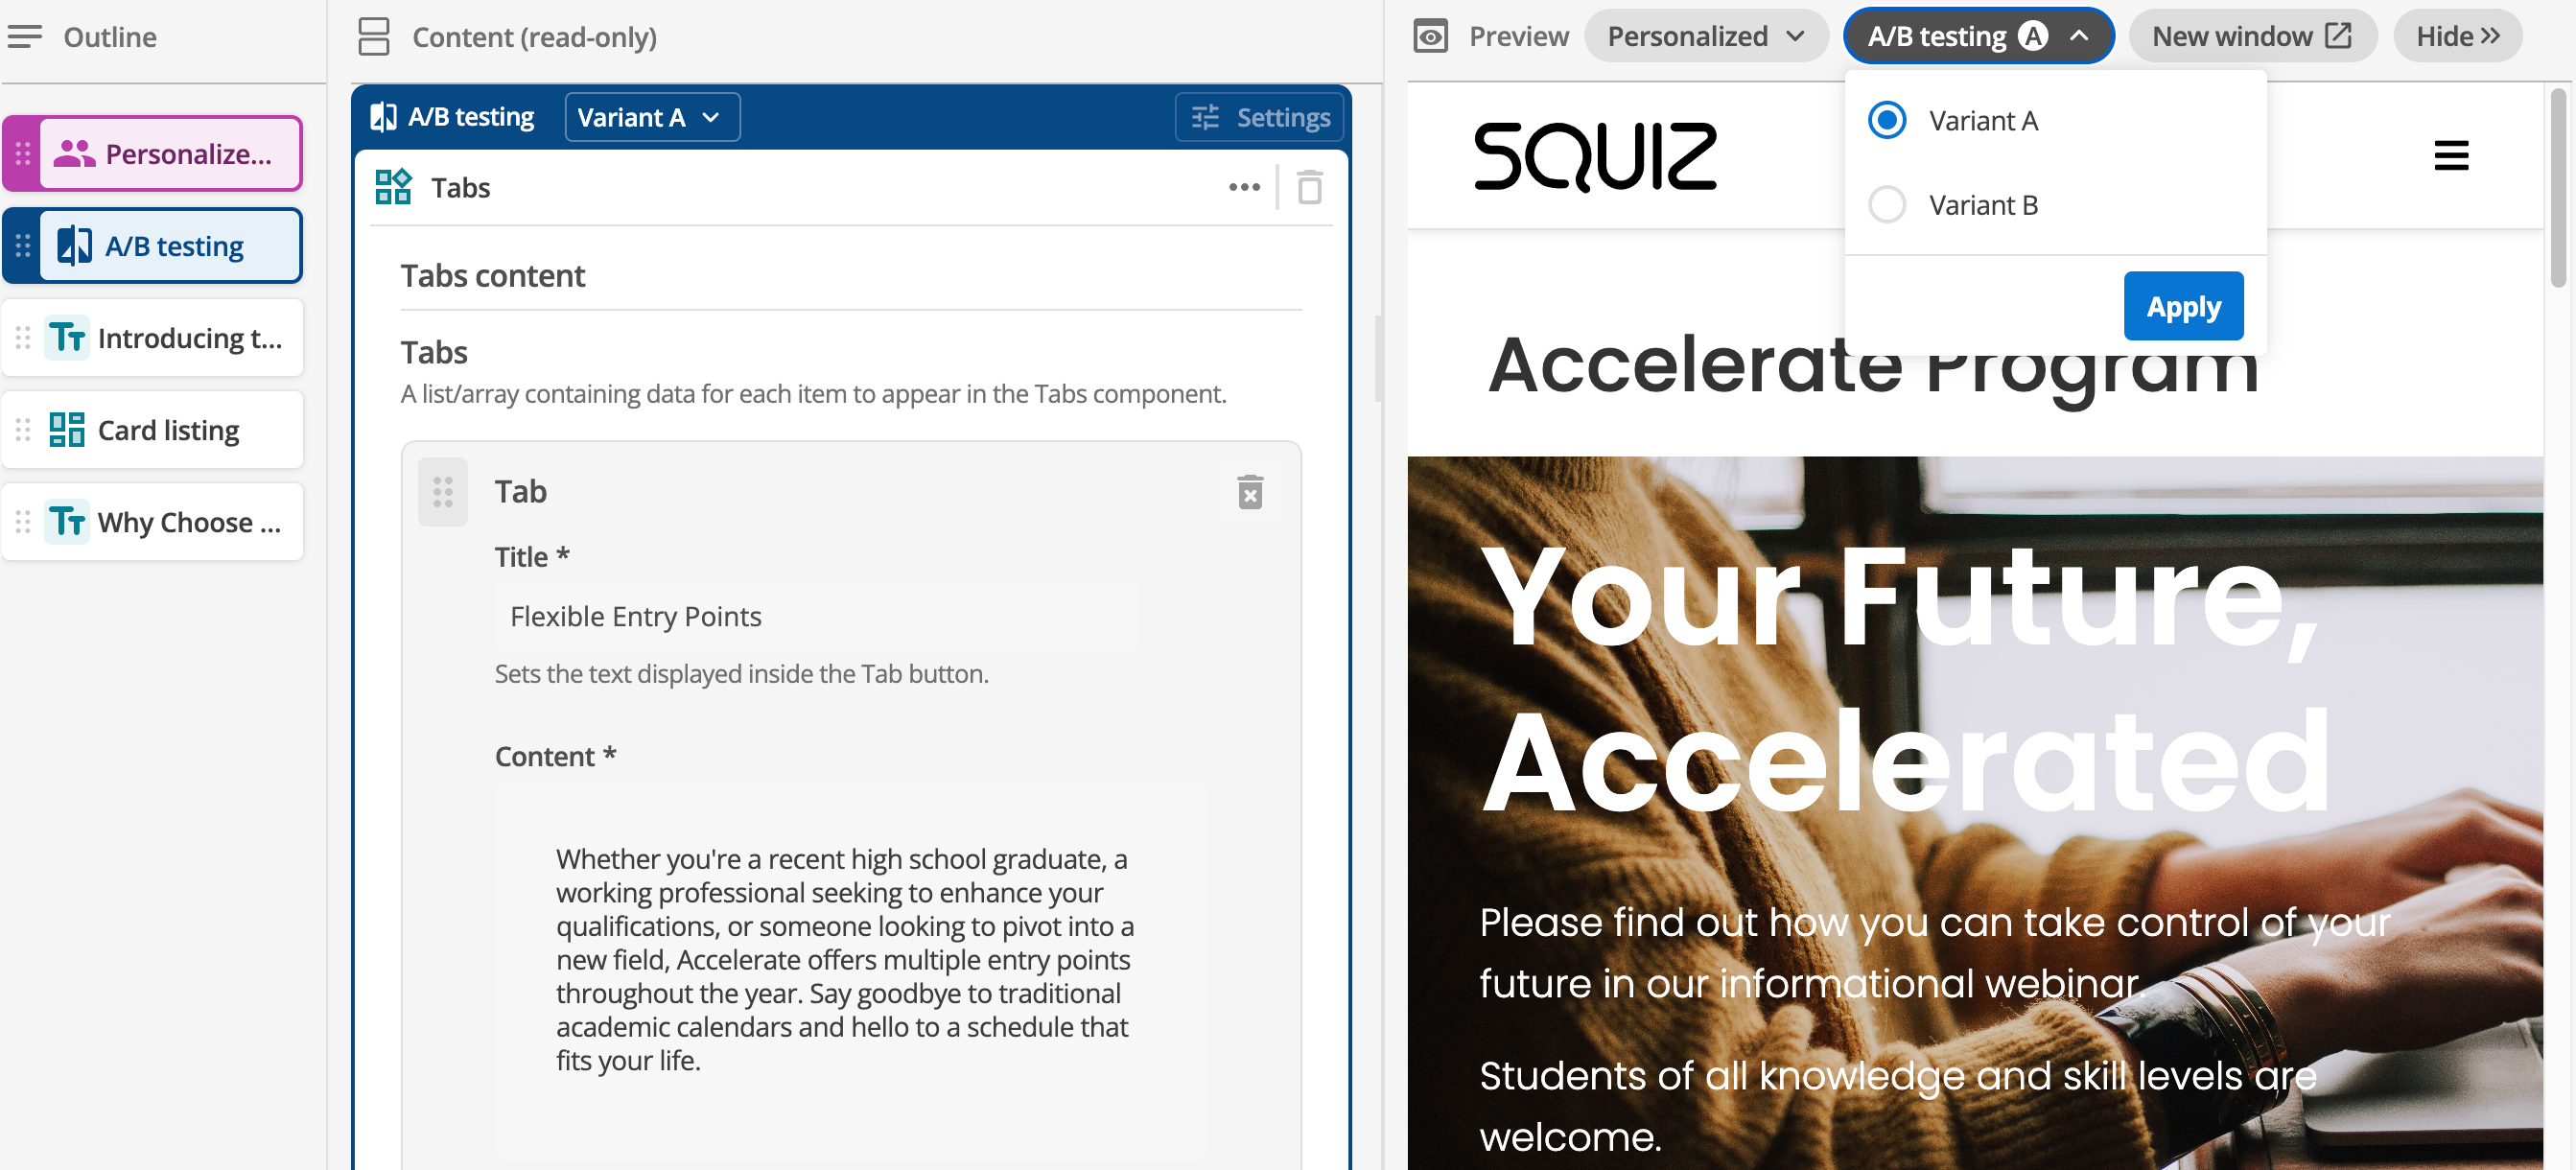
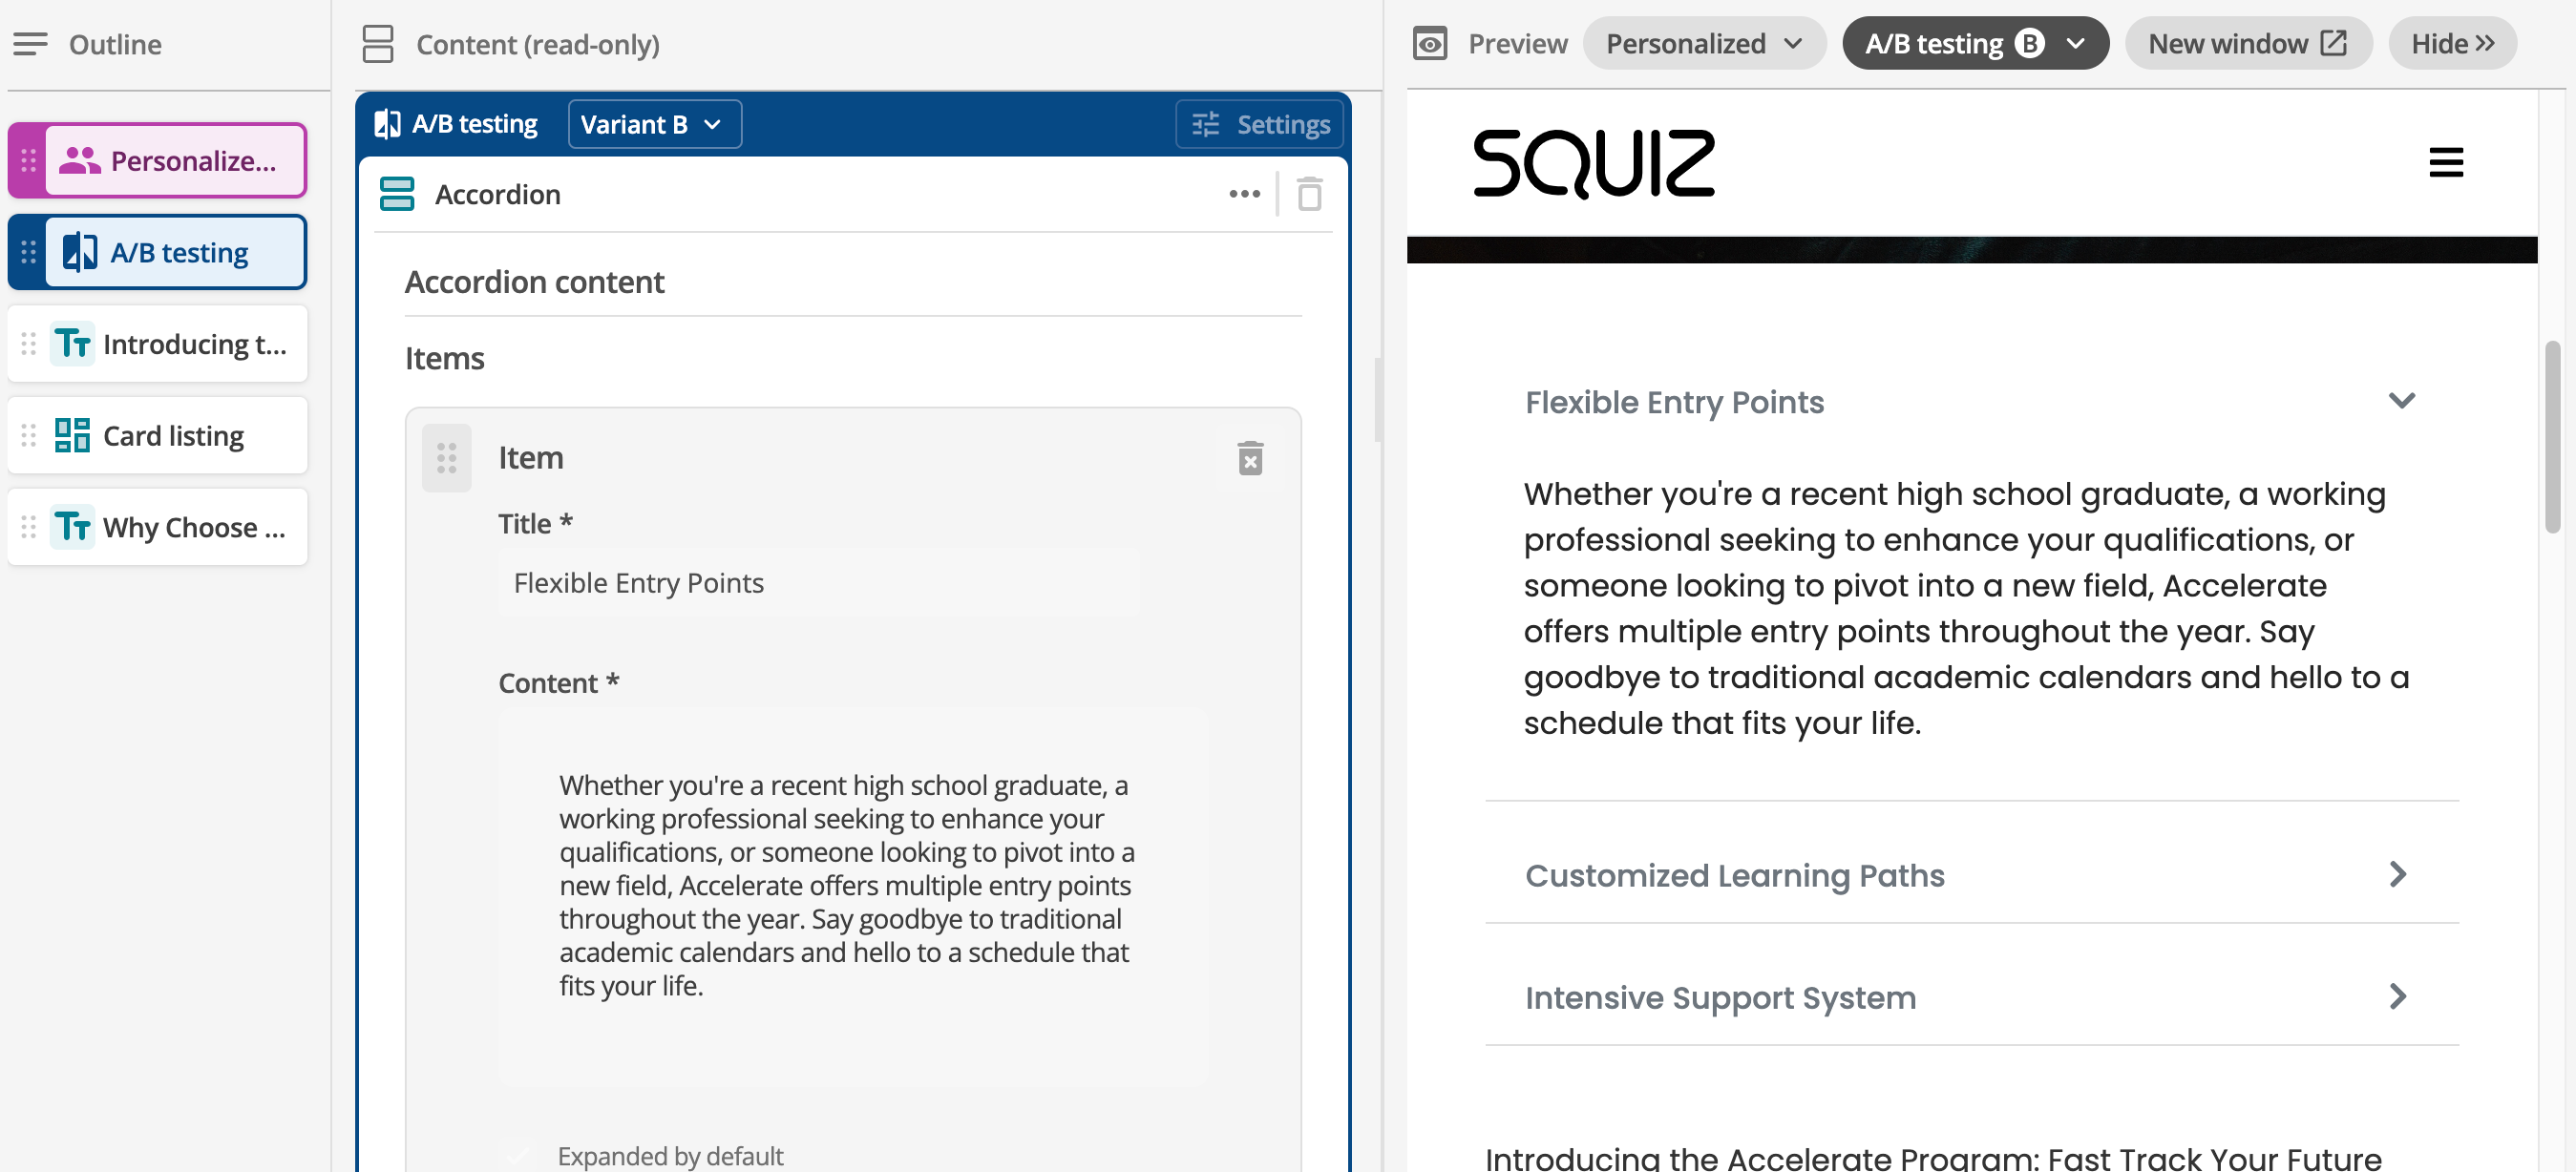
A/B testing option
If your content page has an A/B test connected, the A/B testing control is always active in your preview.
The Variant A option is selected by default. If you have customized the variant names, they will appear in the list as you have configured them in your experiment.
Experiment with content variants to experience what customers directed into the test will experience:
-
Expand the A/B Testing control to show the A and B variants connected to the page.
-
Select the variant you want to preview.
-
Select Apply to update the preview.
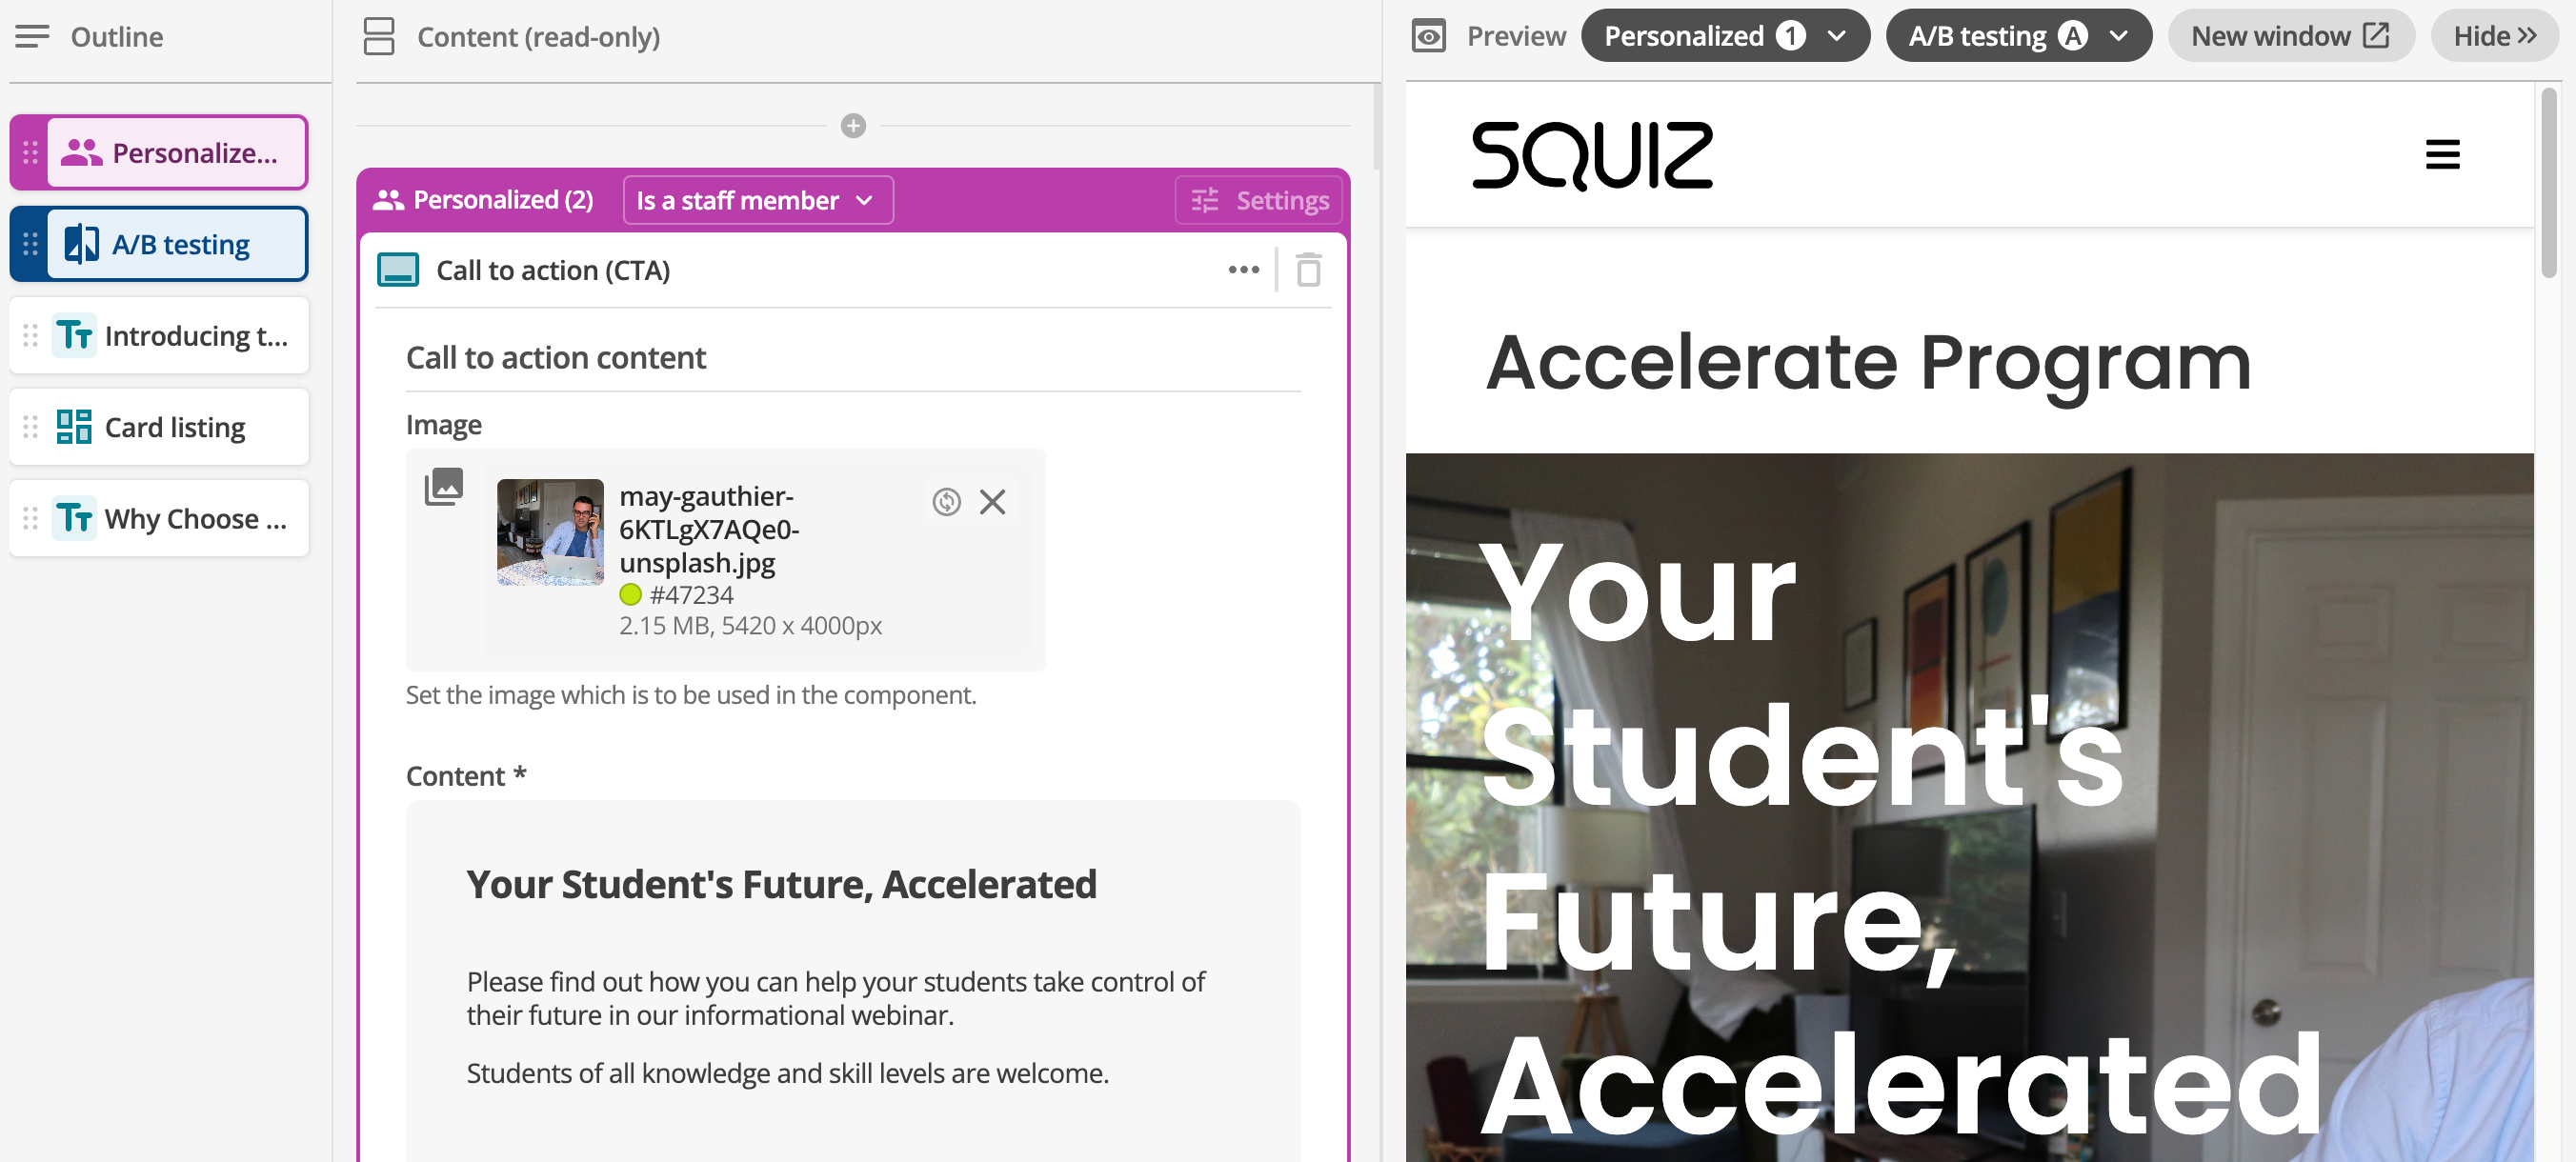
What happens when I select multiple personalization segments in preview mode?
As you experiment with different segmentation settings, you might notice that you can use the Personalized option menu to select one or more segments for your preview.
This may seem a bit unusual, considering that in Add personalization to a content block, the steps tell you that the order in which you select the segments applied to a block affects the website user’s experience.
In preview mode, that logic works a little differently. The preview mode lets you select multiple personalization scenarios and deeply test how they might operate when released on your website. It is the most reliable way to test your personalization strategy so that you know for sure what your customers will experience.
Consider a scenario where your Content Page has several content blocks with a different personalization strategy.
In this basic scenario, it might be perfectly reasonable to imagine what customers might see if they are put into the "Is a staff member" segment.
Now, take this basic scenario and try to imagine what three more blocks, each with a unique personalization priority order applied, might look like. It is very hard to imagine what might happen in this more advanced scenario without being able to select all segments to see how each block changes dynamically.
If your preview is showing unexpected results, take a few moments to review how your personalization strategies are applied to each content block. In most cases, you can resolve any unexpected behavior by reviewing how each segmentation strategy applies and interacts. You might find that you need to change the priority order on some personalization strategies to get the content experience you are designing for your website users.
How to share your page preview settings with other content authors
When you select options from the Personalized and A/B testing menus, these settings are saved as URL parameters.
After you are satisfied with your preview configuration, select New window and share the full URL with another Content Management user.
When they open the link, they will see the page with the same personalization and A/B test conditions selected.
Using the New window option to share page preview settings is more reliable than sharing a link to the Content Page asset. The reason is that if you are editing the Content Page asset and are still holding the asset locks, the person who tries to access the asset directly might not be able to claim the locks and view the page contents.