Asset URLs screen
The URLs screen of an asset shows you the full URL of the asset. The URL of the site forms the base of the asset’s URL, as well as where in the hierarchy of the site the asset is, and the name it was given at its creation.
For example, a standard page called Content Management exists under the Squiz page in a Site. The site URL is http://www.example.com. The URL of the page will be http://www.example.com/squiz/content-management. Hyphens replace any spaces in the asset’s name by default.
The URLs screen also lets you set up remaps for the asset. The remap will take the user from an old URL to the current URL of the asset, ensuring they see the asset’s content rather than an error.
|
These options are not controlled by Draft mode content protections:
Any changes made to these settings or options after you click Save take effect immediately on your public site. |
URLs
This section lets you change the URLs of the asset as well as view the current URL of the asset.
The fields available are as follows:
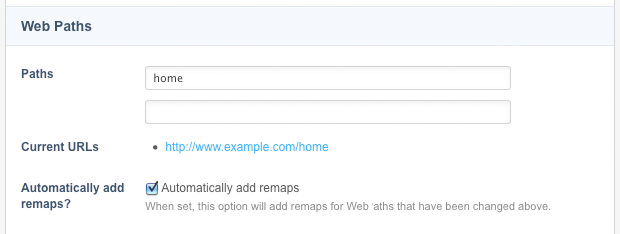
- Paths
-
The name entered to create the asset will appear in this field by default.
You can add paths by clicking into the second box and entering the new path. For example, we can add another path called
matrix. This ability means that the user can view this asset in the site by entering the URL http://www.example.com/home or http://www.example.com/matrix.Each URL path can be up to 255 characters in length. An upper limit of 1000 characters is shared across all URL paths you set.
You can change paths by clicking into these fields and entering the new path for the asset. When you do this, a new remap will appear in the Remaps section.
In the previous example, if we change the path
hometomatrix, a remap will appear in the Remaps section. This change means that if the user enters the URL http://www.example.com/home, they will be redirected or taken to the URL http://www.example.com/matrix.Squiz Content Management will automatically convert the ampersand character ( &) and its HTML entity (&) to-and-when used within a URL. - Current URLs
-
this section lists the URLs for the asset. Multiple URLs will be listed if the site has more than one URL, or the asset has more than one URLs.
- Automatically add remaps?
-
This field lets you prevent the creation of a remap when you change the path. This option is selected by default, meaning that remaps will be created. Clear this option before you click Save to prevent remapping.
Remaps
This section lists all of the current remaps for the asset. It also lets you set up new remaps.
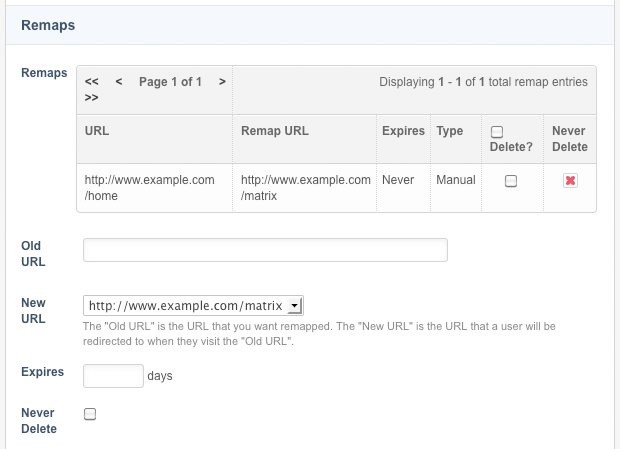
To set up a remap: enter the old URL into the Old URL field and select which URL to map to from the list provided in the New URL field.
For example, we can enter an old URL of http://www.example.com/home and select http://www.example.com/matrix from the new URL field shown in the previous figure.
This change means that if the user enters the URL http://www.example.com/home, they are taken to the URL http://www.example.com/matrix.
You can give the remap an expiry time by entering the number of days into the Expires field. The system deletes a remap when it expires, and the user will have to use the correct URL. The Remaps field lists assets with remaps set up.
The Never Delete option lets you manually specify the Never Delete setting of the newly created remap.
This option effectively overrides the default system Never Delete setting, as configured on the remap manager. If this option is enabled, the remap entry will be unable to be deleted until the Never Delete option is disabled for the remap on the remap manager.
By default, this field will be set to Never Delete, as configured on the remap manager.
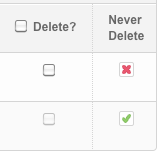
To delete a remap, click on the Delete box for the remap and click Save. The Never Delete setting determines the availability of this option.
The system will not delete remaps marked as Never Delete. You must disable this setting on the remap manager to delete the remap.
For more information, read Remap manager.